Home » ideas » Page 2

Category: ideas

Mt. Baker over water

Border2Border Tour: BC to the Olympic Peninsula

Quick reminder: the best way to follow the tour is to follow @pedalshift on Twitter. That will be the hub of all the thoughts, pics, tour journal podcasts, etc. Daily or near daily Tour Journal podcasts are on Soundcloud, or you can subscribe to the feed here.

Some quick thoughts from the last few days:

  • The BC and Washington State ferry systems are phenomenal. Timely, well-priced, and punctual.
  • Dramamine stops me from feeding the fish, but the “non-drowsy” formula is bull.WA ferry
  • The Washington State campgrounds are as rumored. I’ll be in Oregon soon. That’s all I have to say about that.
  • The headwinds around Hood Canal today we’re BRUTAL. Worst I’ve ever biked in – I didn’t have an anemometer on me, but based on experience I’d say it was easily 30 mph with 40 mph gusts. Crazy. Still did a metric century (insert pat on back here).

  • I still have yet to meet anyone who is out for more than a weekend trip, which is surprising. I would have expected to meet some through bikers by this point, but I figure it’ll happen.
  • Saw a bald eagle in the wild, which is still a thrill.

  • Love my bike with no name. I miss the Goblin in some ways, but this bike is a beast up hills with the new gearing. I can spin up even the steepest of grades, which is how it should be.

The bike with no name

  • I even got work done tonight on my computer at a campground, therefore fully justifying bringing it.

That’s it… more to come tomorrow!

Seattle tour start

Kicking off the border to border bike tour

The Heat Stroke Avoidance Alternative Border to Border Bike Tour has begun! I may just refer to it as the Border to Border or B2B tour from now on, largely because I can’t remember the larger name and because it’s so far from warm on the coast that the memories of forecasts in the 107-109 degree range are all but a memory. Take a listen to episode 004 of Pedalshift Project for more on that.

I began my journey with a visit to my cousin in Seattle, which was a nice treat considering my original plans did not take me north of Portland. Since he was planning on rowing the next morning, I got up with him at 5:19am. I felt every bit of that early hour through the day… trust me. A 40 minute ride later and I was boarding the Victoria Clipper to Victoria, BC.

Victoria Clipper

First, I took a dramamine. I. Am. Not. Fit. For. Seafaring. I’m a landlubber. Whatever. But thanks to this wonderful concoction that I used to have to take crushed in applesauce before long car trips (#protip: not recommended) I got through the rough seas to Canada.

I saw a sign that made me happy:

eat poutine

And then I was full and happy. Bless you Canada for poutine.

I spent a leisurely couple of hours winding my way north on a series of regional trails through suburbs and agricultural areas. A stop for blackberries was a welcome layover from the unusual heat and steady sun exposure. After about 20 miles (translation: “aboot 33 kilo-meeters” – I love you Canada. Don’t ever change.) I was at the picturesque McDonald Park, part of the Gulf Islands National Park Reserve. Camping was a little pricey at CDN$13.75 (no showers, primitive toilets, but water, so yay for that) but the tree cover was spectacular, reminding me Burlington Campground in the redwoods of CA.

McDonald Park

One other thing to note… the smells. I love that hint of salt water as you get near the coast, but around here you also get the cedar-ish smells of the conifers mixed in. It’s a nice balance and one I don’t get very often.


Mt. Baker over water
Mt. Baker over the water from Sidney, BC

Here’s today’s Tour Diary – a reminder I’ll be doing more of these audio snippets and tweets than posts. The tour diaries will be tweeted but you can also subscribe to them as a podcast or check them out on Soundcloud.


packed bike

What to pack on bike tour (and what not to pack)

A few weeks removed from the start of my big tour of the year, I’m beginning the ritual all bike tourists engage in: refining the packing list. Over the years I’ve learned what to pack on bike tour… there are a few things you absolutely want to bring, and a bunch of things that just take up space.

What to pack on bike tour: 3 things I take every time

what to pack on bike tour: bandanas
(cc) Peter Marquardt on Flickr

Bandanas

I know, cotton – the dreaded fabric most experienced riders sneer at! Ordinarily, I agree, but when it comes to the versatile bandana, I make an exception. Whether a sweat rag, a pot holder, a dish towel, or a water filter, the humble bandana is the multitool that keeps giving back. Sure it’s cotton, but the bandana packs light, stays out of your way, and has so many uses you’ll want to bring a few.

what to pack on bike tour: earplugs
(cc) quinnanya on Flickr

Earplugs

This is a newer one for me because I never found a style that worked well. Now, I have a pair or two secreted in all of my bags just to be safe. How many campsites have you overnighted at that included 2am parties the locals forgot to invite you to or hourly freight trains? How about the less-than-quiet rain and wind rattling your tent in the middle of the night? Yeah, earplugs can mean the difference between a decent night’s sleep and a long groggy day in the saddle.

what to pack on bike tour: big battery

Large capacity rechargeable battery

A lot of people ride without technology. I don’t happen to be one of those types of riders. On this ride, I plan to bring several devices that will need to be replenished without benefit of a wall socket (they tend not to have those in the sides of mountains). As battery technology has improved, I’m finding 12,000 mAh batteries are dropping in price to the $50 range. How much juice is that? Depending on your device, a lot… I can recharge my iPhone 5 from single digits to 100% 5 times or more in one charge. That’s over a week of riding or more, depending on my use. Zero mile days let me recharge everything, and I don’t usually have to think about losing power at all.

Three things I leave behind on every bike tour

Sometimes the best way to answer, “what to pack on bike tour” is to list what you probably shouldn’t bring.

camp shoes
(cc) vikapproved on Flickr

Camp shoes

I finally let go of the extra pair of shoes a few years ago. I try to wear “normal” clothes when I tour so I can hop off my bike and fit in somewhat in towns along the way. I used to haul a pair of sneakers specifically for walking around town until I found I tended to walk around in the same biking sandals most of the time anyways. I swapped those sneakers out for a pair of inexpensive flip flops and haven’t looked back.

spare tire

Spare tire

I’ll change my mind on this one someday, but only on a long trip with poor access to replacements. Despite my experience with sidewall blowouts, I still don’t think carrying a spare tire is worth the weight or space on most tours. You can boot most issues and get yourself to a place where you can get a spare, plus if you invest in higher end tires, you can reduce the likelihood of needing a new one.

books
(cc) ginnerobot on Flickr

Physical books

Ok, ok hear me out… we already established I lean more towards technology, right? I tend to bring along audiobooks, podcasts and ebooks in my device. I used to bring along a physical book for reading at camp but found I rarely opened it. Usually it was stuffed deeply inside a pannier, and my phone was right next to me, so I reached for it every time. Maybe I should have brought a book I really wanted to read more than anything in my phone, but when all is said and done, I can bring dozens of books electronically in the same device I’m going to bring no matter what. These days, I leave the physical book at home and read it when I get back.

What’s on your list of haves and have nots?

dehydrated without a dehydrator

Dehydrating ultralight meals without a dehydrator

As the season kicks into high gear, I’m constantly looking for new ways to improve my camping experience. This year, I’m focusing on going as ultrlight as possible, and that’s extending to my meals. After a bit of research, some experiments (including some failed ones) I’ve got a quick and easy solution to dehydrate meals without a dehydrator.

Dehydrating is a great way to make ultralight meals for bike tours

File this under “duh.” Take out the water weight, and your food transports in a smaller, flatter space. As I mentioned in a previous post on freezer bag cooking, that translates to better eating on tour. Not only are things lighter and easier to pack, but it also helps preserve things like meat… something you certainly wouldn’t be hauling around in a pannier for very long without spoiling. But wait… there’s more! If you’re conscious about the amount of junk (particularly sugars) that end up in a lot of processed foods, making your own ultralight meals by dehydrating fruits, veggies and meats can be a big plus. You know exactly what’s going into your preparations.

I’m not anti-dehydrator

I think they’re great tools and if I end up doing more dehydrating, I can absolutely see myself investing in a nice one. I know a few people who jumped right into the dehydrating thing, and ended up spending a fair amount of money on a device that got used once, maybe twice, and now collects dust in the basement someplace. That’s not for me, so I want to be sure I want to get into this before I invest in the gear. Dehydrating ultralight meals without a dehydrator is actually easy if you have (wait for it…) an oven!

The secret: low heat and air flow

Dehydrators work by streaming warm air over your food – it’s not really rocket science. Over time, that warm air pulls out the moisture without really cooking the food. If you’ve ever wondered how raw food folks eat, they live on dehydrators – it preserves food, gives it new textures, and most importantly stops short of cooking out the nutrients. Dehydrators work well, but so can your oven so long as you do a couple of things…

Step 1: Get a good rack

Wire racks are the best way to promote good air flow around your food. Remember, we want to maximize the movement of warm air so the food gives up its moisture. You don’t need to get fancy… I got a pair of wire racks for seven bucks. You might even have a few in your cupboard someplace.

Step 2: Cut thin

Whether it’s meat, vegetables or fruit, cut it up in slices or small pieces… you’ll be rewarded with a shorter dehydration time.

Step 3: Choose your oven wisely

The first few batches I tried were in my big convection oven. Convection ovens are fancy because they move air around with a fan… almost like a dehydrator. It worked well, but even at low temperatures (more on that in a second) it really felt like a lot of energy being wasted, particularly with it being on for hours. Instead, I moved to my favorite kitchen appliance, the humble toaster oven. Because it’s smaller, I have to do smaller batches, but because its more efficient, my turnover is about equal. I probably don’t have to convince you toaster ovens use half the energy of a range oven, right?

Step 4: Stick a wooden spoon in it and keep the heat low

It helps with the air flow. Remember, we like air flow. Temp setting should be as low as you can go and still be technically on. Usually it’s 150-200 degrees Farenheit. If you’re a Celsius person, that number will be much lower. <– metric system humor.

toaster oven dehydrator

Step 5: Go do something. For a while.

I found making your own beef jerky takes a lot less time than drying out a strawberry. By a lot. Keep checking to see how things are going, maybe turn stuff over. This will take hours. Oh, and on behalf of your local fire department, it’s *not* ok to leave this unattended, so no leaving the house during this process, m’kay?

Successes and failures

Here’s a sample of what success looks like:

dehydrated without a dehydrator

That’s a sugar free batch of beef jerky, plus dried tomatoes and dried strawberries. One other huge benefit is how this can save you from the dreaded spoiled fruits and veggie plague of spring and summer… the tomato I used was just about ready to be tossed. Ditto with the strawberries… not spoiled, but past the point of ideal freshness. Thanks to dehydrating without a dehydrator, they were rescued for a future snack.

I mentioned successes, so how about failures: eggs. I read someplace (and I won’t link-shame you my friend…) that you can dehydrate scrambled eggs and they rehydrate well. All I can say is, not in my experience! I’ll be sticking with fruits, veggies and meats.

If you’re interested in a jerky recipe, check out this one… it was my starting point. I went with sriracha and Worcestershire sauce as my marinade and put on a healthy dose of coarsely ground black pepper. A+ jerky, and the best part is you can use “lesser” cuts like flank steak.

I’ll be taking some of these ultralight meals with me this weekend on a short tour… more to come!

flooded bike trail

3 tips for dealing with a flood on your bike tour

Hopefully your bike tour will never include a story about being caught in a flood. If fortune doesn’t smile upon your tour, here are 3 tips on how I handled being caught in the Potomac River flooding on my latest bike tour.

First, the background

I’m not saying my bike tours are cursed this spring, but given the catastrophic endings both have had, I might be convinced someone up there, down there, or over there is not interested in having me complete a tour as planned. The day before I left the mid-Atlantic and Appalachian region got hit with a deluge of rain – up to 5 or 6 inches within 24 hours fell on the tributaries of the major rivers in the region, and that meant a flood was coming. Although I knew there was a possibility – even a likelihood – of a flood on the Potomac, I noticed that the US Park Service had only closed boat ramps and side hiking trails as of Friday. Because there were no warnings that the C+O towpath (my bike route of choice) was directly impacted, it seemed safe to go with my plan to bike from DC to Harpers Ferry and back, camping on the hiker/biker campgrounds along the way.

Tip #1 – get the facts

The night I arrived, I noticed most of the hiker/biker campsites were feeling the effects of the surging river already. I checked the NPS website, Twitter feed and the NOAA flooding info pages for more. That gave me enough info to know the water was only going to rise through the night. River levels were to go up two feet more, and it seemed my tent and location was more than two feet higher than the water levels.

Tip #2 – trust your instincts over the facts… sometimes

At midnight, I read in Twitter that the Harpers Ferry NHP was packing up and evacuating upriver:

harpers ferry flood tweet

At that point, I knew 30 miles downriver from there, it was likely that same rise rate would be where I was within a few hours. I nearly started packing up in the dark, but I didn’t. Why? Because there were two enormous bulldozers at my campsite, and I was absolutely positive the Park Service wouldn’t risk equipment like that on land they thought might flood. My first instinct was correct… my second? Not so much. So, trust your instincts… just not all the time.

Tip #3 – don’t panic

I’ve written about touring through adverse conditions, and this certainly qualified!

When I woke up after sunrise I noticed far more insects between my tent and my fly than I would normally expect. Hmm, weird. I put my hand down on the tent floor… bone dry… but something was amiss. As I put more weight down, I felt a sensation not unlike being on a bad water bed. My tent bottom had several inches of water under it.

As I slowly sat up I noticed my vestibules were covered in 3-4 inches of water and my panniers, dry bag and sandals were floating.

floating sandles

I unzipped the fly and saw the water was all around me. I was on the only spot of “land” I could see in any direction.

It would have been easy, maybe even natural, to panic. But I didn’t. I knew I had dry things and I could hang my panniers on my bike and get my tent rolled up and strapped to my bike within 20-minutes… sooner if things degraded. I also could see that the water was flowing, but not fast. It was covering the trails, but only to ankle or knee height. This is not ideal, but it was escapable. I knew there was a road within 5 miles, in one direction, and more than 6 miles in the direction from where I came. I chose the five mile direction and was rewarded with a forgotten road route much closer.

The bottom line? I could have panicked, abandoned my gear, or made a poor decision I’d regret later. Instead I took a minute to think logically and clearly, and everything worked out fine.

Bonus 4th tip – reroute

I love the C+O, but to be honest, I probably should have considered an alternate route. When you know there’s flooding possibilities, it might be time to pull out the map and consider another way to get where you want to go!

Watch my reaction to a bike tour flood

The flood I just dealt with wasn’t that bad… in fact, it added a bit more adventure to an otherwise “been there, done that” kind of ride. I could tell in the moment it might be a good idea to document the situation, so I shot my reactions to the predicament as they happened. Check out Escape From The Potomac Flood! —

uphill

Set goals for your next bike tour

My next bike tour will be a quick weekend getaway – nothing too fancy or too far, but a tried and true rout on the C+O Canal towpath from DC to Harpers Ferry, WV and back. As I continue to slim down and tune up for the big cross-country ride this summer, I’m using these smaller rides for setting goals. Here’s some tips on setting goals for your next bike tour…

Make your goals realistic

One of my goals is to try to make better time – I tend to average about 10 mph on the C+O, but I think I can do better. I can certainly average 15 mph on a flat paved surface, but is it realistic to assume I can do the same on the bumpy, knobby, rooty surface of the C+O? No way. Rule number 1 – if you want your goals to mean something, make sure they’re realistic. My goal is to average between 11 and 12 mph while in the saddle on this trip, on this surface.

Make your goals measurable

Some people set goals that are a bit touchy-feely… “I want to have a good time.” I don’t think that’s a terrible goal, but on a bike tour (nod along with me if you’re feeling me here) there are moments of high highs, and sheer, detestable, awful lows. But did ya have fun? From a goal-setting perspective, I like things I can measure and compare to avoid these subjective questions. I’d like to average 11 mph, not just go faster. I’d like to have zero flats. You see, everything has a number in some way.

Test new gear and new ideas

On a shorter trip, my goal-setting might be less measurable and more about changing my set-up or even techniques. This trip features an entirely new set of tires (thanks GAP!) so I want to see how they feel. Even though it’s a bit more subjective, I can still find a way for measuring and setting goals – what’s the ideal tire pressure on a surface like this? A short ride can help me refine the right answer, and then I can use that towards goal setting for this trip, or maybe help achieve a later goal.

Don’t let setting goals dominate your bike tour

This is still supposed to be fun – if you set goals like achieving a certain distance, but you’re cooked after a long hot ride, it’s more than ok to bail on that goal. It’s something to shoot for, not a measure of success or failure. You’ll get em next time killer…

Reward yourself

I mentioned a few months ago that I’m trying to shed some weight before the big ride. I’m happy to say I’m down 30 lbs since that post. Now, I still have more weight to lose before I achieve my overall goal, but I’ve already decided I can reward myself with a “day off” my insanely regimented eating and tracking regime once I get below 10 lbs to go. You better believe that day off reward is a motivator for me, even though it’s well before I achieve the ultimate goal. Do the same… make sure you reward yourself for meeting mileposts (literally, perhaps?) on your tune-up rides!


photo courtesy of Vik Approved on Flickr (cc) Heading uphill from Elkford to Elk Pass and Alberta.
GAP and C+O signpost Cumberland, MD

Spring bike tour on the GAP, Chapter 3: Finances

You may remember the pedalpreneur challenge: I rented my cabin out for a portion of the time I was on tour on the Great Allegheny Passage last week… did that mean this tour made money? To the toteboard!

Total net revenue from rental (after cleaning costs) = $348

50% one-way car rental to Pittsburgh = $108.50

cost of food = $53.16

50% of gas = $32.15

campsites for two nights = $0

50% of hotel in Frostburg = $35

If you count the tour over after I rolled into Cumberland, it’s a total profit of $119.19…. buuuuut, there’s the little issue of transporting myself back to DC and the need to delay one more night because of the train schedule:

hotel in Cumberland = $91

Amtrak to DC = $35

This puts me over by a total of $6.81. So, it’s official… my tour did NOT make money, and is firmly in the red by about 7 bucks.

But was that really the point? Hardly. Consider the alternative… my cabin sits vacant for the time I’m not even there. My trip costs me a ton more than $7 AND let’s not forget the additional equipment costs I’m taking on in new tires. (I don’t include those in the trip costs because I had intended to replace those tires after the ride.) So, by being creative and taking advantage of property I have and don’t intend to use while on tour, I’m supporting my bike touring lifestyle. I very well may have made a few bucks if I avoided hotels, blown out tires and Amtrak tickets… maybe next time!

GAP bridge

Spring bike tour on the GAP, Chapter 2: takeaways

In this chapter I’ll run down the lessons and takeaways from the spring bike tour: what I think of the GAP, the choices I made and the subjects I intend to learn more about.

Rating the GAP

Mason Dixon Line on the GAP

I like the GAP, but I don’t love it. It’s picturesque, and has a fun route. It has the challenging climb as a component and the surface is largely quite nice. The camping options are good (amazing in some cases – see the rundown in Chapter 1 on the first night) but not as plentiful as the C+O. For a linear trail it is terribly signed, particularly closer to Pittsburgh. Those sections are newer, so I suspect it’s all a work in progress. I guess I’m a C+O guy since I reside most of the time within a few miles of it in DC and WV.

My gear

Schwalbe Marathon Supreme
Upgrading to Schwalbe Marathon Supremes

Given the tire debacle, it’s clear I need to spend more time before the tour checking for possible wear. I believe the tire degradation was something I might have discovered ahead of time, and would have prompted me to replace the tires before the trip. I had intended to make the change after, and that clearly cost me half the tour. In addition to the tire issues, some of my waterproof gear was less than waterproof due to pinholes in panniers and drybags. I’ve invested in Tenacious Tape to seal all of these up. A pre-ride check would have helped keep my gear dryer.

I’m on the continuing trend towards taking less gear and replacing what I have with lighter options. I can continue to reduce my gear bulk and weight. I mentioned my stove experiment, and I had better luck with my Esbit titantium stove than my DIY alcohol stove. I’ll keep tinkering.

My choices

choices

I’m largely ok with the choices I made, but I think two areas could have been better:

– I needed to be more patient with repair attempts on the tire. I’m pretty sure if I had sat and just thought about things for a few minutes I would have had more patience to take the tire off again and make a more resistant repair to the tire before it degraded. I’m pretty impressed the wheel handled all the rim riding I did (fully loaded too!) but I bet if I hadn’t been in such a rush to catch up with MJ, I might have been able to boot the tire and inflate the tube. Speaking of, I found these great tire boots I’m intending to ride with from now on – they’re analogous to big tube patch kits.

– This is the second tour I had to quit on because I didn’t have enough time to finish. A half day or zero mile day could have saved this tour, but I couldn’t have reasonably returned to DC in time to afford that. From now on, I hope to be more flexible to avoid the disappointment and cost of a bailout.

Continuing education

dollar bill boot
an actual dollar bill boot, image courtesy of teamestrogen.com

I’ve enjoyed learning about emergency trailside repairs lately (see my recent emergency repairs post) and the “dollar bill trick” as I call it definitely helped keep the herniating tube from bursting right away as I pedaled uphill. That said, I think I want to have even more emergency hack techniques at my disposal to solve problems long enough to get me to the next bike shop. I have to say, I’m happy my memory of using zip ties for snow traction helped me come up with a way to keep my tire on my rims as I made the last 9 miles to the next town before sundown. But there’s always more to learn.

Tomorrow… with all the drama and the extra expense, did I still manage to pay for the entire bike tour by renting my place out? The pedalpreneur challenge meets simple arithmetic, revealing the answer!

I was pretty happy to see ACA retweeted yesterday’s post, so if you’re new to PedalShift, welcome! Read more about what this is all about here.

Three Rivers, Pittsburgh

Spring bike tour on the GAP, Chapter 1: the trail, the weather + the equipment fails

In this chapter I’ll give a full overview of what happened on my spring bike tour: the original plan, the weather challenges, and the final equipment fail that led to an involuntary end to the trip.

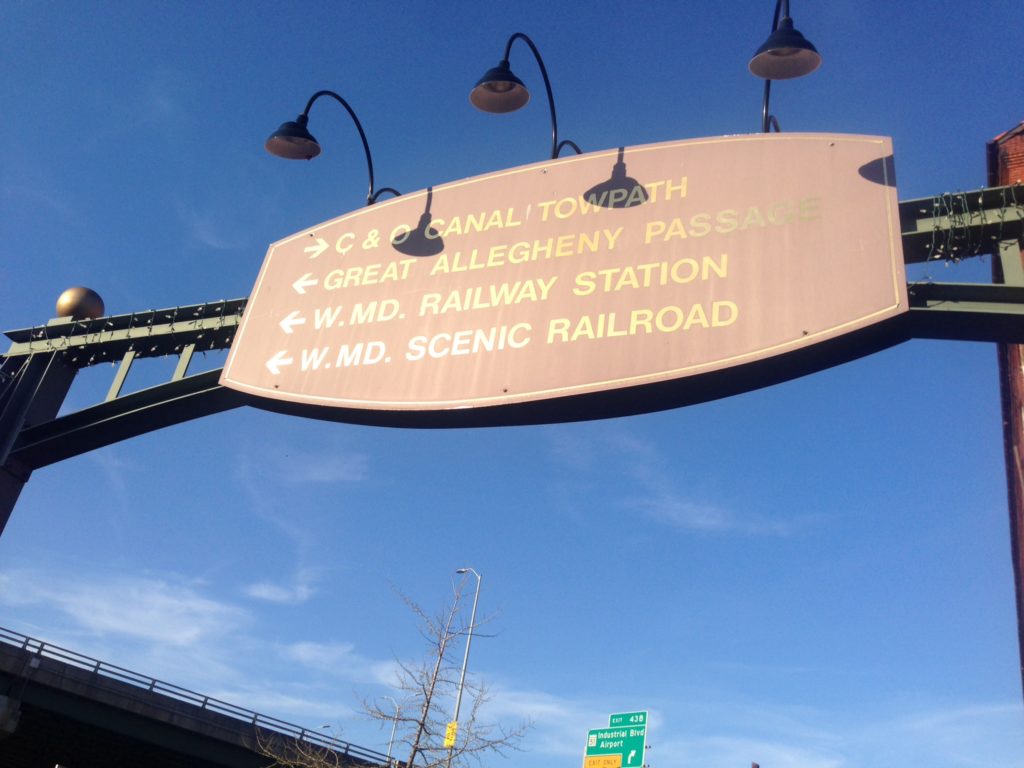
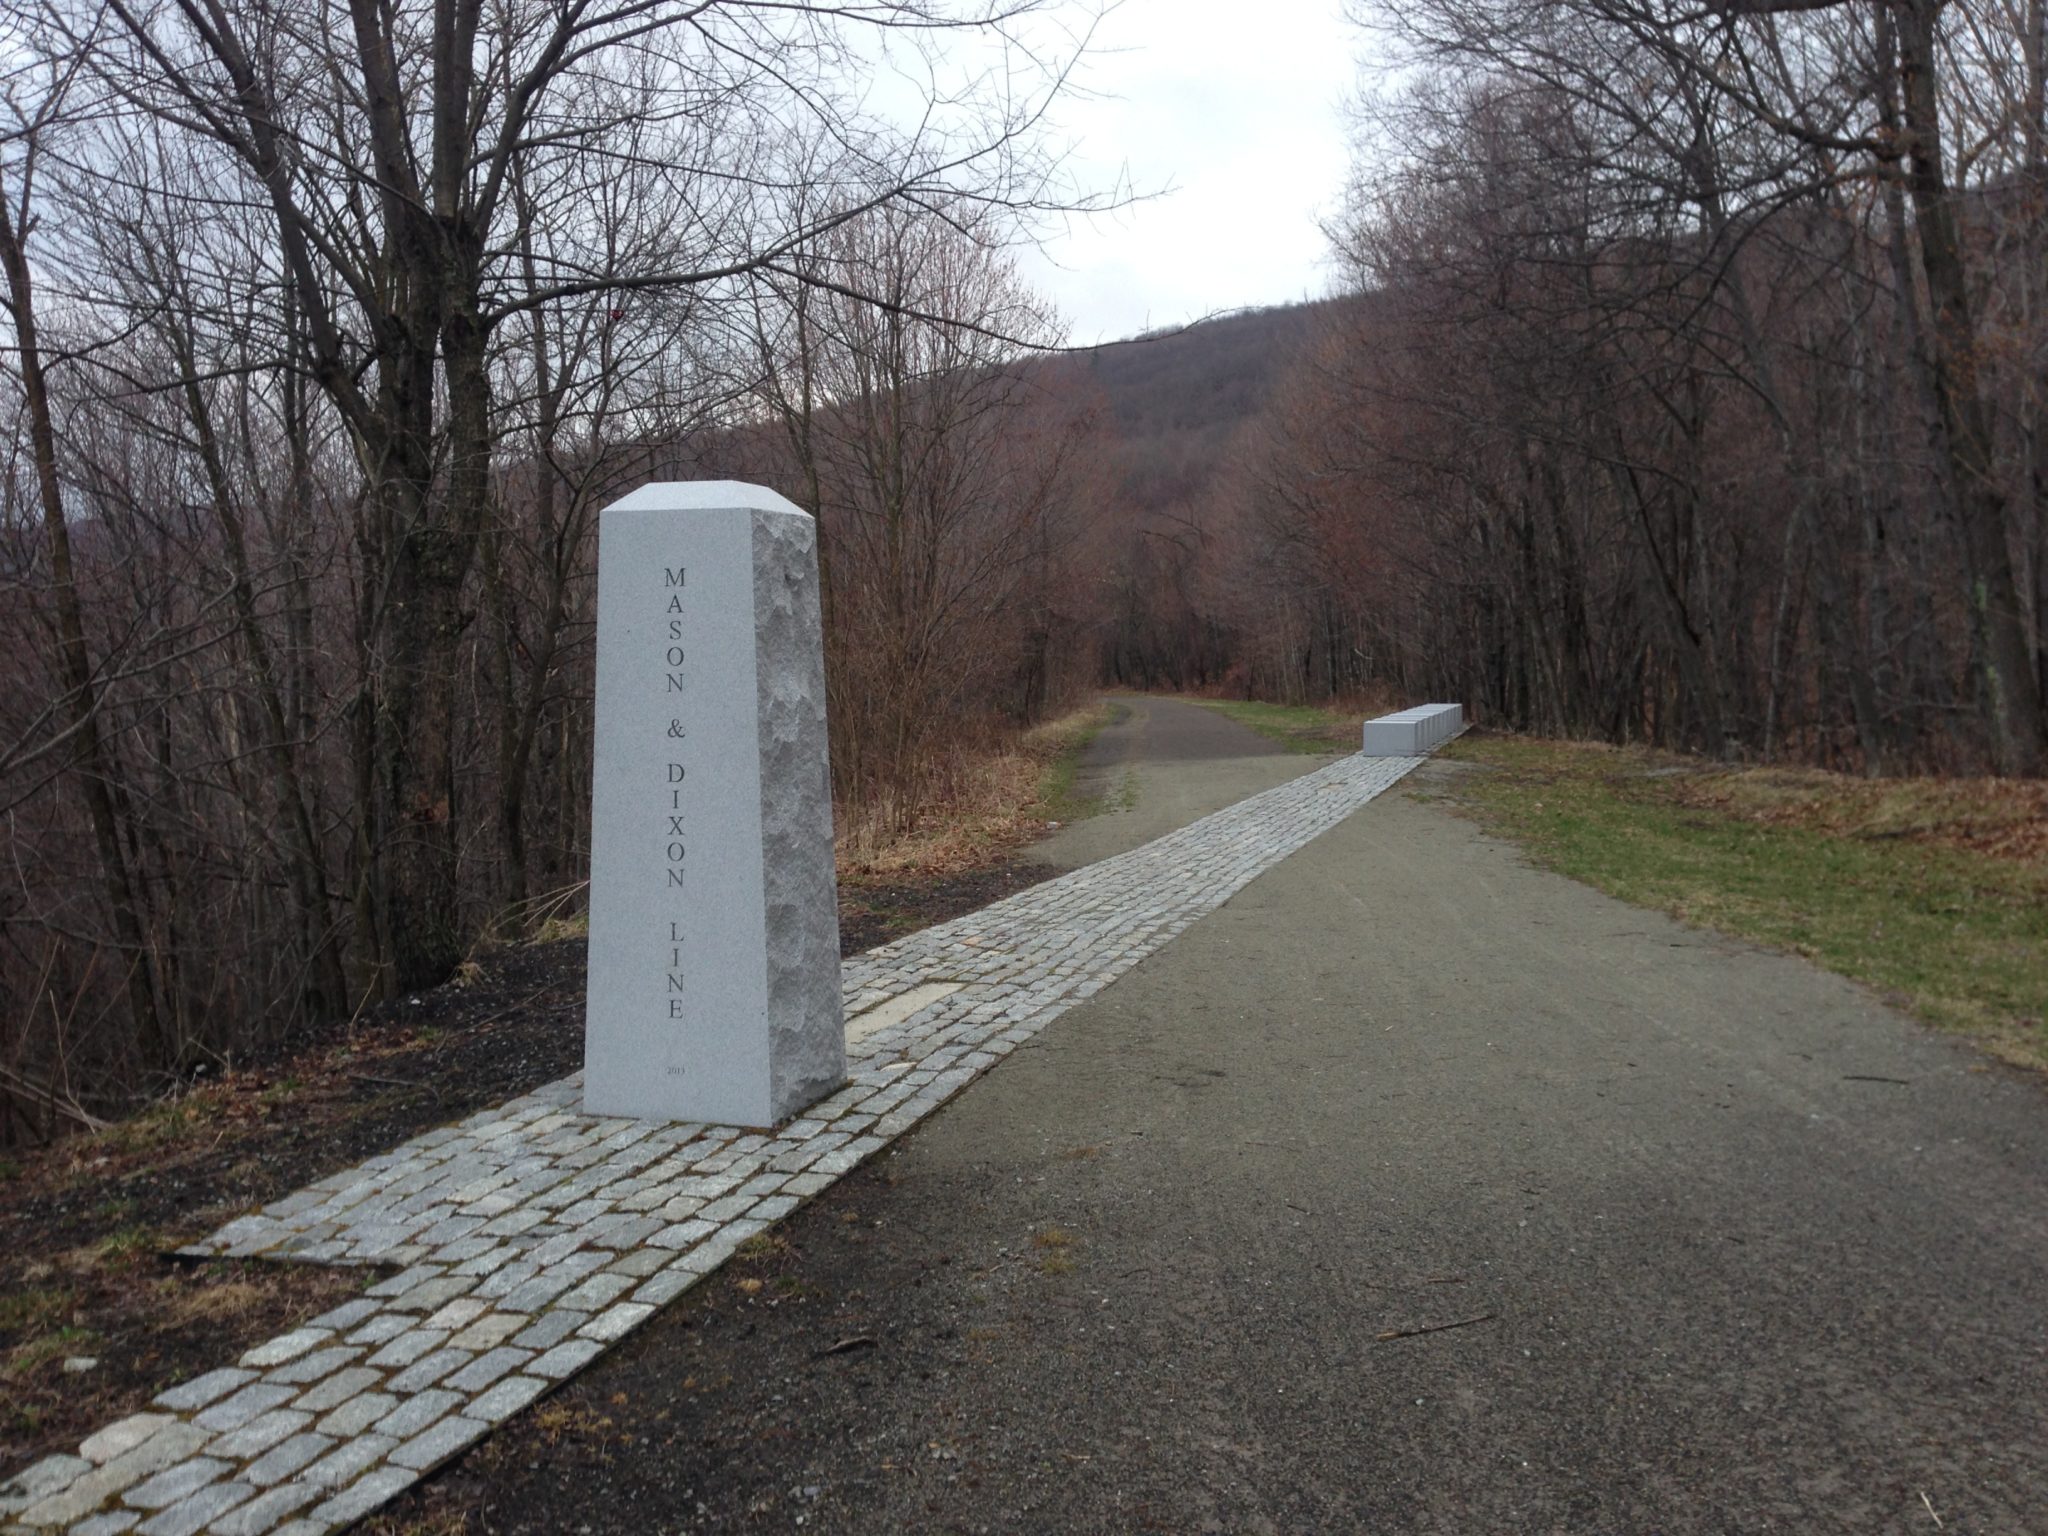
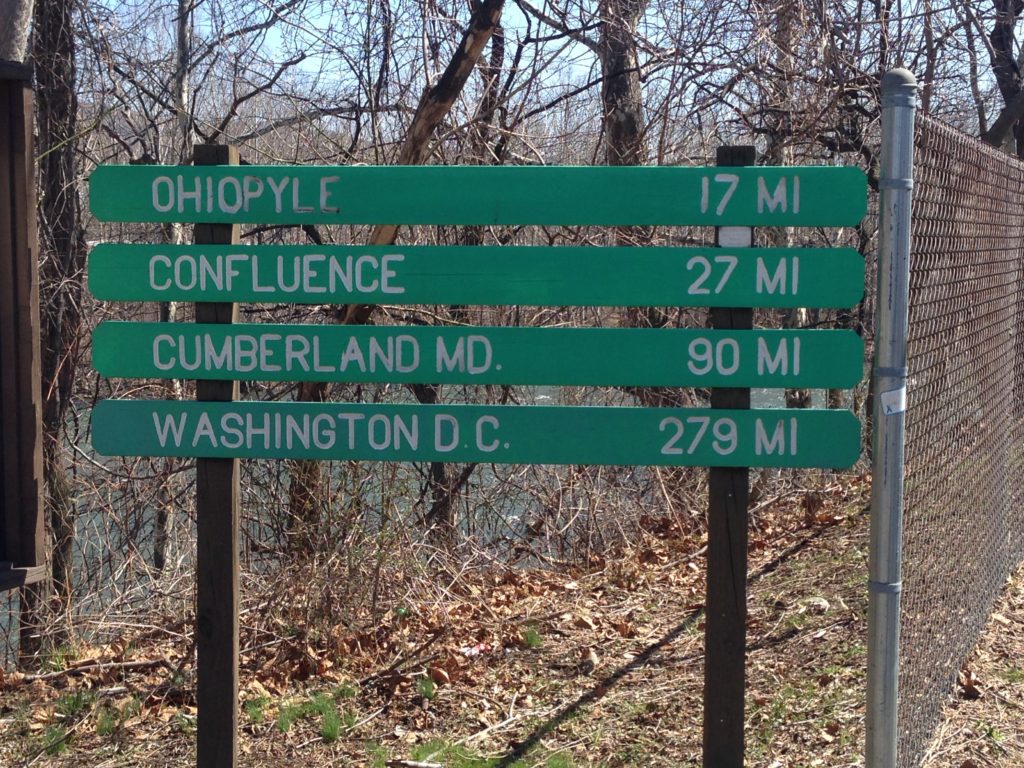
The Great Allegheny Passage (GAP) begins in beautiful Pittsburgh, PA and winds about 150+ miles to beautiful Cumberland, MD. From there, the Chesapeake + Ohio towpath (part of the National Park Service) winds 184 miles to Washington, DC. It’s an amazing resource for bike touring, and I’m happy to say I’ve now biked every inch of it. Just… not all at once. More on that in a second.

I was joined on this trip with Mysterious James, or MJ as we like to call him around here. The idea was to do a full through tour from Pittsburgh to DC in 5 1/2 days. Day 1 was a short day to account for the drive from DC. We got a one-way car rental which turned out to be an efficient and cost-effective way to get us and the bikes from DC to downtown Pittsburgh, just a short ride from the start of the GAP.

Day 1

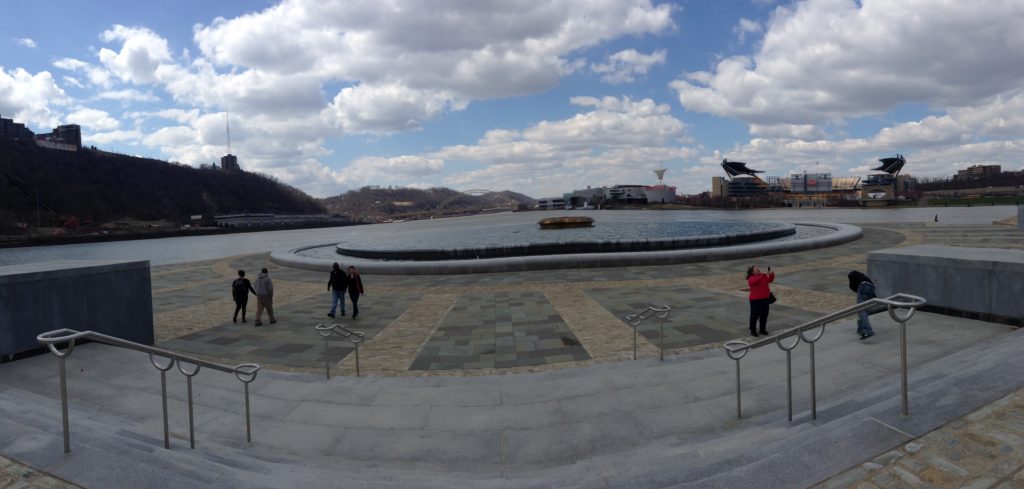
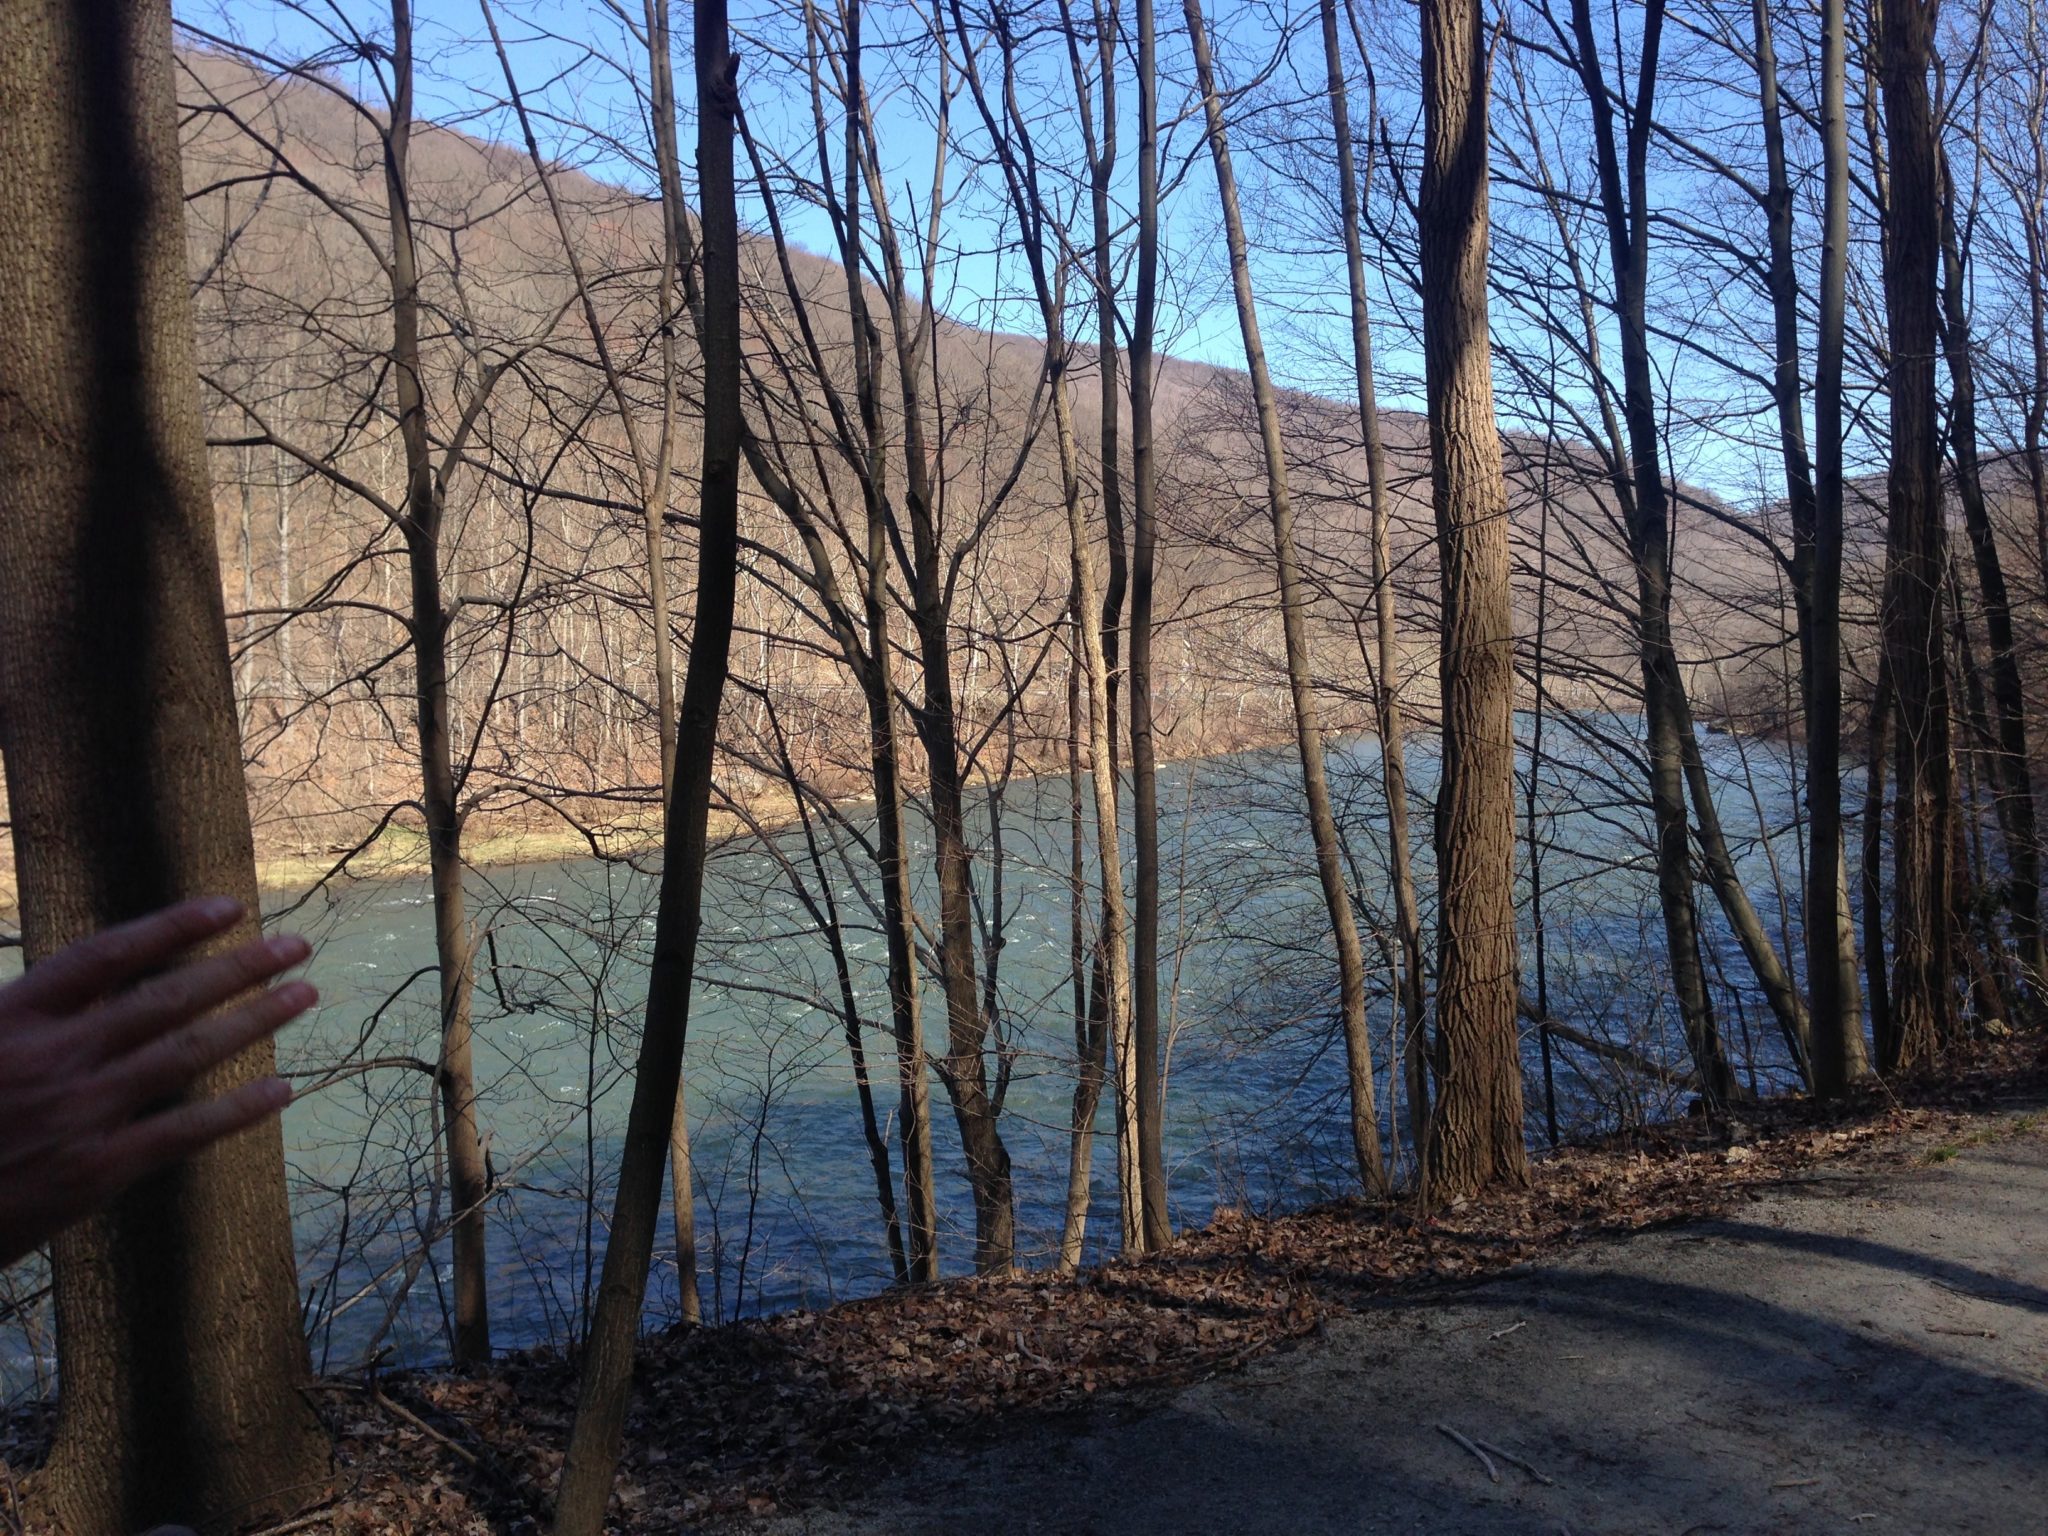
The confluence of the three rivers in Pittsburgh is a heck of a way to kick off a tour. From there, we rolled through an odd assortment of sidewalks, trails, backroads and other connectors to a truly spectacular campsite about 25 miles south of the city.

GAP campsite


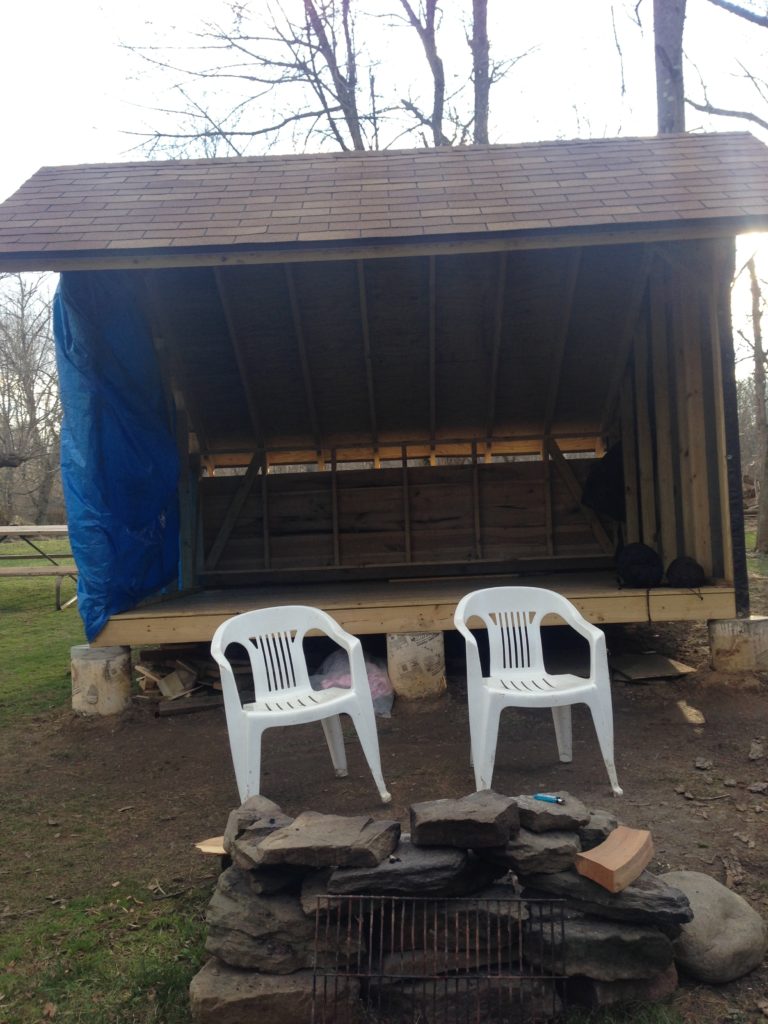
This was, simply put, the best free privately run campsite either of us had ever stayed at. The adirondack was well-built, and there was abundant, free firewood. The plastic chairs were a really welcome touch too. Amazing resource!

The only complaint from Day 1 was the lack of adequate signage. On more than one occasion we questioned if we were still on the GAP, and the mile markers didn’t correspond well to the official route from the website. The campground, for instance, was 2 miles further than indicated… not ideal when you want to end the day. Of course once we got there, all was forgiven. Did I mention the free firewood?

The Yough

Day 2

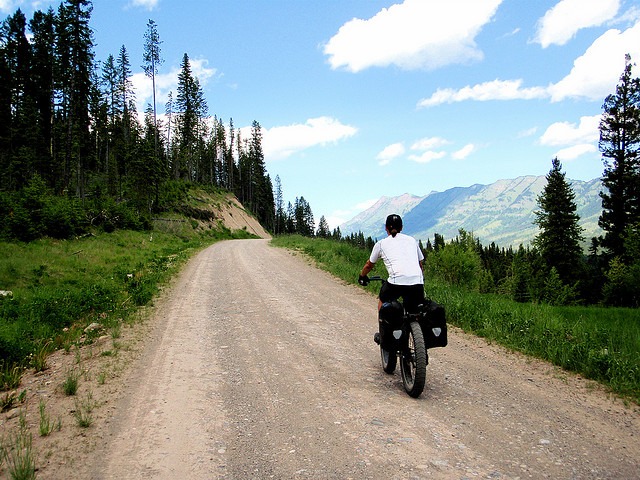
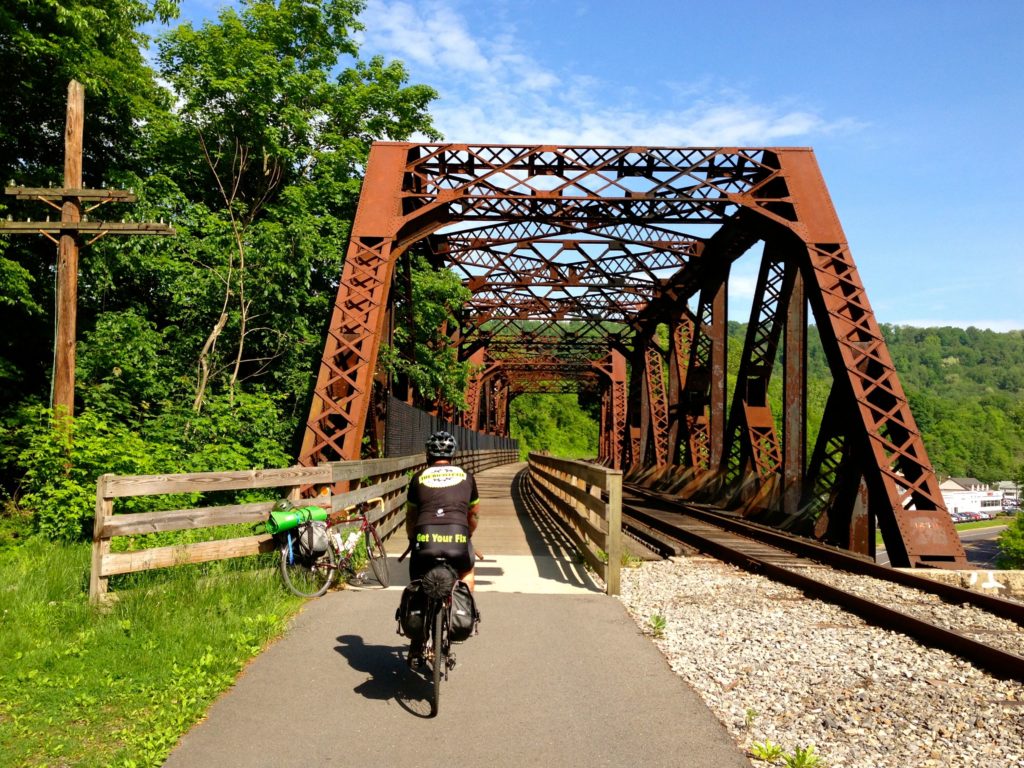
Day 2 was a 60 miler to Confluence, PA. Once we got out of the industrial outskirts of Pittsburgh into a more rural setting, we found the ride and the trail to be more enjoyable. A lot of the trail towns were as advertised – nice amenities and easy to get to from the path. Confluence was a bit of a disappointment given my expectations from the “word on the street.” It must be great on weekends, but on a Thursday, everything was closed. The Army Corps of Engineers campsite was open, except for the bathrooms… despite being fully lit inside. It was a bit odd, but this is early in the season, so no judgment. We were still basking in the glow of the first campground, after all.

bikes in the rain

Day 3

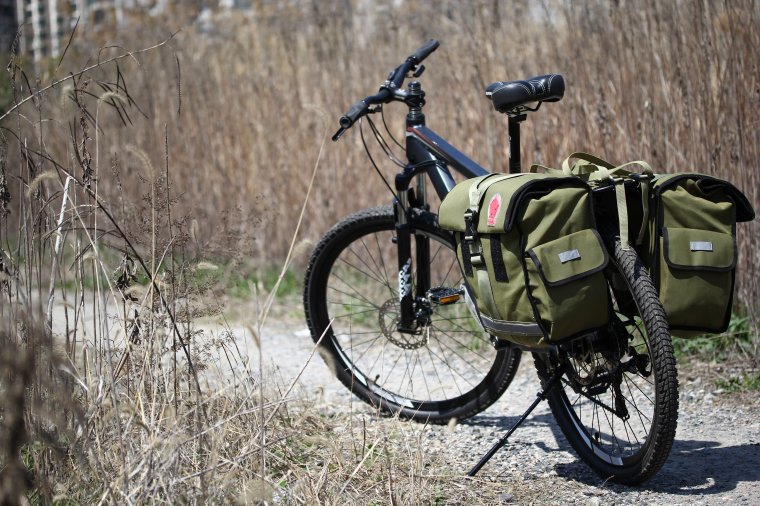
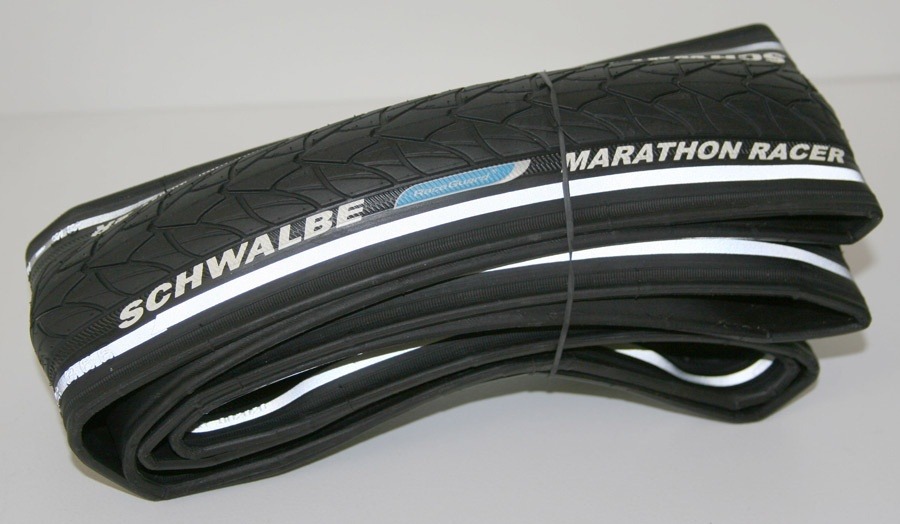
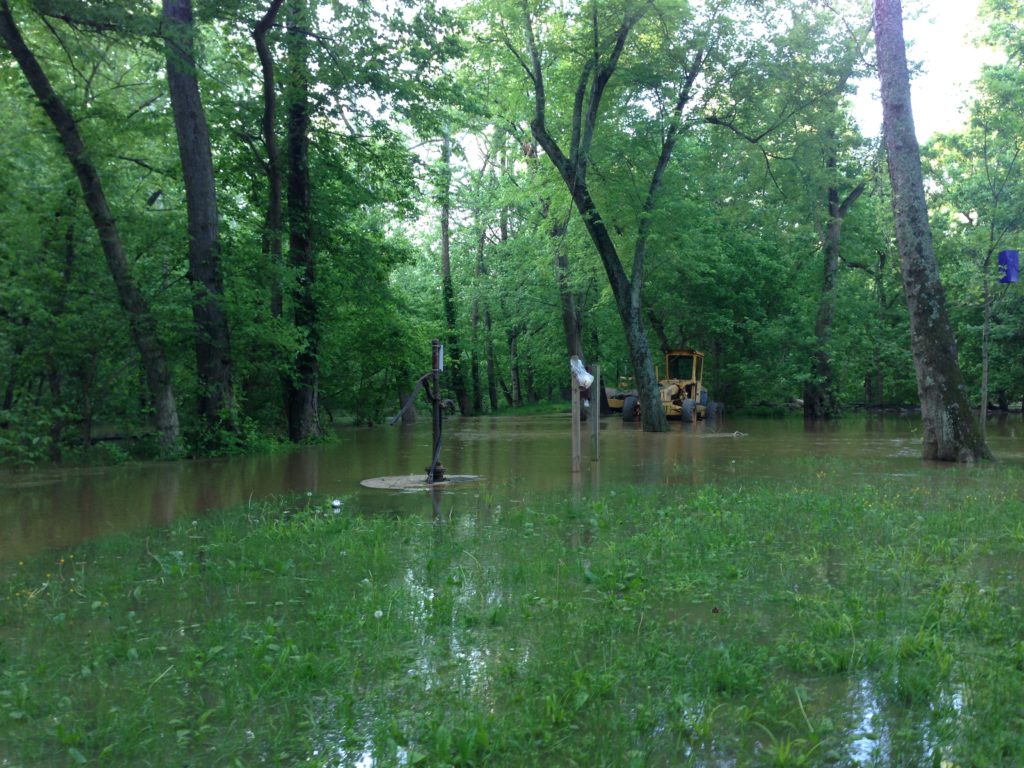
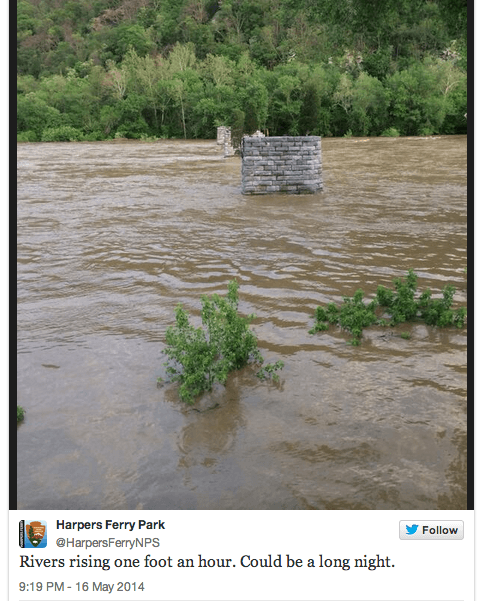
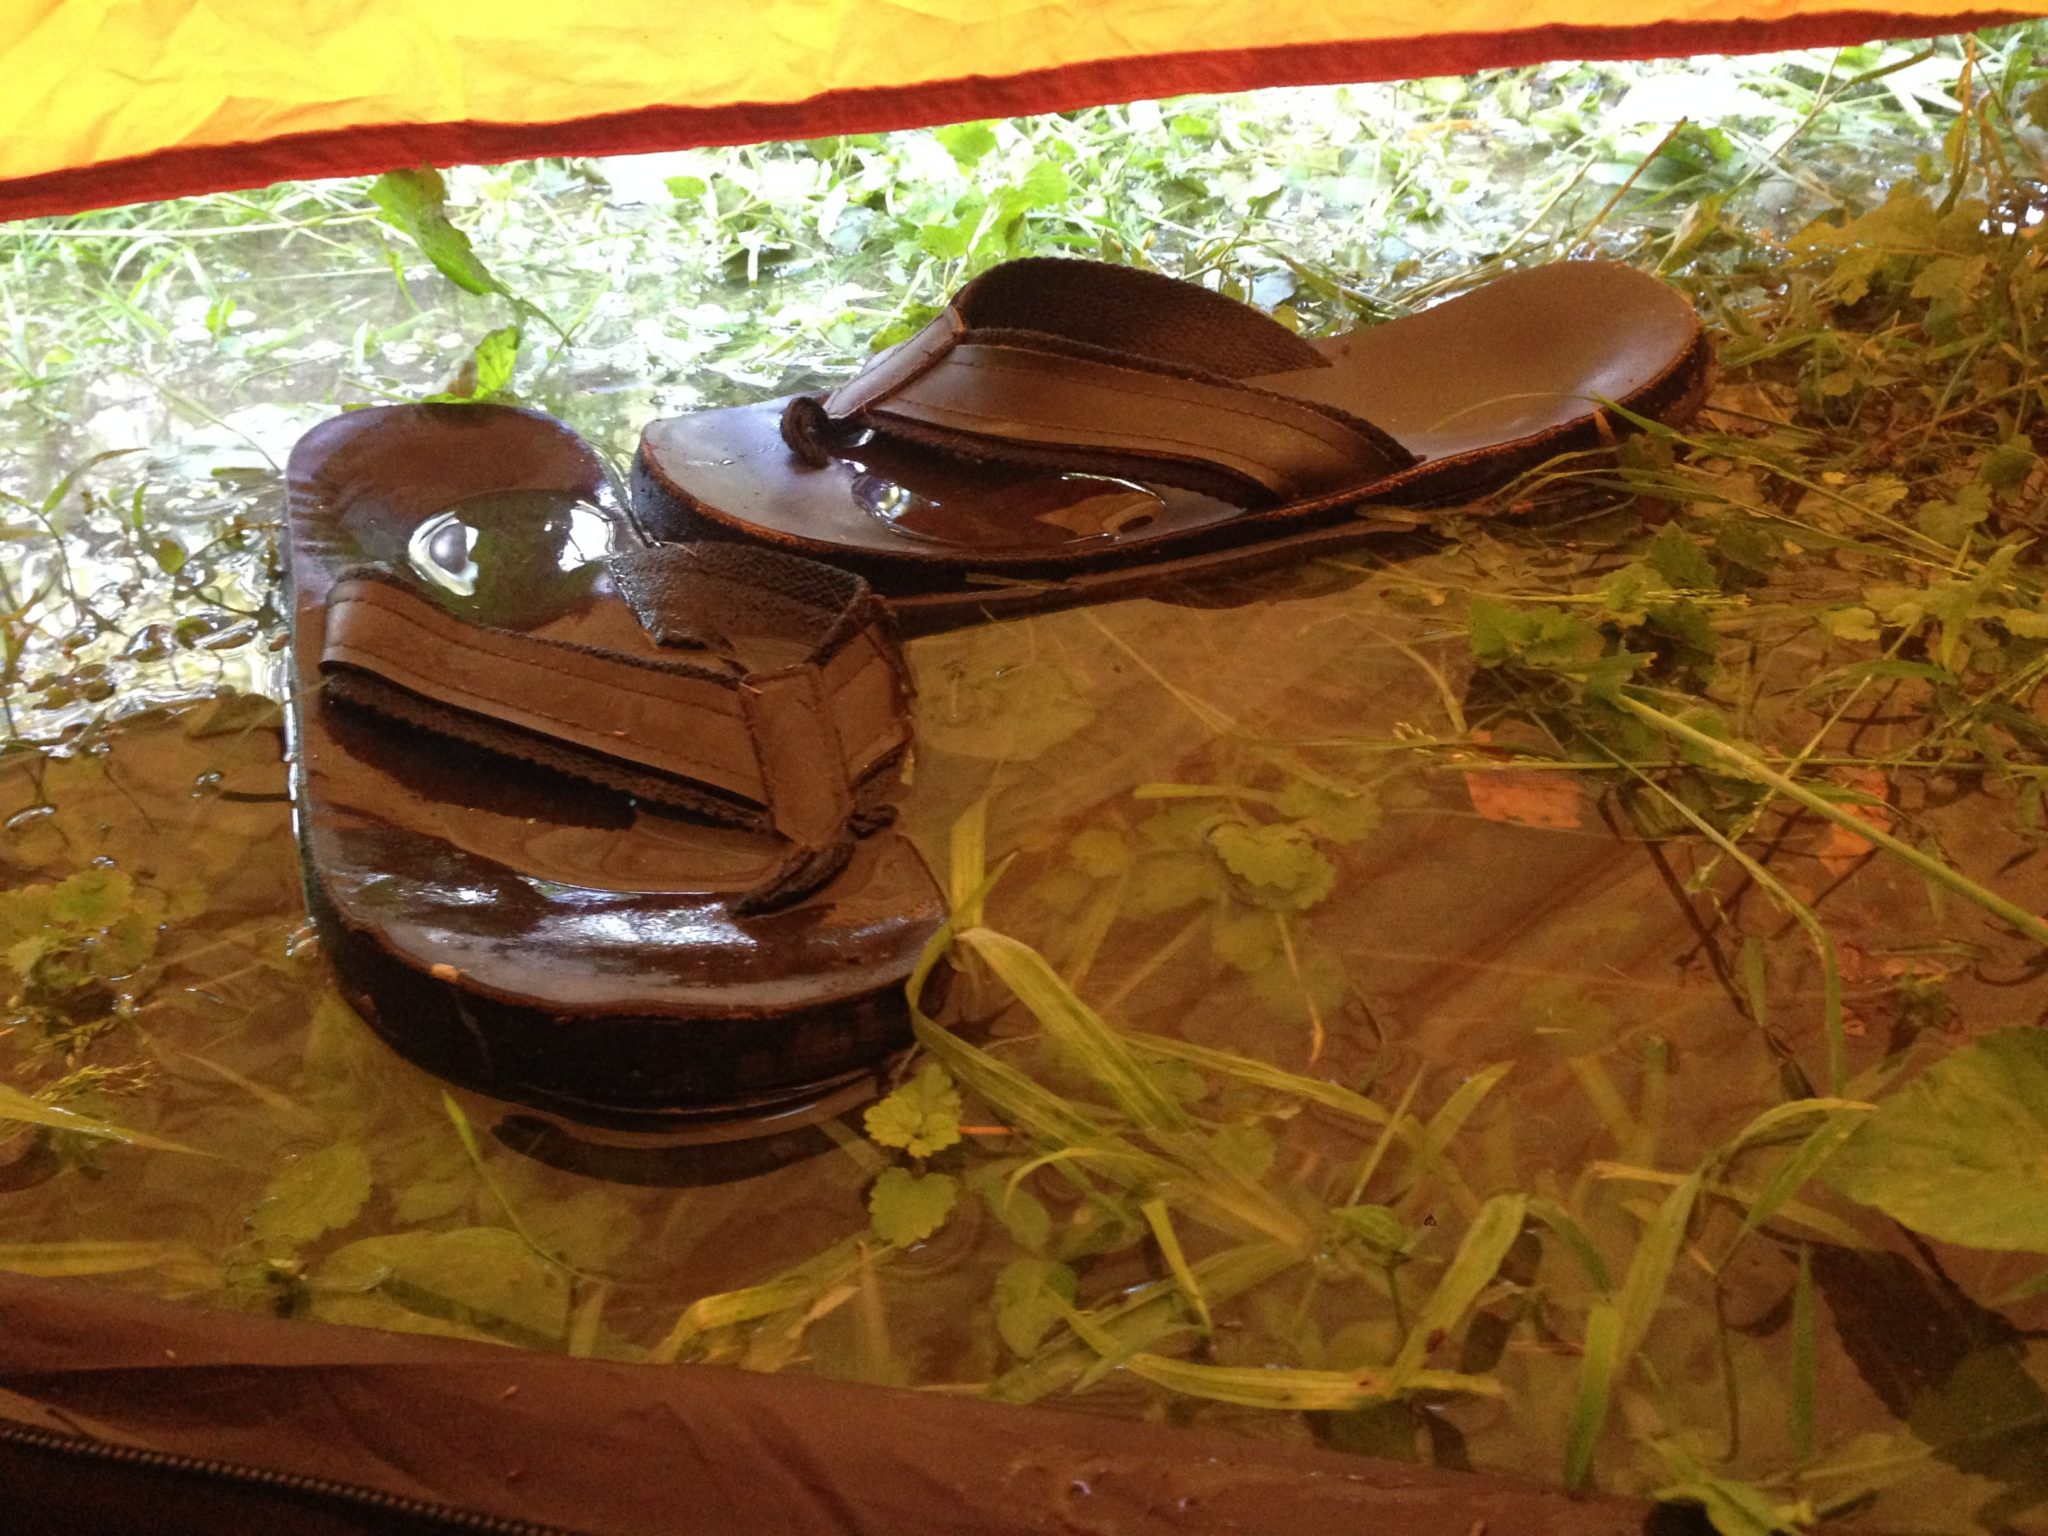
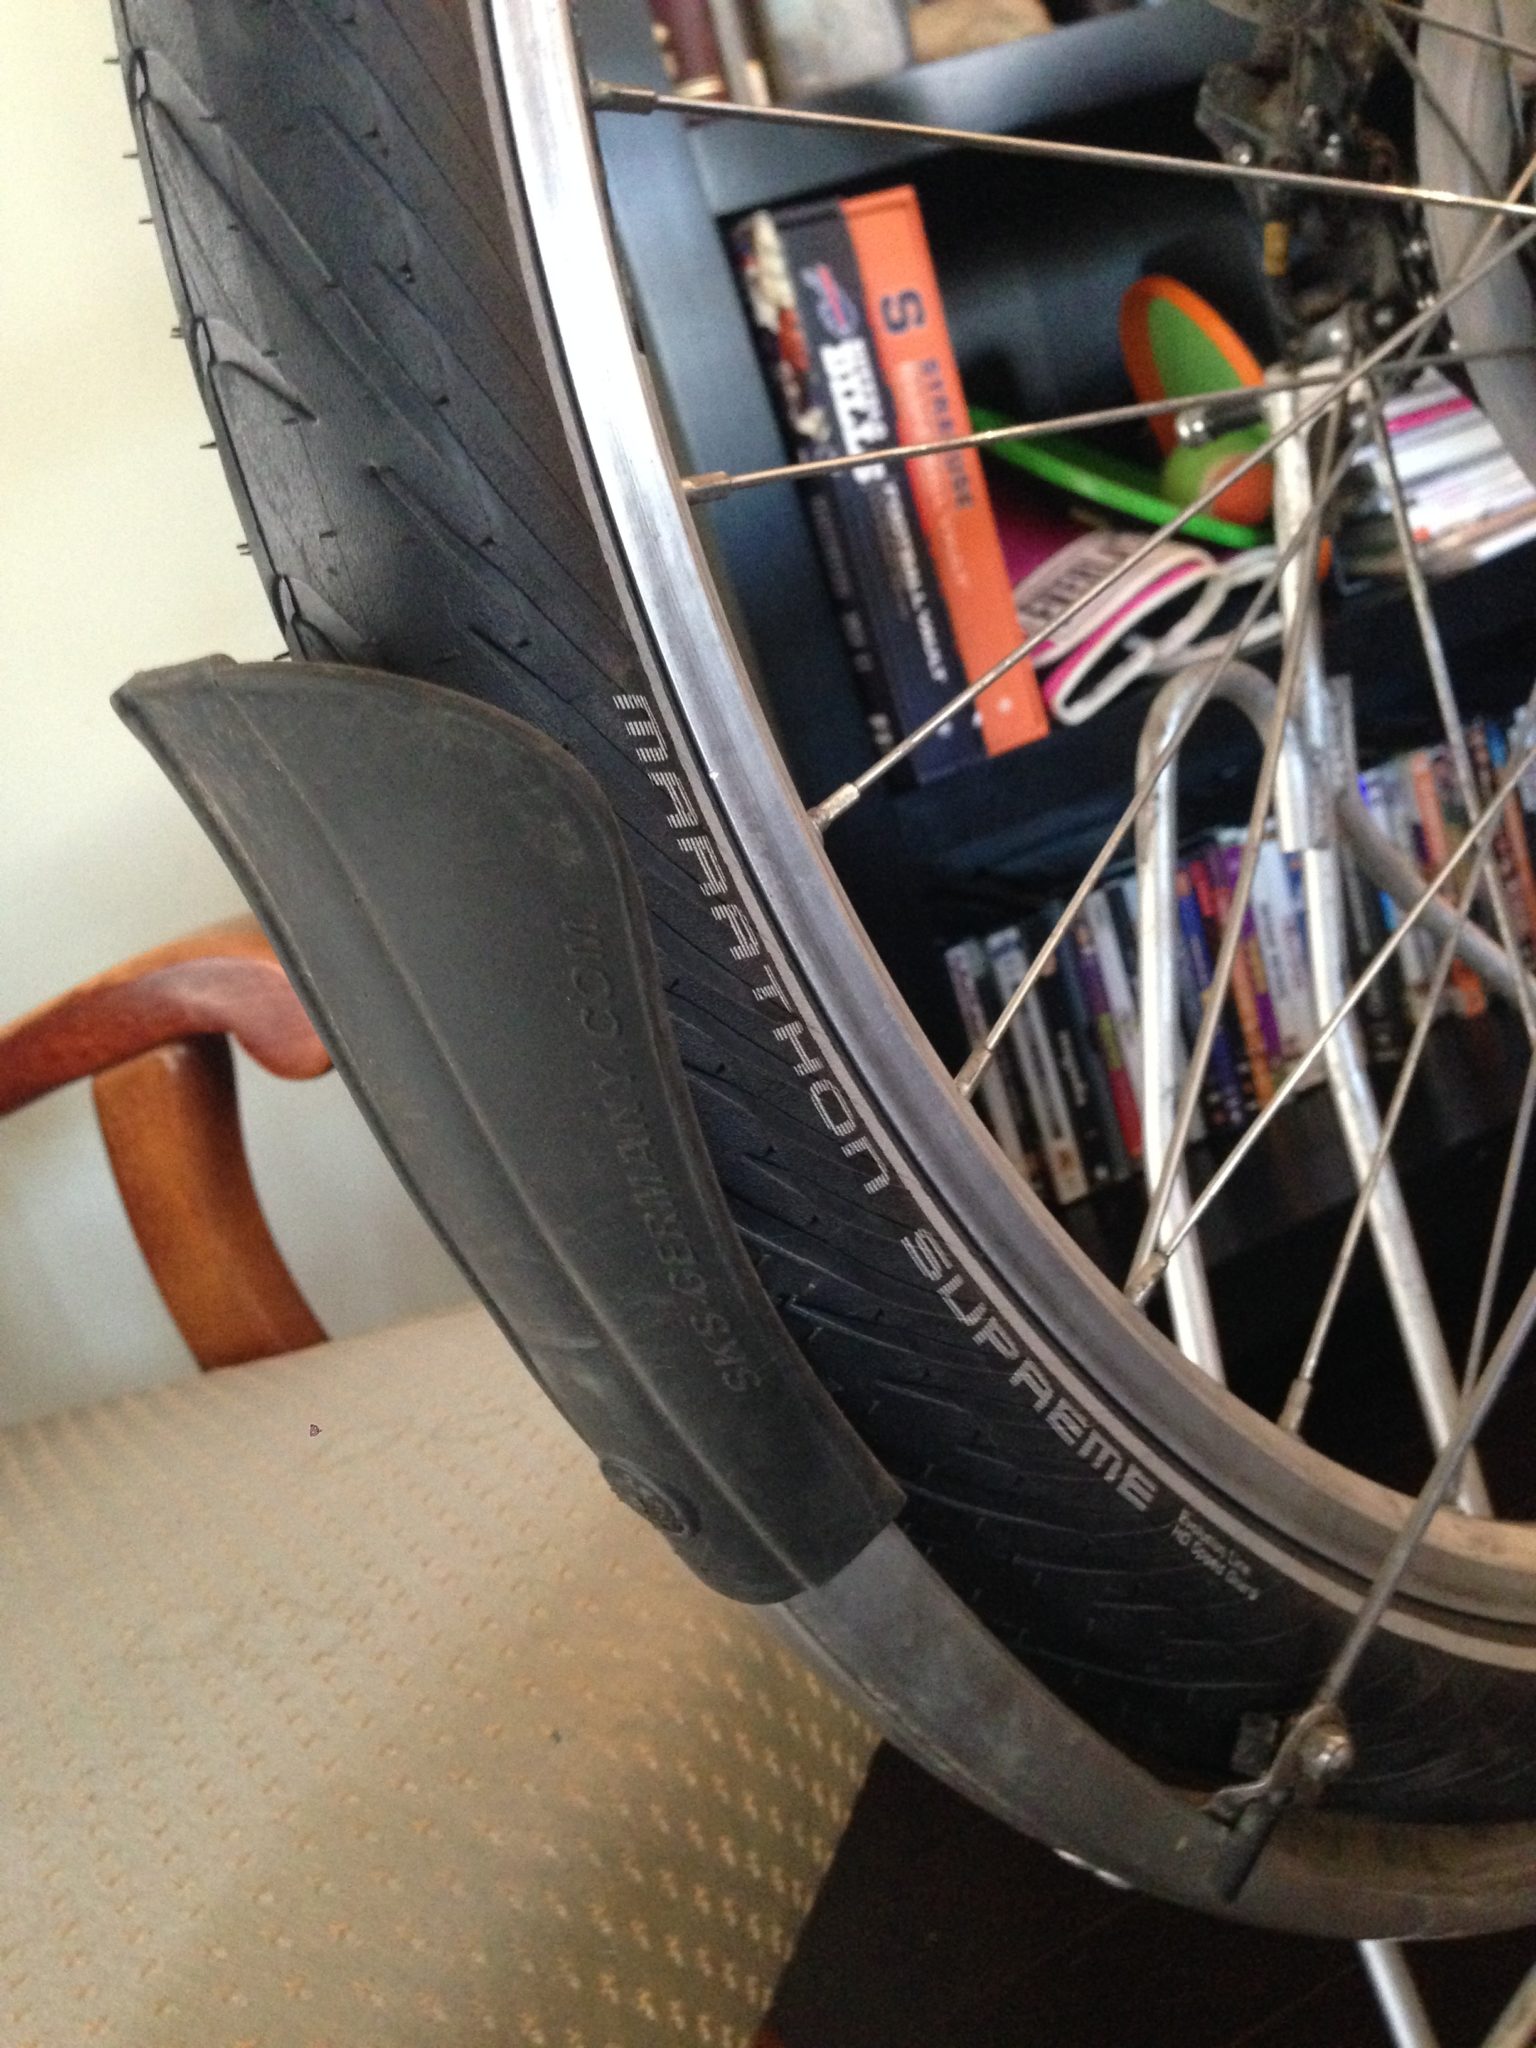
We knew it was going to rain, but we got lucky in the sense that it held off until well after packing up. In fact, it even held off til the moment we started rolling. For the next 8 consecutive hours, however, the skies opened up and a steady hard rain accompanied us up the 1% incline for the next 45 miles. As hills go, this barely registers… but the constant nature of the climb on muddy trail made for tough, slow going. MJ was on fat tires so he had a much easier way of it. I was on touring tires that weren’t skinny by any stretch, however I can now confirm that proper tire inflation makes a big difference… because my rear tire wasn’t retaining much in the way of air.

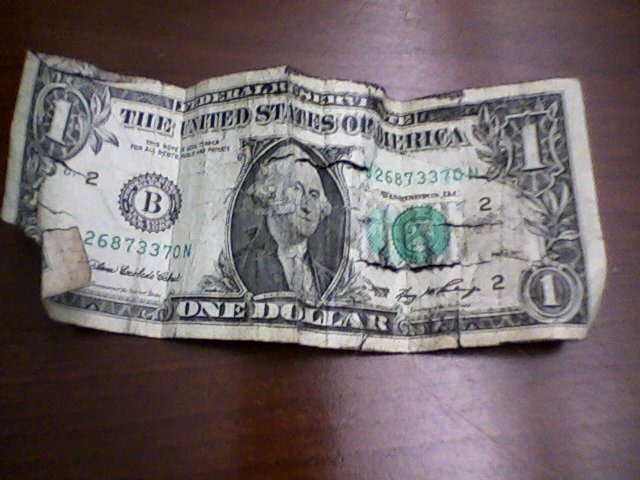
Long story short, the rear tire had been compromised after a couple of seasons of touring and a fall’s worth of exposure on the bike rack of an RV during Tranquility Tour. I began losing air as a slow leak, but was able to pump it up every 10 miles or so. Around 30 miles into the day, the tire gave with a loud gunshot sound. MJ was well ahead and I discovered when quickly switching out the tube that the sidewall of the tire had a massive tear in it. I used the dollar bill trick I linked to from my emergency repair post, but it didn’t hold. The new tube burst from the tear like a hernia. In retrospect, if I had been a little more patient and less intent on catching up with MJ, I might have been able to successfully boot that tear. However, I chose to remove the brake pad fro the side of the herniation, and drop the pressure down to get rolling.

The long slog on a flat tire was hard on my right knee – I developed patellar tendonitis that has taken a few days to heal up. It feels like sharp stabby pains on the top of the knee cap – the same pain you get when your saddle is a bit low.

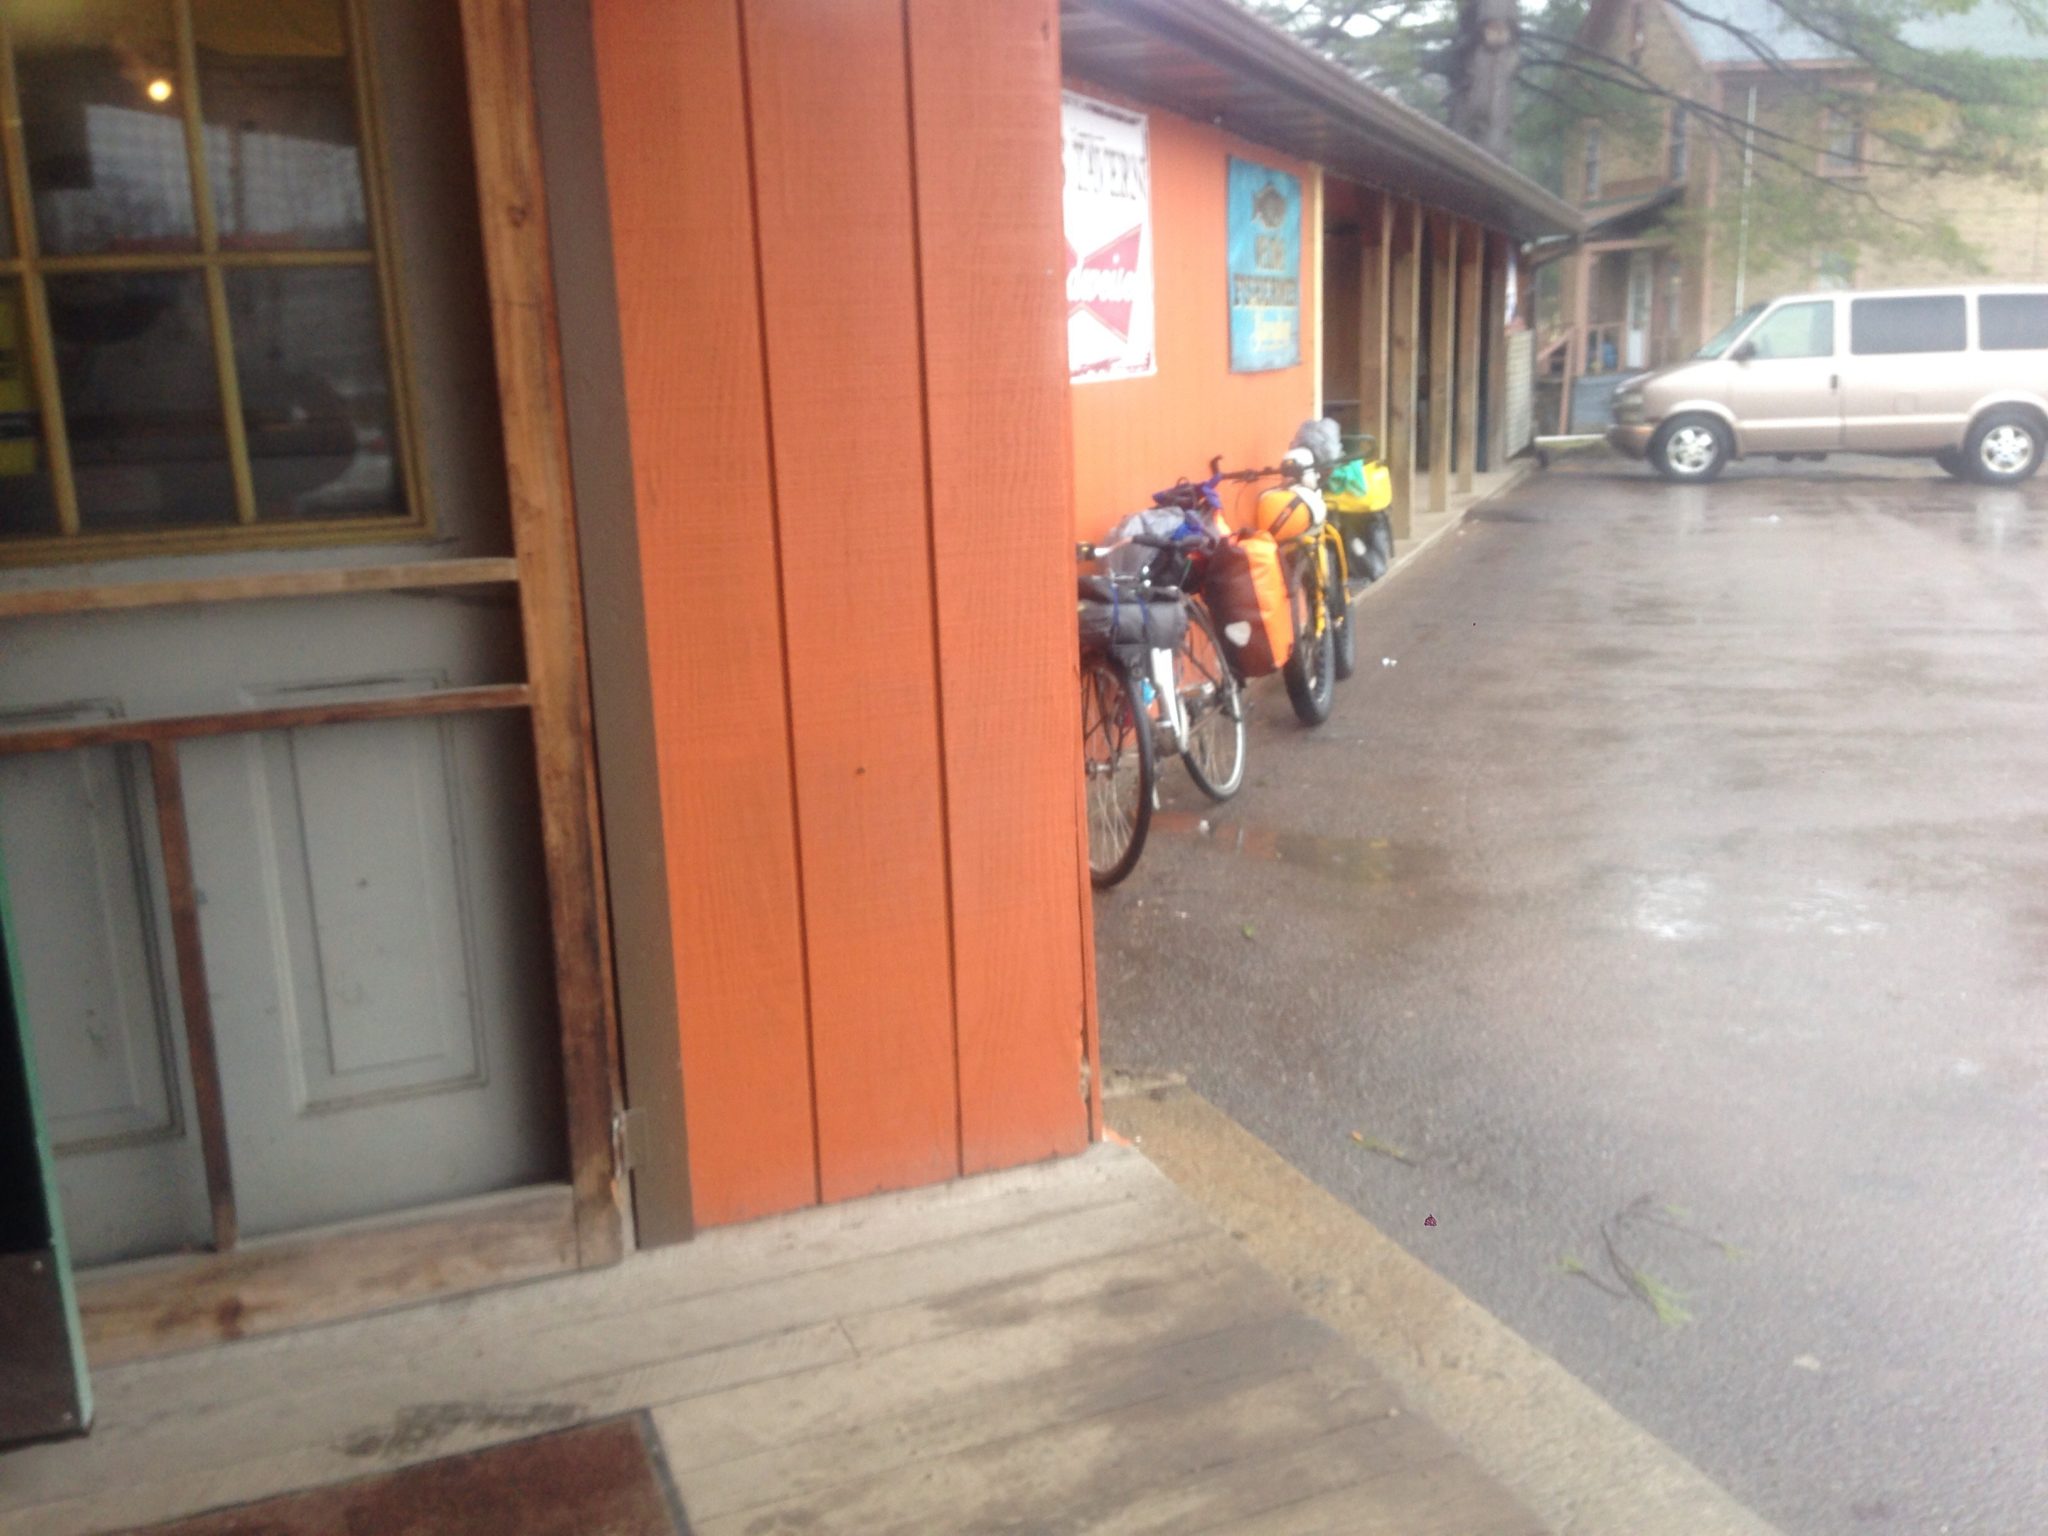
An hour behind MJ, I eventually caught up at the top of the hill 7 long miles later – the Eastern Continental Divide. I showed him my issue and we tried plans A-D (“what? I only have 1 inch of duct tape?! WTF!?”). Right before we were about to roll the unmistakable hiss of the last of the tire pressure met our ears. With the sun setting in about 90 minutes and no real option to fix the tube properly with measly patch kits (much less the tire tear), we decided to hotel it 9 miles downhill in Frostburg. MJ rode on as I vowed to push my bike there in about 3 hours.

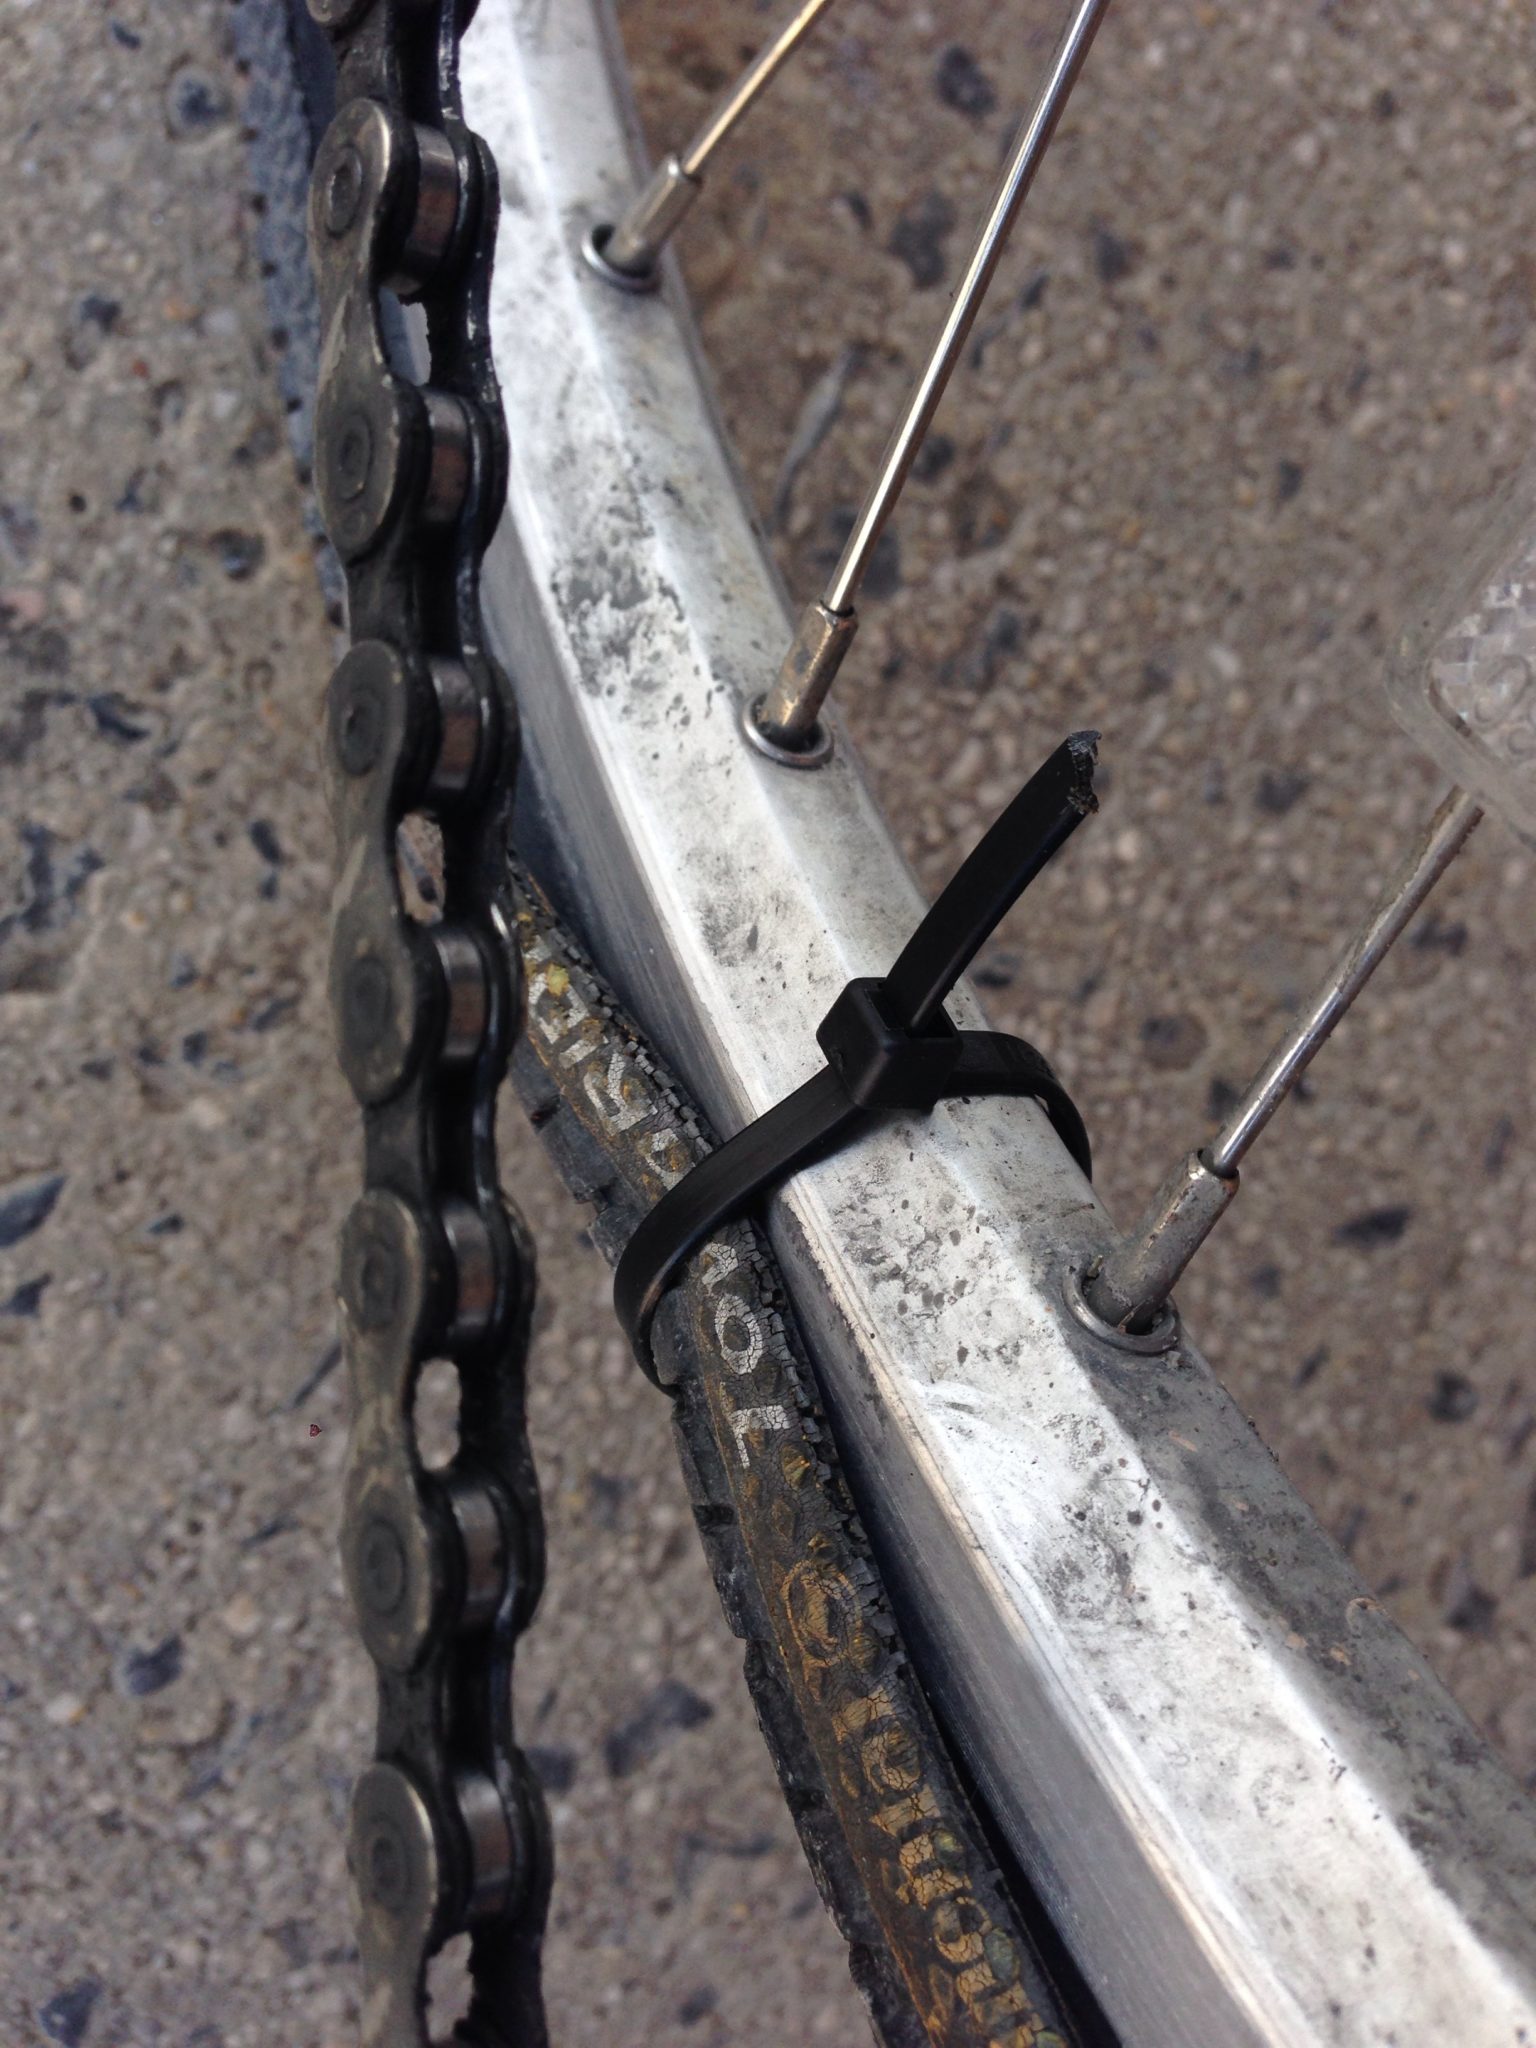
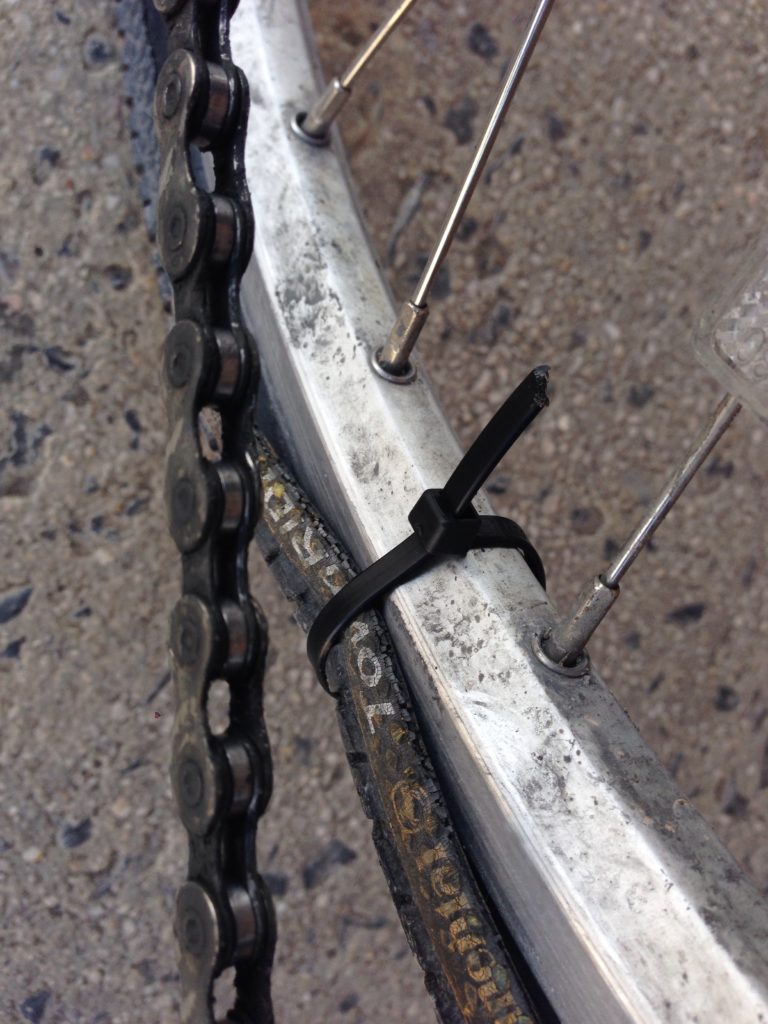
About an hour into the push, and with the sun rapidly setting I remembered the old trick for better traction on ice… zip ties. When that came to mind I realized I could ride on the flat tire and keep it on the rim, protecting it somewhat, if I ziptied the tire securely on the wheel. Minutes later I was texting MJ as I was coasting down the trail. I made it to the hotel just after sundown.

zip tie fix

My knee was causing me a fair amount of pain, and after a bad batch of wings at a pizza place, and the discovery that the college town had no bike shop, I knew I might need to call the tour in nearby Cumberland. Although there’s a good bike shop there, the C+O historically has worse conditions, and my knee was not prepared to slog through more soft trail. So, I booked a train back and left my bike at the bike shop to get some repairs done.

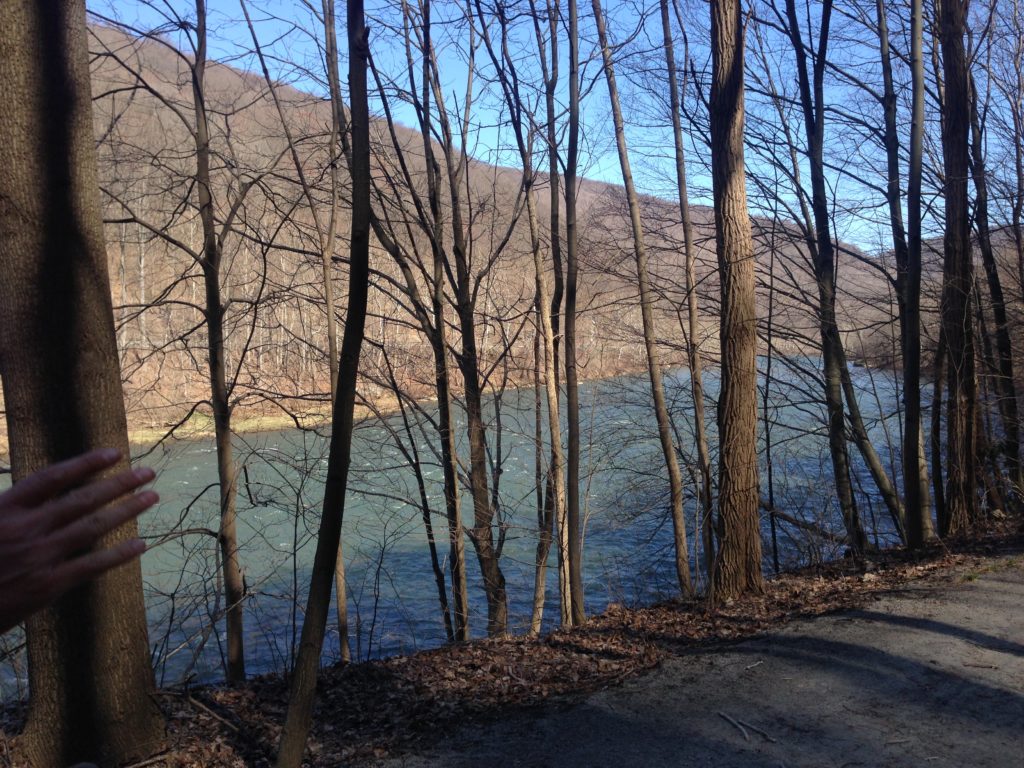
MJ rode on and reported conditions were dry and enjoyable (no more rain for the rest of his ride). My train ride back taunted me with over 60 miles of views of the C+O looking very rideable. My knee would let my head and ego know that the additional 184 miles would not have been pleasant. I’m still not sure which of these anthropomorphized entities  won the argument over whether quitting was the right bet.

So, that’s the story.

Tomorrow, the takeaways, including what I think about the GAP.

Friday, did the unanticipated expenses cost more than I made in my pedalpreneur challenge?

GAP mileage marker

Great Allegheny Passage spring bike tour: lessons + more

Bike tours are sometimes more about the lessons than starting and finishing when and where you intend. This tour is certainly no exception.

If you followed the pedalshift twitter feed, you already know my #PGHtoDC hashtag wasn’t much of a prediction. I had a major tire malfunction on one of the rainier days I’ve ever toured. I biked uphill in the mud about 7 miles on a practically flat tire, then downhill an additional 9 (again in the mud) essentially on one full front tire, and the rear rims. My knee bore the brunt of it all.

There are all sorts of lessons from this bike tour, and I intend to spend the next few blog posts going over them all. I also have an update on the pedalpreneur aspect – remember I was intending on spending less on the tour than I was making renting my place? More to come on that!

Next posts, all coming this week

The full story – the GAP, the weather, the equipment fails

Takeaways – equipment repairs, upgrades and planning

Did my tour make money or did the costs exceed my rental?