In this chapter I’ll run down the lessons and takeaways from the spring bike tour: what I think of the GAP, the choices I made and the subjects I intend to learn more about.
Rating the GAP
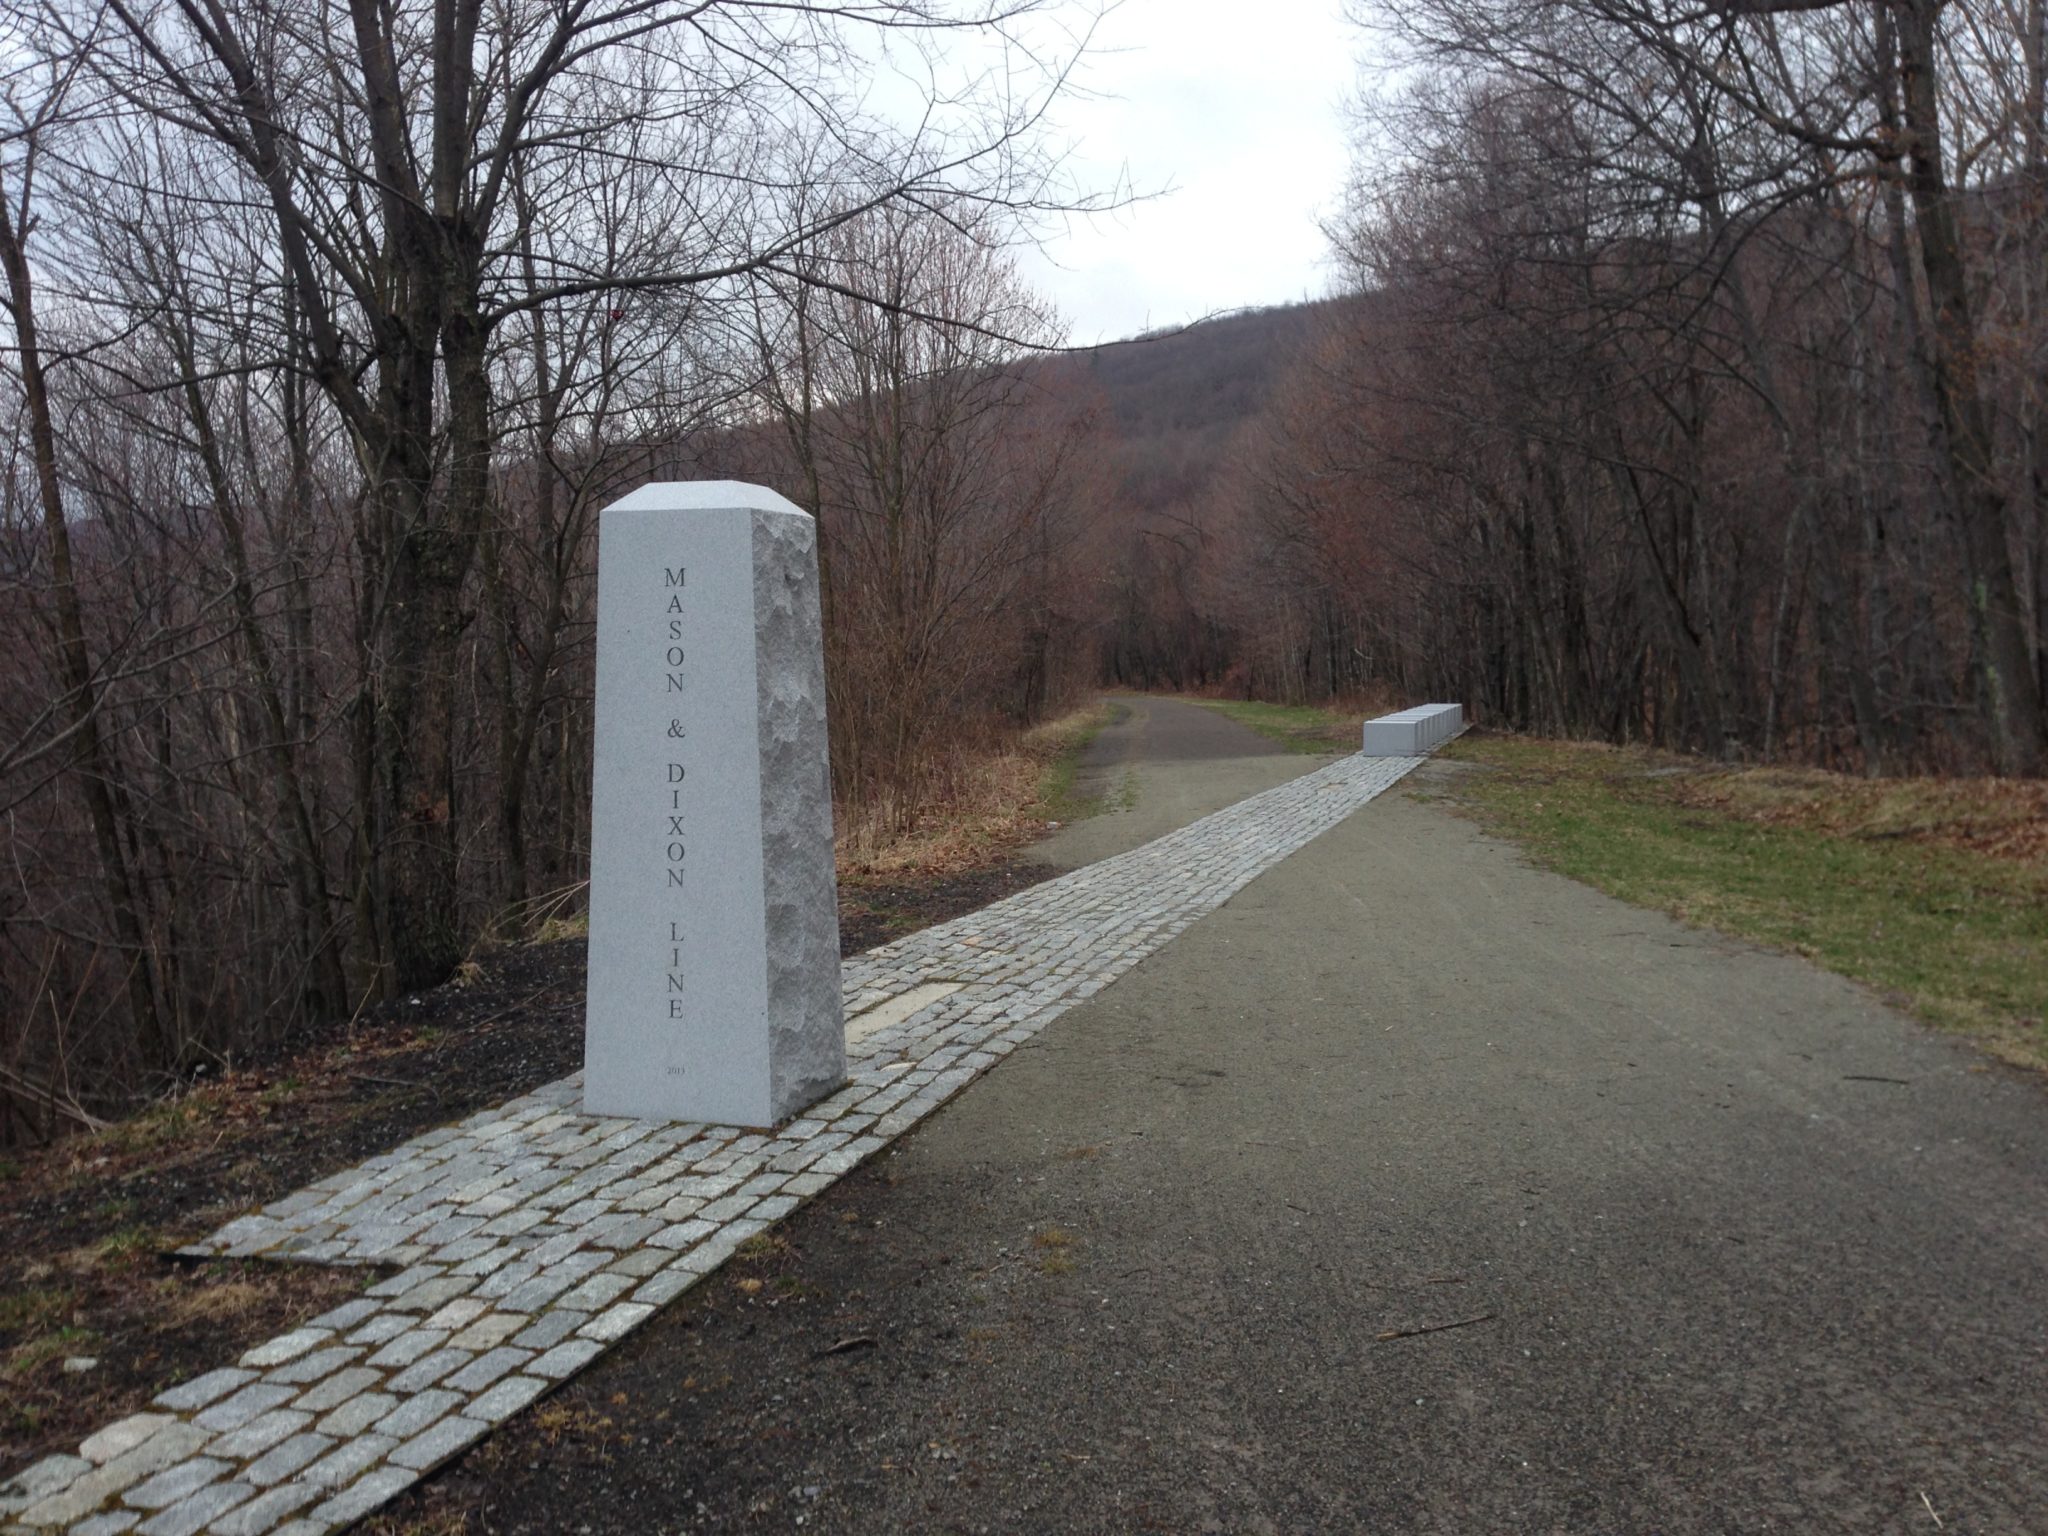
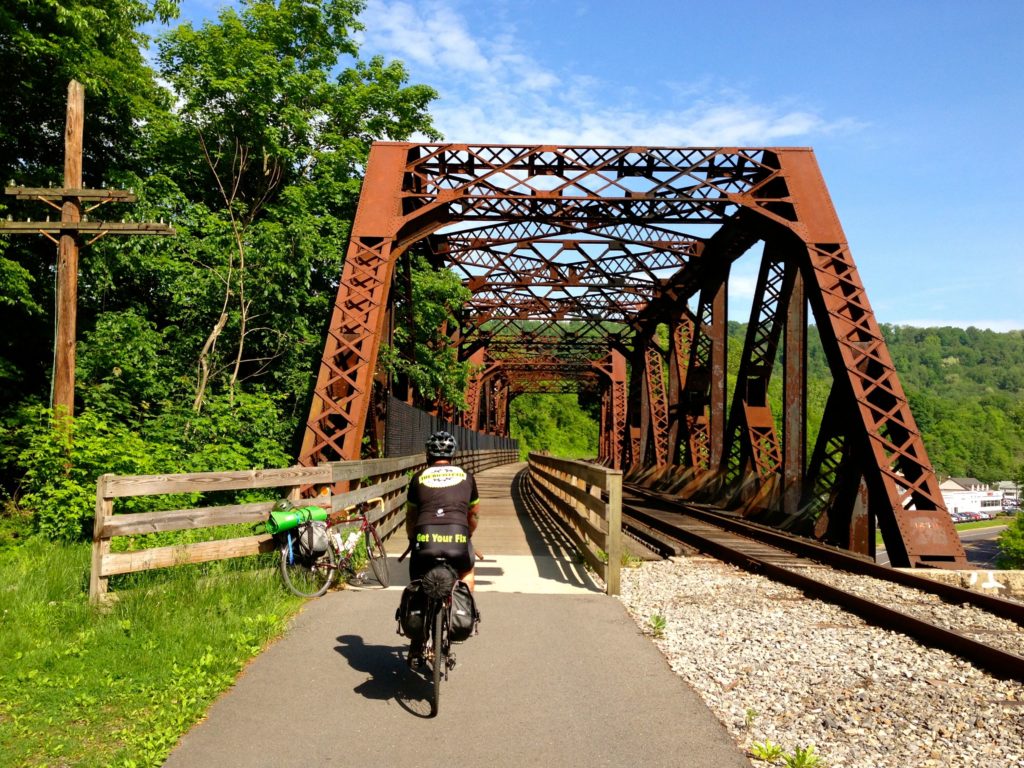
I like the GAP, but I don’t love it. It’s picturesque, and has a fun route. It has the challenging climb as a component and the surface is largely quite nice. The camping options are good (amazing in some cases – see the rundown in Chapter 1 on the first night) but not as plentiful as the C+O. For a linear trail it is terribly signed, particularly closer to Pittsburgh. Those sections are newer, so I suspect it’s all a work in progress. I guess I’m a C+O guy since I reside most of the time within a few miles of it in DC and WV.
My gear
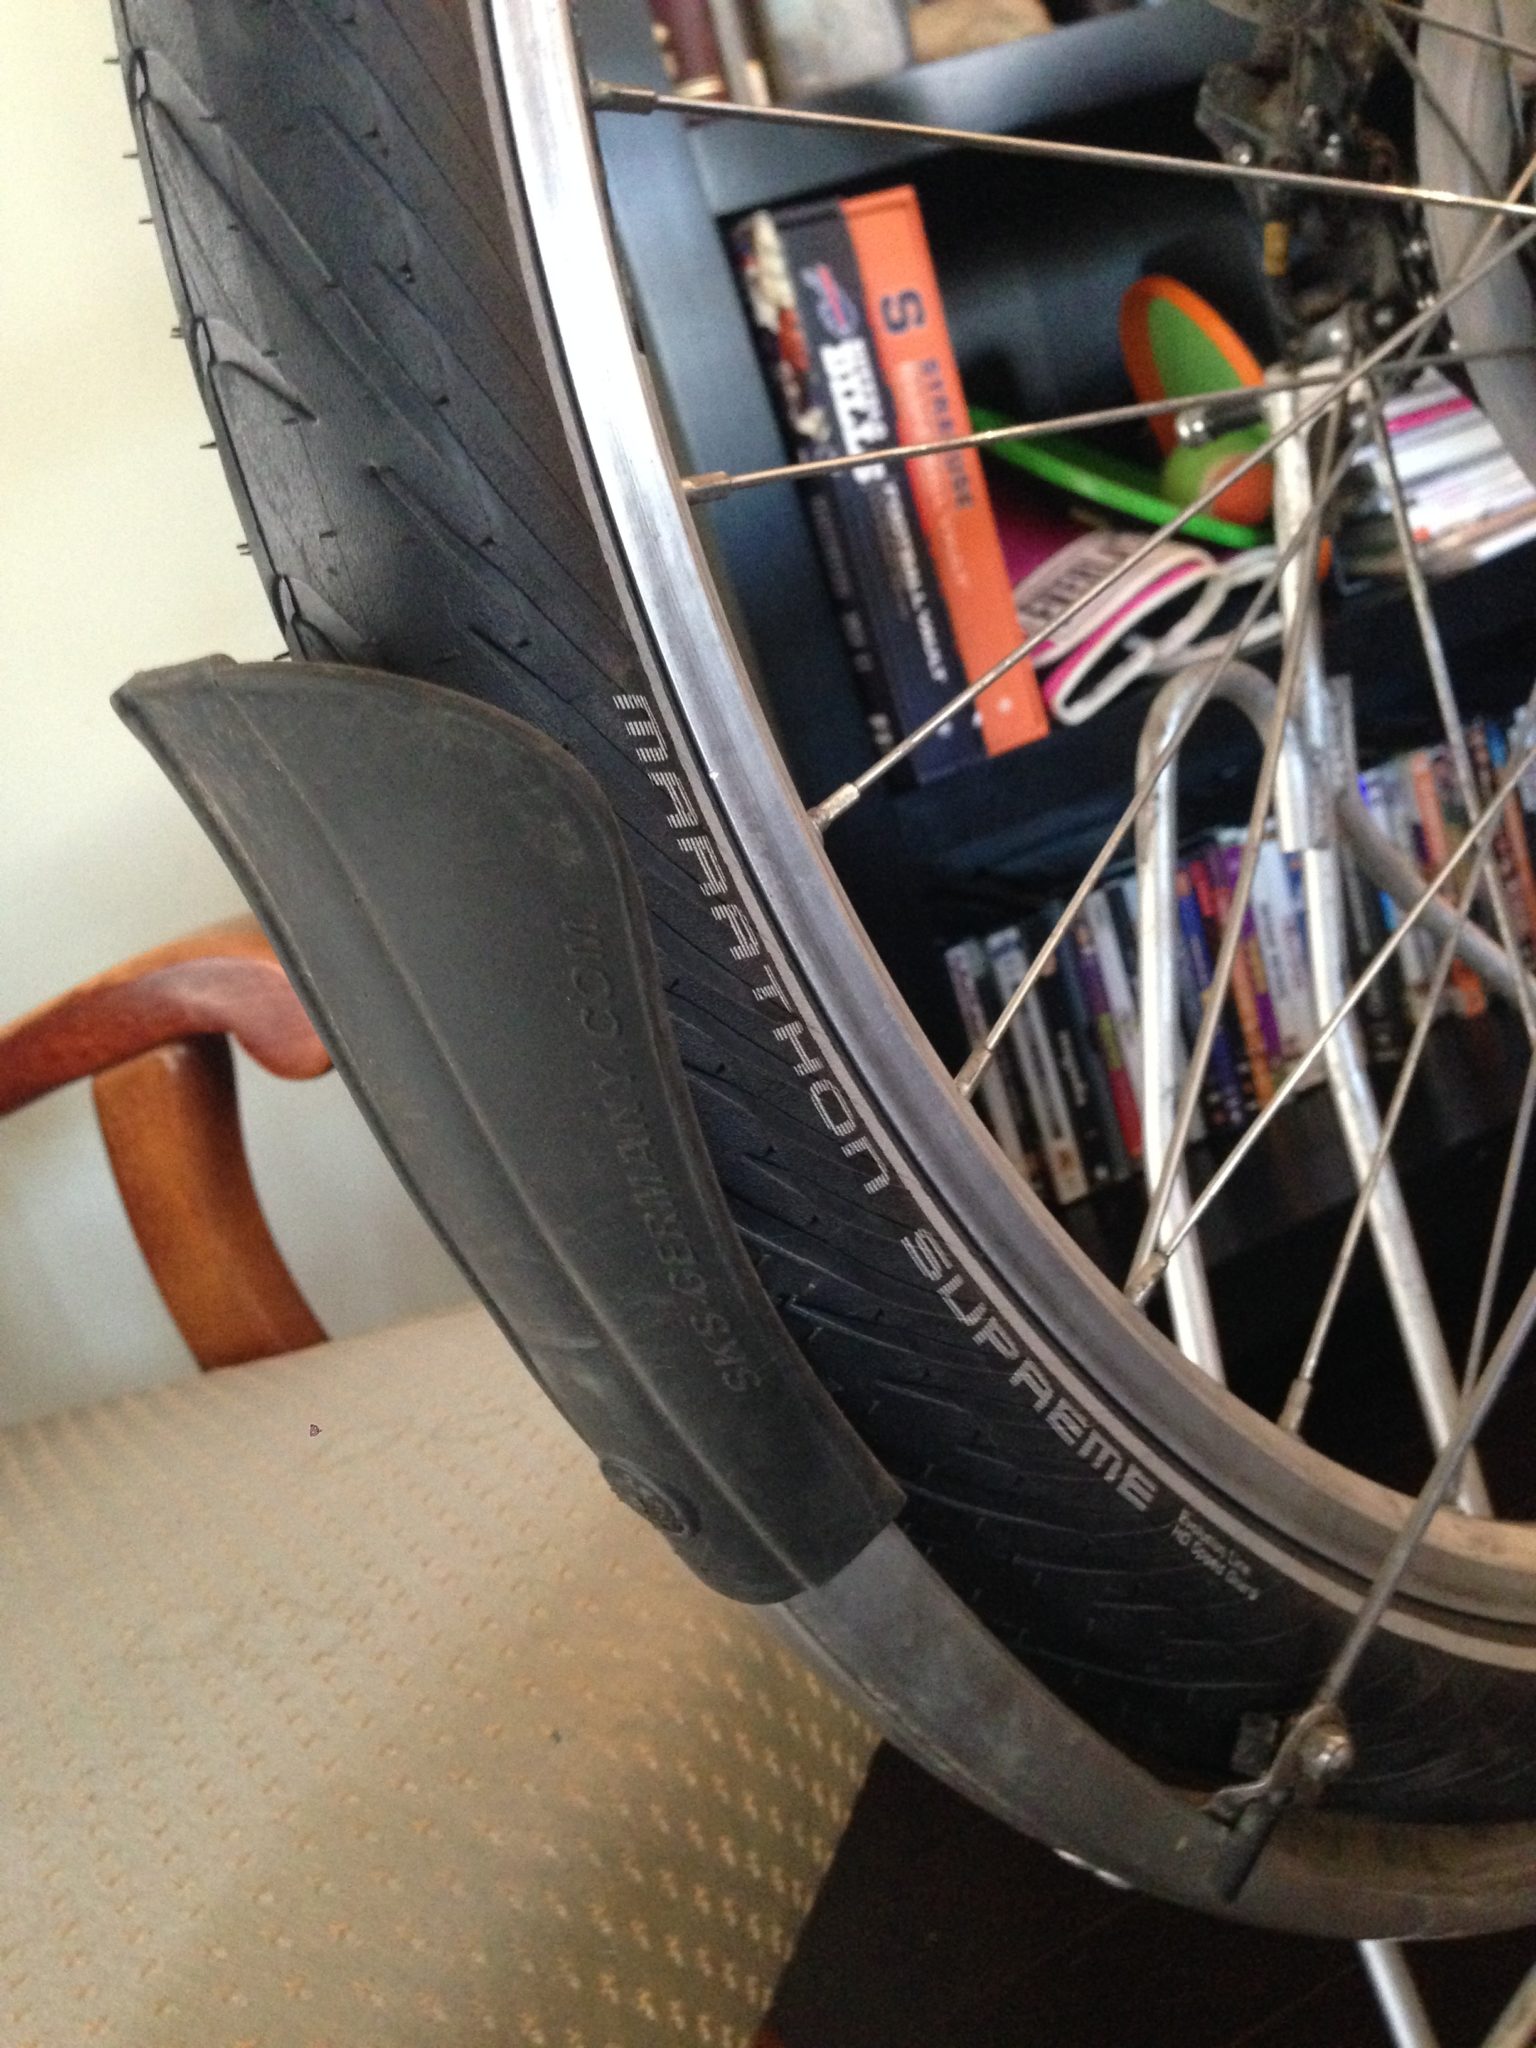
Given the tire debacle, it’s clear I need to spend more time before the tour checking for possible wear. I believe the tire degradation was something I might have discovered ahead of time, and would have prompted me to replace the tires before the trip. I had intended to make the change after, and that clearly cost me half the tour. In addition to the tire issues, some of my waterproof gear was less than waterproof due to pinholes in panniers and drybags. I’ve invested in Tenacious Tape to seal all of these up. A pre-ride check would have helped keep my gear dryer.
I’m on the continuing trend towards taking less gear and replacing what I have with lighter options. I can continue to reduce my gear bulk and weight. I mentioned my stove experiment, and I had better luck with my Esbit titantium stove than my DIY alcohol stove. I’ll keep tinkering.
My choices

I’m largely ok with the choices I made, but I think two areas could have been better:
– I needed to be more patient with repair attempts on the tire. I’m pretty sure if I had sat and just thought about things for a few minutes I would have had more patience to take the tire off again and make a more resistant repair to the tire before it degraded. I’m pretty impressed the wheel handled all the rim riding I did (fully loaded too!) but I bet if I hadn’t been in such a rush to catch up with MJ, I might have been able to boot the tire and inflate the tube. Speaking of, I found these great tire boots I’m intending to ride with from now on – they’re analogous to big tube patch kits.
– This is the second tour I had to quit on because I didn’t have enough time to finish. A half day or zero mile day could have saved this tour, but I couldn’t have reasonably returned to DC in time to afford that. From now on, I hope to be more flexible to avoid the disappointment and cost of a bailout.
Continuing education
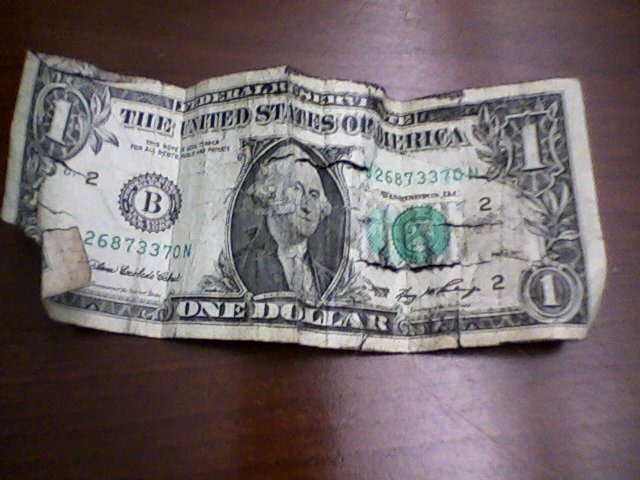
I’ve enjoyed learning about emergency trailside repairs lately (see my recent emergency repairs post) and the “dollar bill trick” as I call it definitely helped keep the herniating tube from bursting right away as I pedaled uphill. That said, I think I want to have even more emergency hack techniques at my disposal to solve problems long enough to get me to the next bike shop. I have to say, I’m happy my memory of using zip ties for snow traction helped me come up with a way to keep my tire on my rims as I made the last 9 miles to the next town before sundown. But there’s always more to learn.
Tomorrow… with all the drama and the extra expense, did I still manage to pay for the entire bike tour by renting my place out? The pedalpreneur challenge meets simple arithmetic, revealing the answer!
—
I was pretty happy to see ACA retweeted yesterday’s post, so if you’re new to PedalShift, welcome! Read more about what this is all about here.