Home » bicycle touring blog

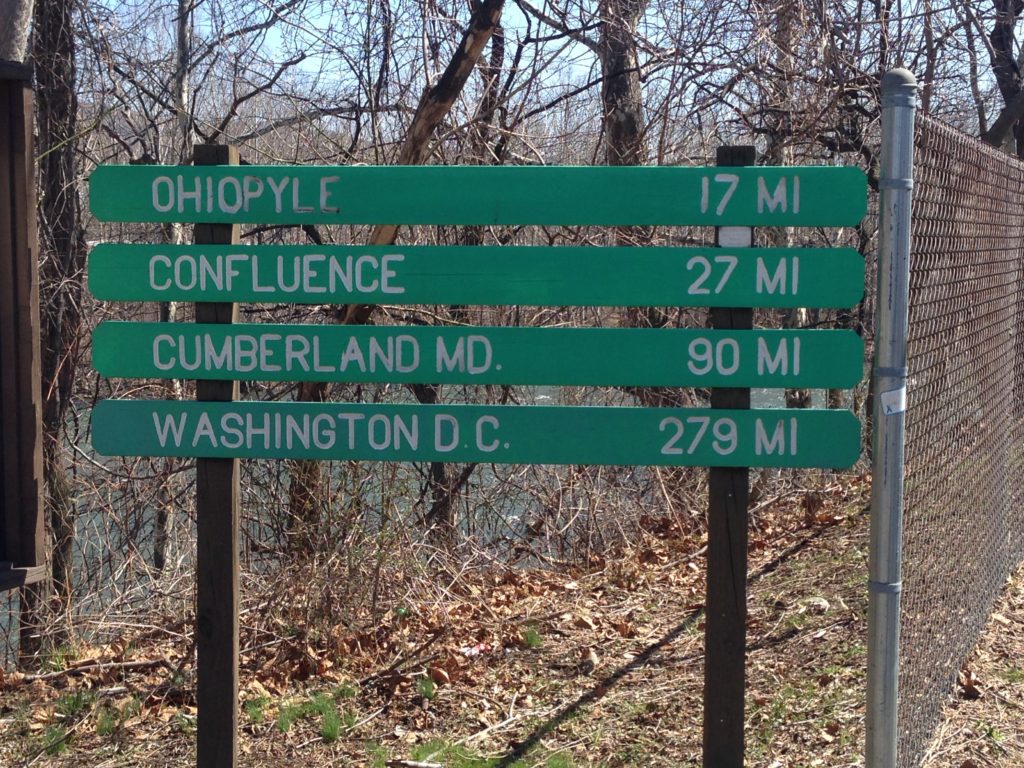
GAP and C+O signpost Cumberland, MD

Spring bike tour on the GAP, Chapter 3: Finances

You may remember the pedalpreneur challenge: I rented my cabin out for a portion of the time I was on tour on the Great Allegheny Passage last week… did that mean this tour made money? To the toteboard!

Total net revenue from rental (after cleaning costs) = $348

50% one-way car rental to Pittsburgh = $108.50

cost of food = $53.16

50% of gas = $32.15

campsites for two nights = $0

50% of hotel in Frostburg = $35

If you count the tour over after I rolled into Cumberland, it’s a total profit of $119.19…. buuuuut, there’s the little issue of transporting myself back to DC and the need to delay one more night because of the train schedule:

hotel in Cumberland = $91

Amtrak to DC = $35

This puts me over by a total of $6.81. So, it’s official… my tour did NOT make money, and is firmly in the red by about 7 bucks.

But was that really the point? Hardly. Consider the alternative… my cabin sits vacant for the time I’m not even there. My trip costs me a ton more than $7 AND let’s not forget the additional equipment costs I’m taking on in new tires. (I don’t include those in the trip costs because I had intended to replace those tires after the ride.) So, by being creative and taking advantage of property I have and don’t intend to use while on tour, I’m supporting my bike touring lifestyle. I very well may have made a few bucks if I avoided hotels, blown out tires and Amtrak tickets… maybe next time!

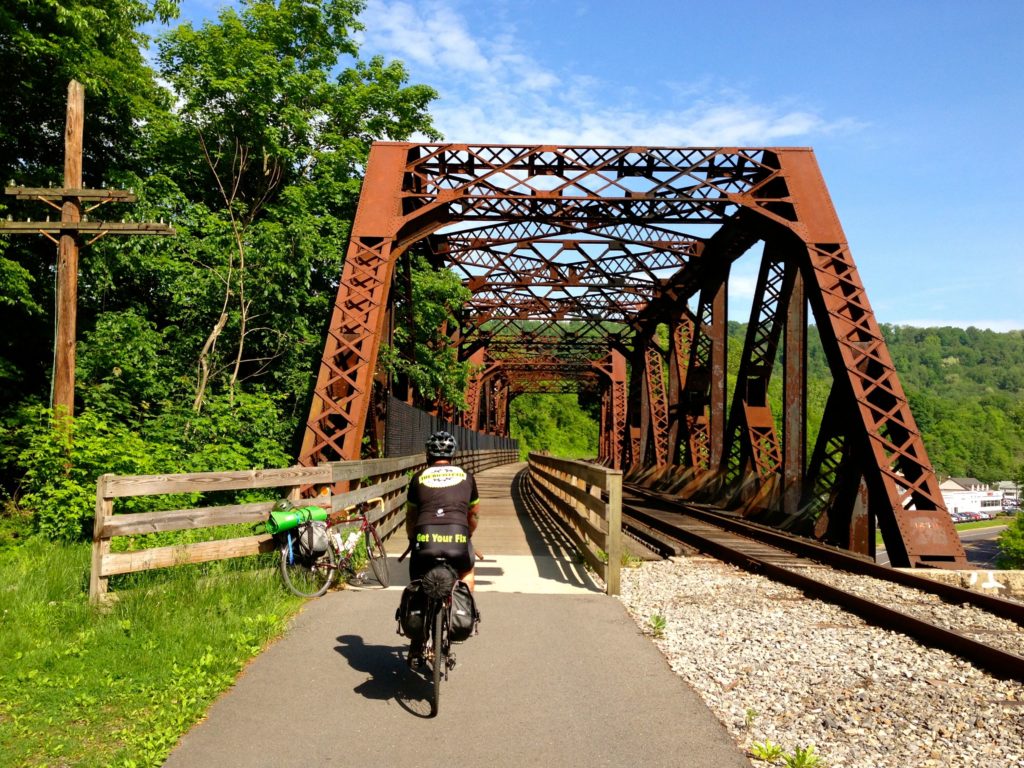
GAP bridge

Spring bike tour on the GAP, Chapter 2: takeaways

In this chapter I’ll run down the lessons and takeaways from the spring bike tour: what I think of the GAP, the choices I made and the subjects I intend to learn more about.

Rating the GAP

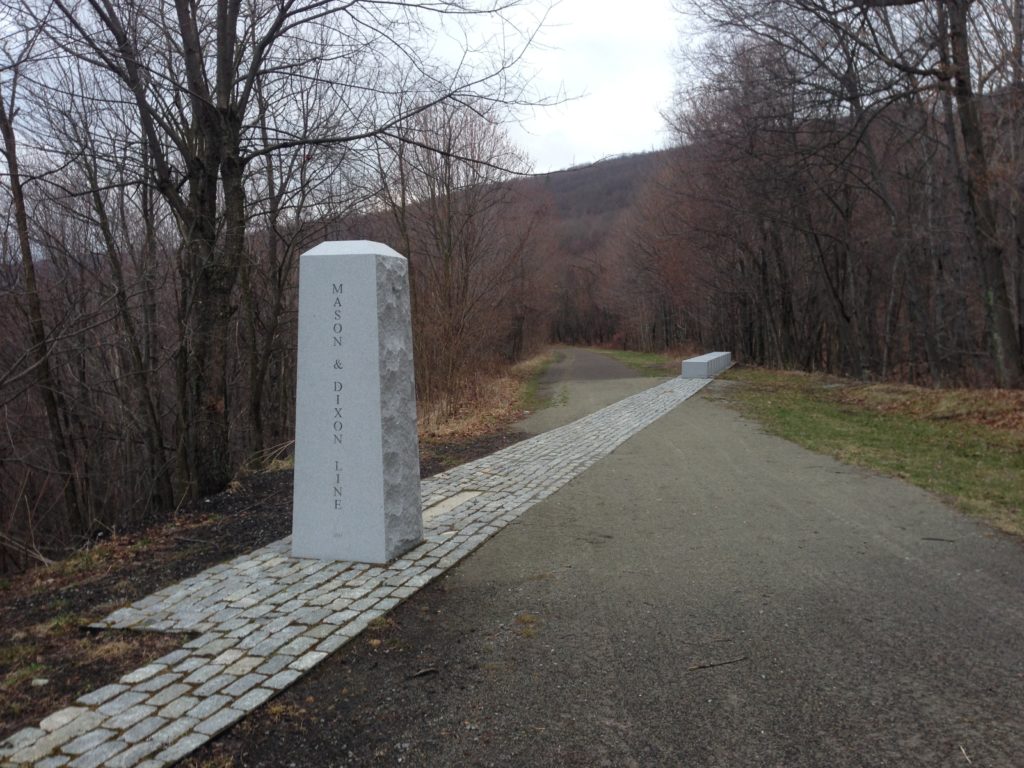
Mason Dixon Line on the GAP

I like the GAP, but I don’t love it. It’s picturesque, and has a fun route. It has the challenging climb as a component and the surface is largely quite nice. The camping options are good (amazing in some cases – see the rundown in Chapter 1 on the first night) but not as plentiful as the C+O. For a linear trail it is terribly signed, particularly closer to Pittsburgh. Those sections are newer, so I suspect it’s all a work in progress. I guess I’m a C+O guy since I reside most of the time within a few miles of it in DC and WV.

My gear

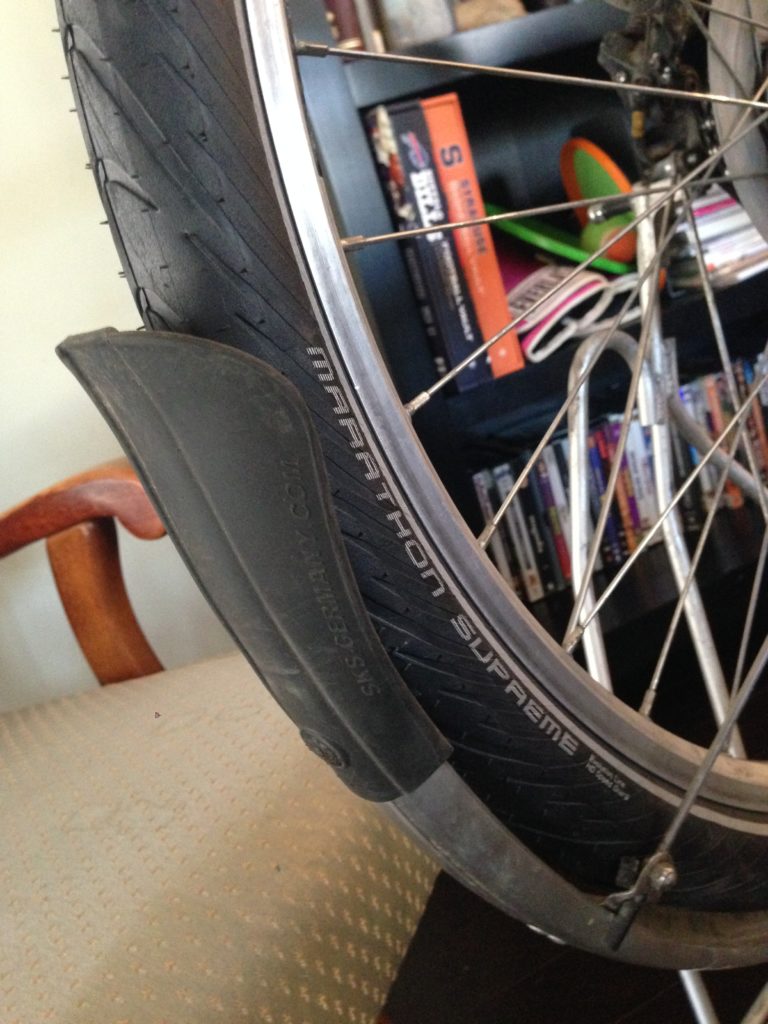
Schwalbe Marathon Supreme
Upgrading to Schwalbe Marathon Supremes

Given the tire debacle, it’s clear I need to spend more time before the tour checking for possible wear. I believe the tire degradation was something I might have discovered ahead of time, and would have prompted me to replace the tires before the trip. I had intended to make the change after, and that clearly cost me half the tour. In addition to the tire issues, some of my waterproof gear was less than waterproof due to pinholes in panniers and drybags. I’ve invested in Tenacious Tape to seal all of these up. A pre-ride check would have helped keep my gear dryer.

I’m on the continuing trend towards taking less gear and replacing what I have with lighter options. I can continue to reduce my gear bulk and weight. I mentioned my stove experiment, and I had better luck with my Esbit titantium stove than my DIY alcohol stove. I’ll keep tinkering.

My choices

choices

I’m largely ok with the choices I made, but I think two areas could have been better:

– I needed to be more patient with repair attempts on the tire. I’m pretty sure if I had sat and just thought about things for a few minutes I would have had more patience to take the tire off again and make a more resistant repair to the tire before it degraded. I’m pretty impressed the wheel handled all the rim riding I did (fully loaded too!) but I bet if I hadn’t been in such a rush to catch up with MJ, I might have been able to boot the tire and inflate the tube. Speaking of, I found these great tire boots I’m intending to ride with from now on – they’re analogous to big tube patch kits.

– This is the second tour I had to quit on because I didn’t have enough time to finish. A half day or zero mile day could have saved this tour, but I couldn’t have reasonably returned to DC in time to afford that. From now on, I hope to be more flexible to avoid the disappointment and cost of a bailout.

Continuing education

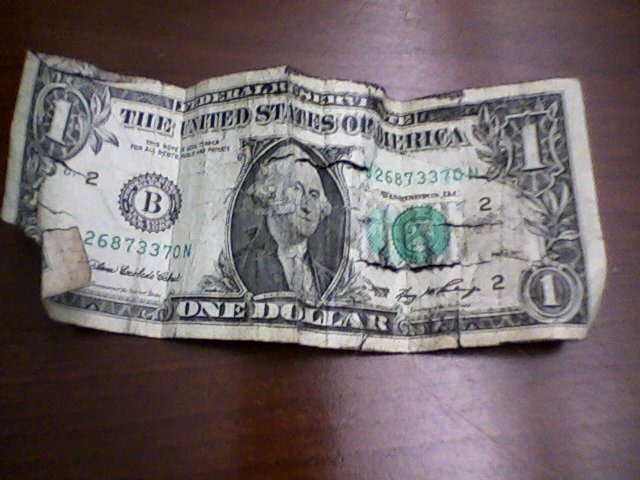
dollar bill boot
an actual dollar bill boot, image courtesy of teamestrogen.com

I’ve enjoyed learning about emergency trailside repairs lately (see my recent emergency repairs post) and the “dollar bill trick” as I call it definitely helped keep the herniating tube from bursting right away as I pedaled uphill. That said, I think I want to have even more emergency hack techniques at my disposal to solve problems long enough to get me to the next bike shop. I have to say, I’m happy my memory of using zip ties for snow traction helped me come up with a way to keep my tire on my rims as I made the last 9 miles to the next town before sundown. But there’s always more to learn.

Tomorrow… with all the drama and the extra expense, did I still manage to pay for the entire bike tour by renting my place out? The pedalpreneur challenge meets simple arithmetic, revealing the answer!

I was pretty happy to see ACA retweeted yesterday’s post, so if you’re new to PedalShift, welcome! Read more about what this is all about here.

Three Rivers, Pittsburgh

Spring bike tour on the GAP, Chapter 1: the trail, the weather + the equipment fails

In this chapter I’ll give a full overview of what happened on my spring bike tour: the original plan, the weather challenges, and the final equipment fail that led to an involuntary end to the trip.

The Great Allegheny Passage (GAP) begins in beautiful Pittsburgh, PA and winds about 150+ miles to beautiful Cumberland, MD. From there, the Chesapeake + Ohio towpath (part of the National Park Service) winds 184 miles to Washington, DC. It’s an amazing resource for bike touring, and I’m happy to say I’ve now biked every inch of it. Just… not all at once. More on that in a second.

I was joined on this trip with Mysterious James, or MJ as we like to call him around here. The idea was to do a full through tour from Pittsburgh to DC in 5 1/2 days. Day 1 was a short day to account for the drive from DC. We got a one-way car rental which turned out to be an efficient and cost-effective way to get us and the bikes from DC to downtown Pittsburgh, just a short ride from the start of the GAP.

Day 1

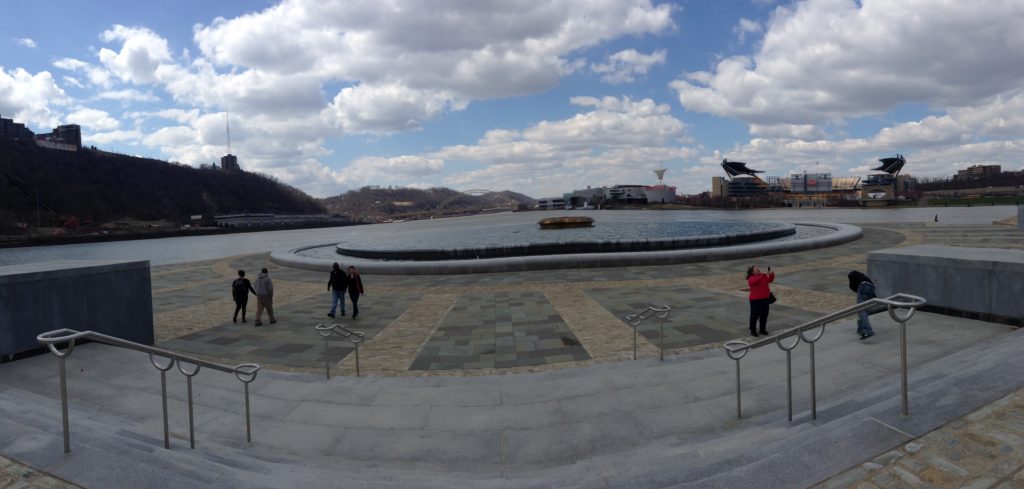
The confluence of the three rivers in Pittsburgh is a heck of a way to kick off a tour. From there, we rolled through an odd assortment of sidewalks, trails, backroads and other connectors to a truly spectacular campsite about 25 miles south of the city.
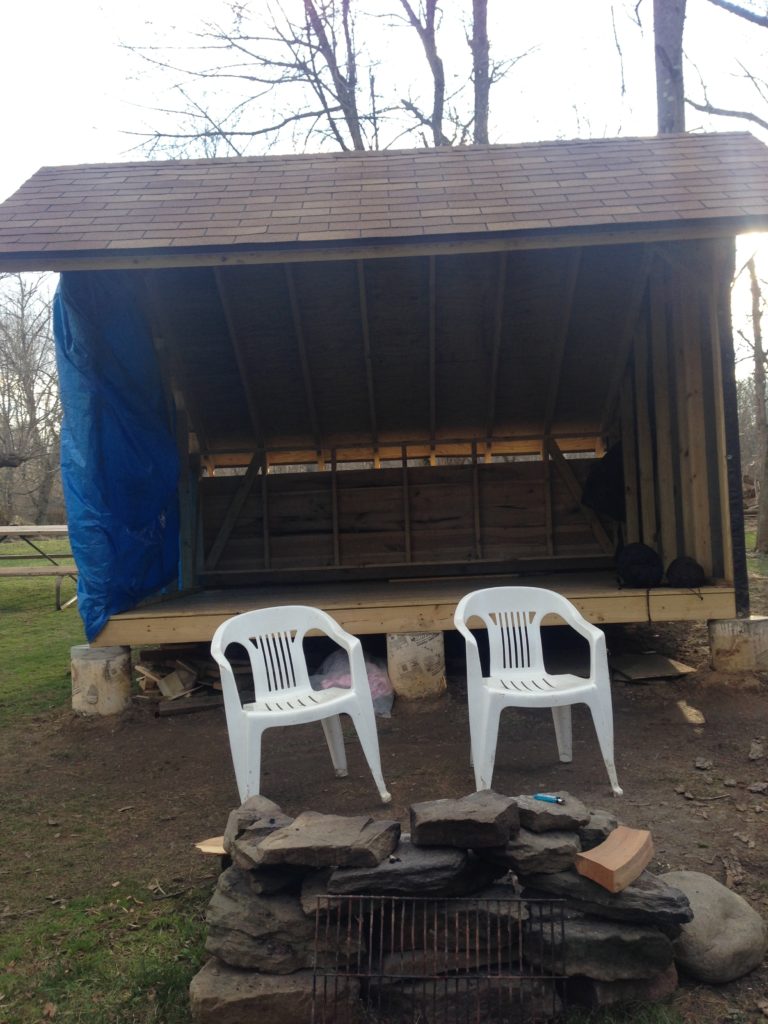
GAP campsite


This was, simply put, the best free privately run campsite either of us had ever stayed at. The adirondack was well-built, and there was abundant, free firewood. The plastic chairs were a really welcome touch too. Amazing resource!

The only complaint from Day 1 was the lack of adequate signage. On more than one occasion we questioned if we were still on the GAP, and the mile markers didn’t correspond well to the official route from the website. The campground, for instance, was 2 miles further than indicated… not ideal when you want to end the day. Of course once we got there, all was forgiven. Did I mention the free firewood?
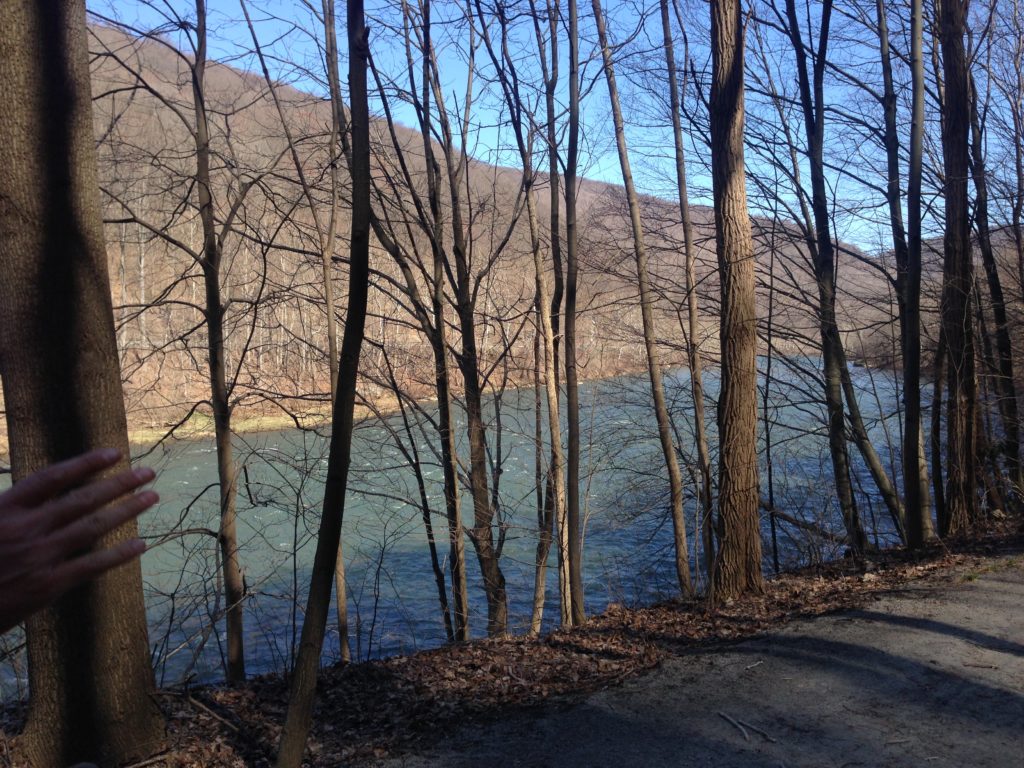
The Yough

Day 2

Day 2 was a 60 miler to Confluence, PA. Once we got out of the industrial outskirts of Pittsburgh into a more rural setting, we found the ride and the trail to be more enjoyable. A lot of the trail towns were as advertised – nice amenities and easy to get to from the path. Confluence was a bit of a disappointment given my expectations from the “word on the street.” It must be great on weekends, but on a Thursday, everything was closed. The Army Corps of Engineers campsite was open, except for the bathrooms… despite being fully lit inside. It was a bit odd, but this is early in the season, so no judgment. We were still basking in the glow of the first campground, after all.
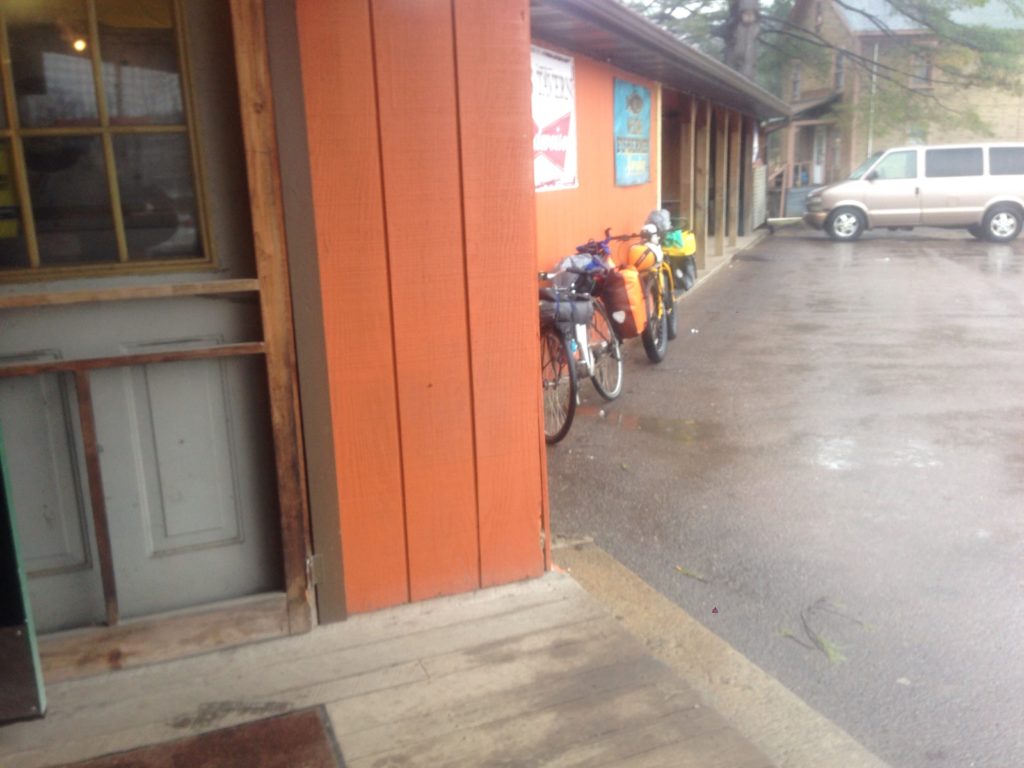
bikes in the rain

Day 3

We knew it was going to rain, but we got lucky in the sense that it held off until well after packing up. In fact, it even held off til the moment we started rolling. For the next 8 consecutive hours, however, the skies opened up and a steady hard rain accompanied us up the 1% incline for the next 45 miles. As hills go, this barely registers… but the constant nature of the climb on muddy trail made for tough, slow going. MJ was on fat tires so he had a much easier way of it. I was on touring tires that weren’t skinny by any stretch, however I can now confirm that proper tire inflation makes a big difference… because my rear tire wasn’t retaining much in the way of air.

Long story short, the rear tire had been compromised after a couple of seasons of touring and a fall’s worth of exposure on the bike rack of an RV during Tranquility Tour. I began losing air as a slow leak, but was able to pump it up every 10 miles or so. Around 30 miles into the day, the tire gave with a loud gunshot sound. MJ was well ahead and I discovered when quickly switching out the tube that the sidewall of the tire had a massive tear in it. I used the dollar bill trick I linked to from my emergency repair post, but it didn’t hold. The new tube burst from the tear like a hernia. In retrospect, if I had been a little more patient and less intent on catching up with MJ, I might have been able to successfully boot that tear. However, I chose to remove the brake pad fro the side of the herniation, and drop the pressure down to get rolling.

The long slog on a flat tire was hard on my right knee – I developed patellar tendonitis that has taken a few days to heal up. It feels like sharp stabby pains on the top of the knee cap – the same pain you get when your saddle is a bit low.

An hour behind MJ, I eventually caught up at the top of the hill 7 long miles later – the Eastern Continental Divide. I showed him my issue and we tried plans A-D (“what? I only have 1 inch of duct tape?! WTF!?”). Right before we were about to roll the unmistakable hiss of the last of the tire pressure met our ears. With the sun setting in about 90 minutes and no real option to fix the tube properly with measly patch kits (much less the tire tear), we decided to hotel it 9 miles downhill in Frostburg. MJ rode on as I vowed to push my bike there in about 3 hours.

About an hour into the push, and with the sun rapidly setting I remembered the old trick for better traction on ice… zip ties. When that came to mind I realized I could ride on the flat tire and keep it on the rim, protecting it somewhat, if I ziptied the tire securely on the wheel. Minutes later I was texting MJ as I was coasting down the trail. I made it to the hotel just after sundown.
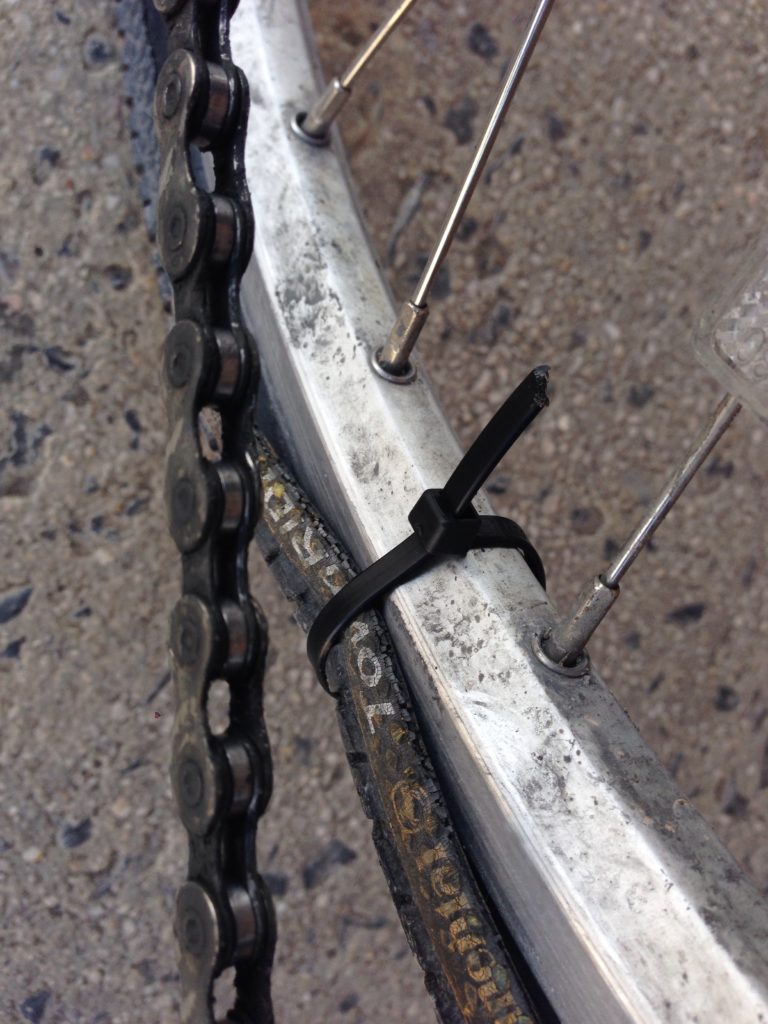
zip tie fix

My knee was causing me a fair amount of pain, and after a bad batch of wings at a pizza place, and the discovery that the college town had no bike shop, I knew I might need to call the tour in nearby Cumberland. Although there’s a good bike shop there, the C+O historically has worse conditions, and my knee was not prepared to slog through more soft trail. So, I booked a train back and left my bike at the bike shop to get some repairs done.

MJ rode on and reported conditions were dry and enjoyable (no more rain for the rest of his ride). My train ride back taunted me with over 60 miles of views of the C+O looking very rideable. My knee would let my head and ego know that the additional 184 miles would not have been pleasant. I’m still not sure which of these anthropomorphized entities  won the argument over whether quitting was the right bet.

So, that’s the story.

Tomorrow, the takeaways, including what I think about the GAP.

Friday, did the unanticipated expenses cost more than I made in my pedalpreneur challenge?
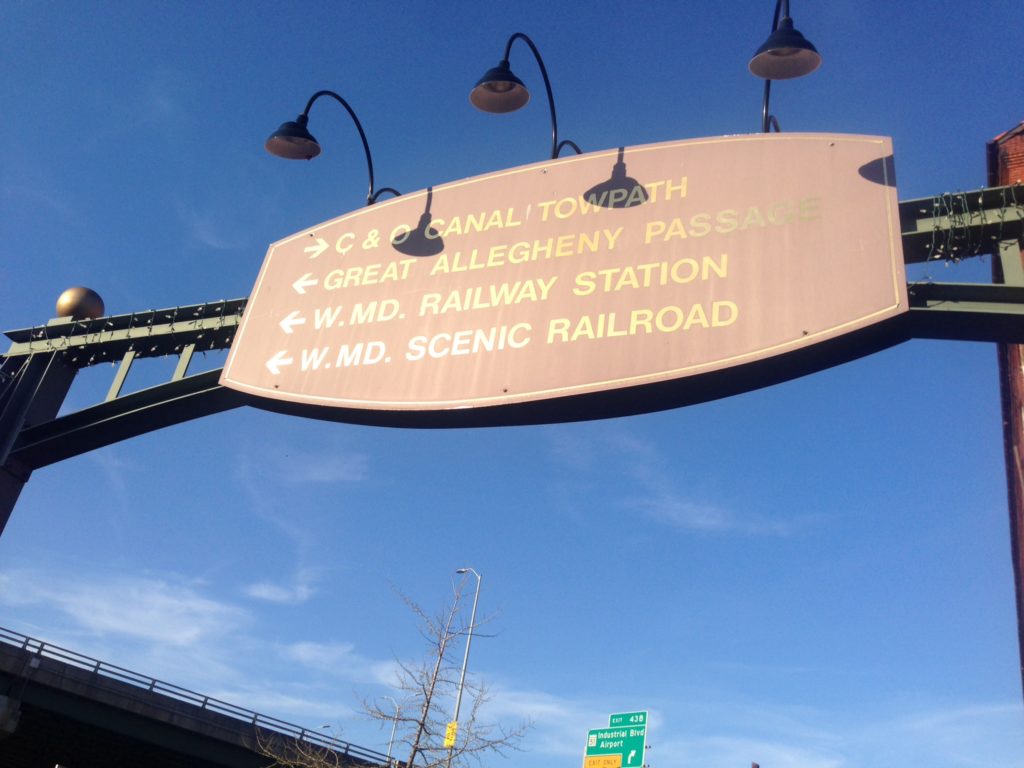
GAP mileage marker

Great Allegheny Passage spring bike tour: lessons + more

Bike tours are sometimes more about the lessons than starting and finishing when and where you intend. This tour is certainly no exception.

If you followed the pedalshift twitter feed, you already know my #PGHtoDC hashtag wasn’t much of a prediction. I had a major tire malfunction on one of the rainier days I’ve ever toured. I biked uphill in the mud about 7 miles on a practically flat tire, then downhill an additional 9 (again in the mud) essentially on one full front tire, and the rear rims. My knee bore the brunt of it all.

There are all sorts of lessons from this bike tour, and I intend to spend the next few blog posts going over them all. I also have an update on the pedalpreneur aspect – remember I was intending on spending less on the tour than I was making renting my place? More to come on that!

Next posts, all coming this week

The full story – the GAP, the weather, the equipment fails

Takeaways – equipment repairs, upgrades and planning

Did my tour make money or did the costs exceed my rental?


lit alcohol stove

A DIY alcohol stove for your next bikepacking tour

A can of beans and a candle tin plus a few well-placed drill holes can earn you a super-lightweight and very affordable camp cooking solution while on bike tour.

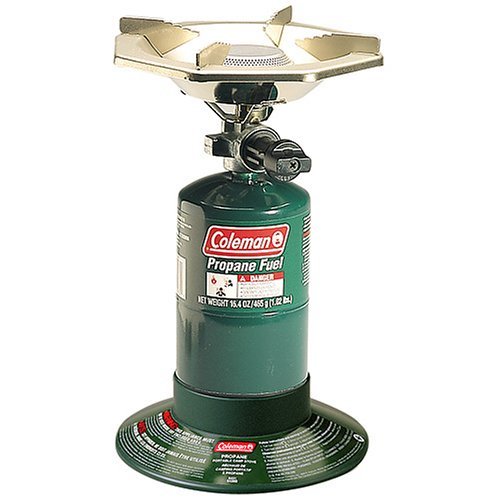
For years I’ve used a trusty Coleman stove that uses those enormous green propane canisters as my bikepacking stove of choice. As I mentioned in past blog posts, there are sometimes things you like so much that you’re willing to adopt more weight and bulk.

Well, I may have changed my tune. That stove was huge:

coleman stove

It boiled water super fast, and those green propane canisters are easy to find and inexpensive. But, whoa with the huge. I needed a solution that maintained some of these pros, but shed some weight and bulk.

Enter the world of the DIY alcohol stove. Here’s the idea: high proof alcohol burs hot, relatively cleanly, and is super efficient from a weight to burn perspective. Plus, it stores easily in plastic bottles, evaporates quickly and cleanly if it manages to leak, and tends not to be as explosive as propane, butane… all your basic -anes. Denatured alcohol or even Everclear is a great option, but you can even use the yellow bottle version of Heet antifreeze, which is practically ubiquitous at gas stations and other stores in even the smallest of hamlets one bikes through (at least in North America).

Plus, you get to drill cans. More on that in a second.

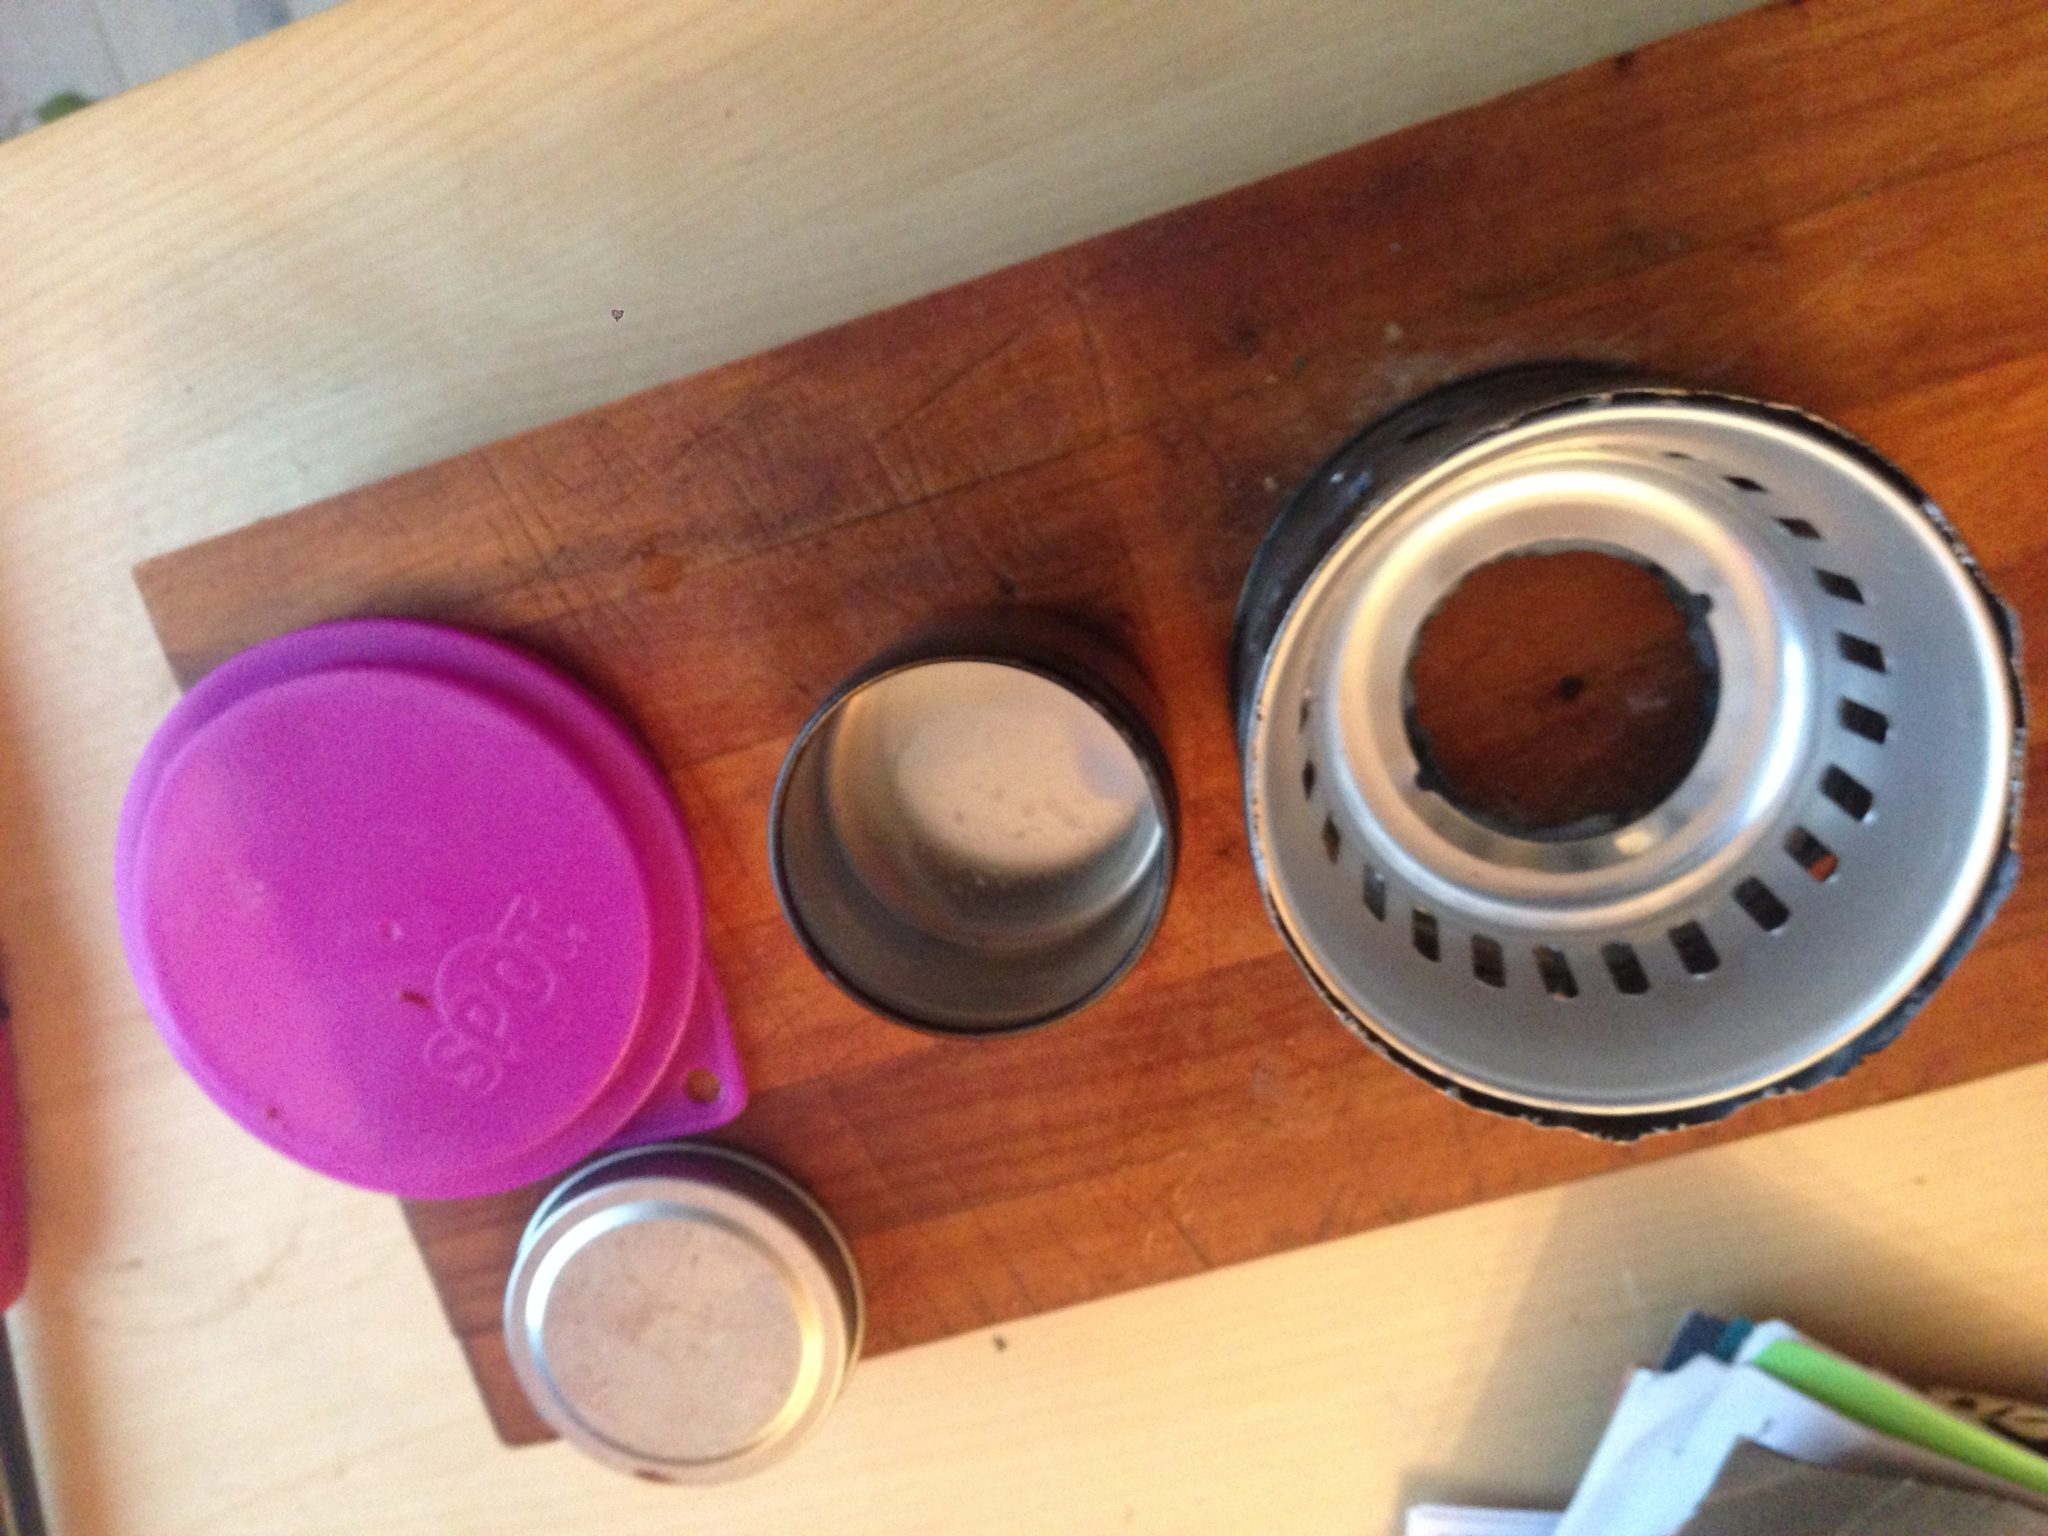
There are all sorts of ways to make it work, but the most basic version is a stove made of a small can with some holes drilled in to allow air to enter the heated stove to mix with the vaporizing alcohol. Here’s what I did:

alcohol stove parts

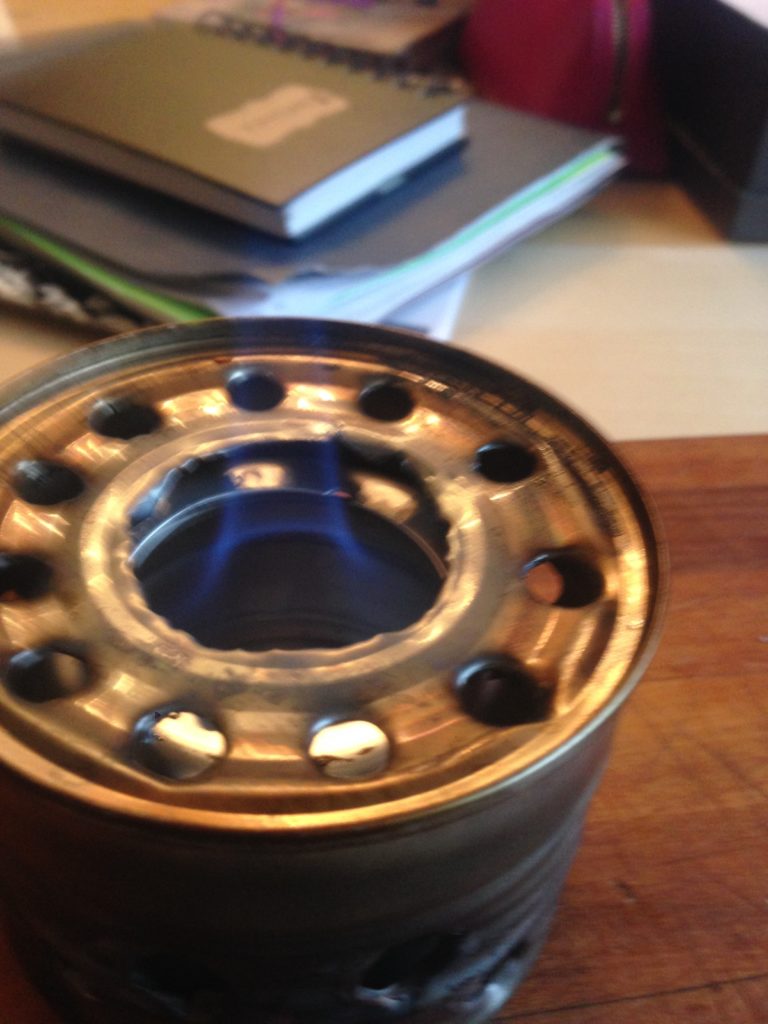
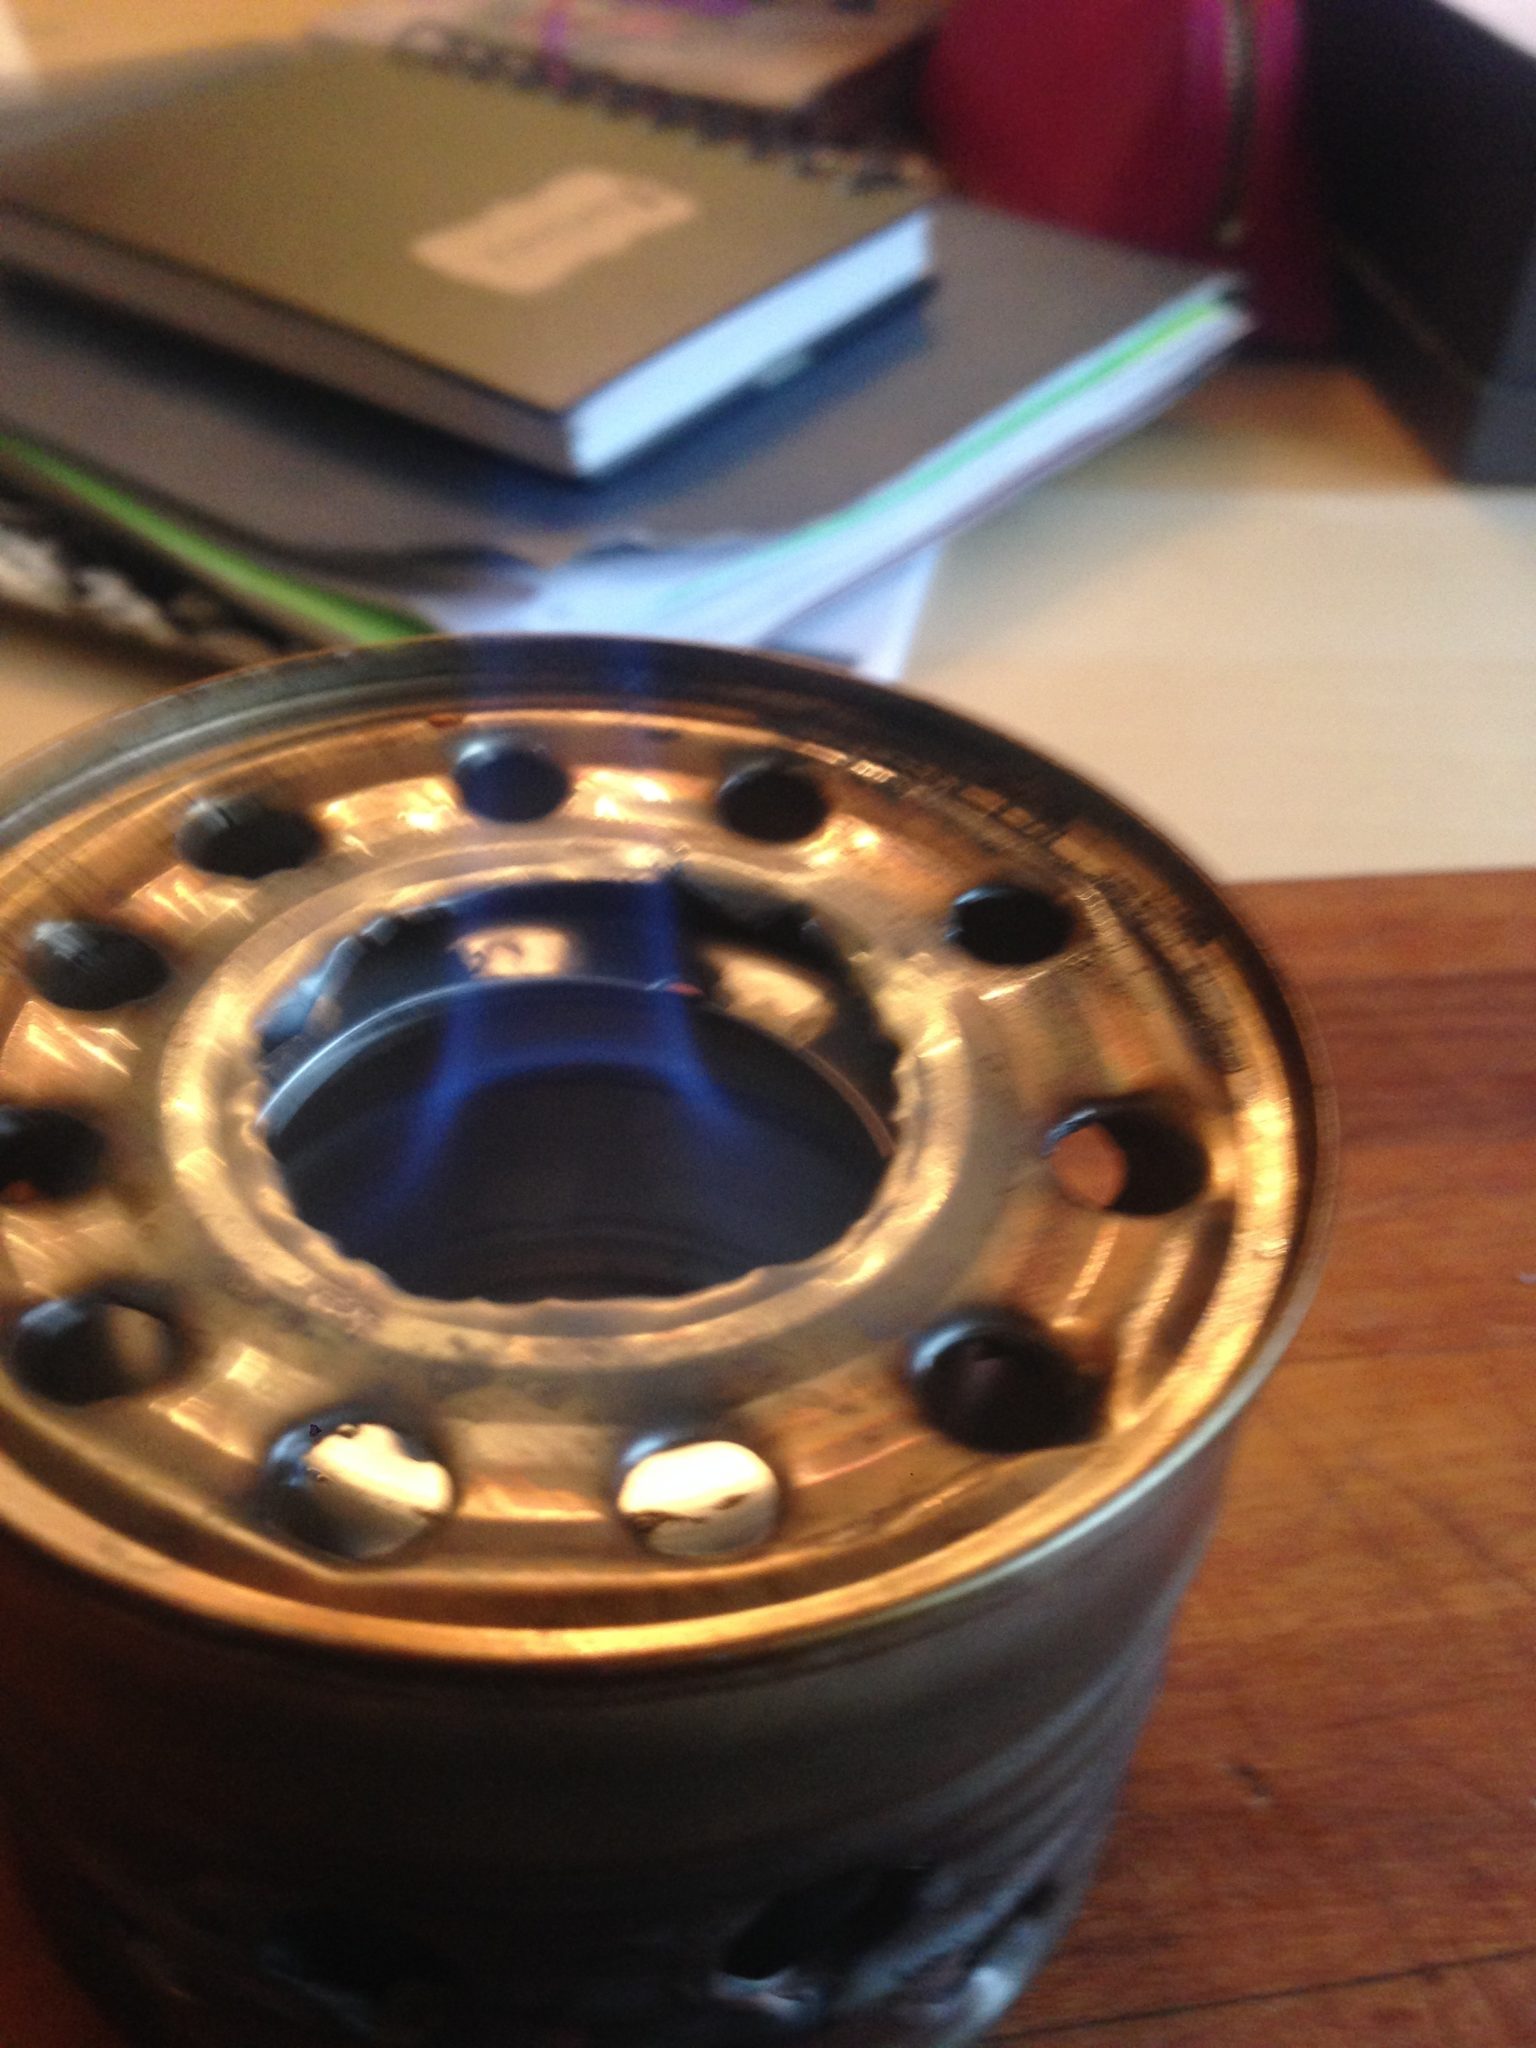
I used a large can of beans, sawed in half with a metal hacksaw blade. I drilled in air holes that look somewhat random, but had more purpose than design aesthetic. I cut a hole in the top to allow the flame to come through to hit the pot (note: important). For the interior, I have an old alcohol lamp insert to create an interor wall which should serve to create more of a wind buffer while still allowing oxygen flow. Inside that is a small candle tin. I saved the top too so I can easily snuff the flame.

Here’s how it all looks together with the stove lit:

lit alcohol stove

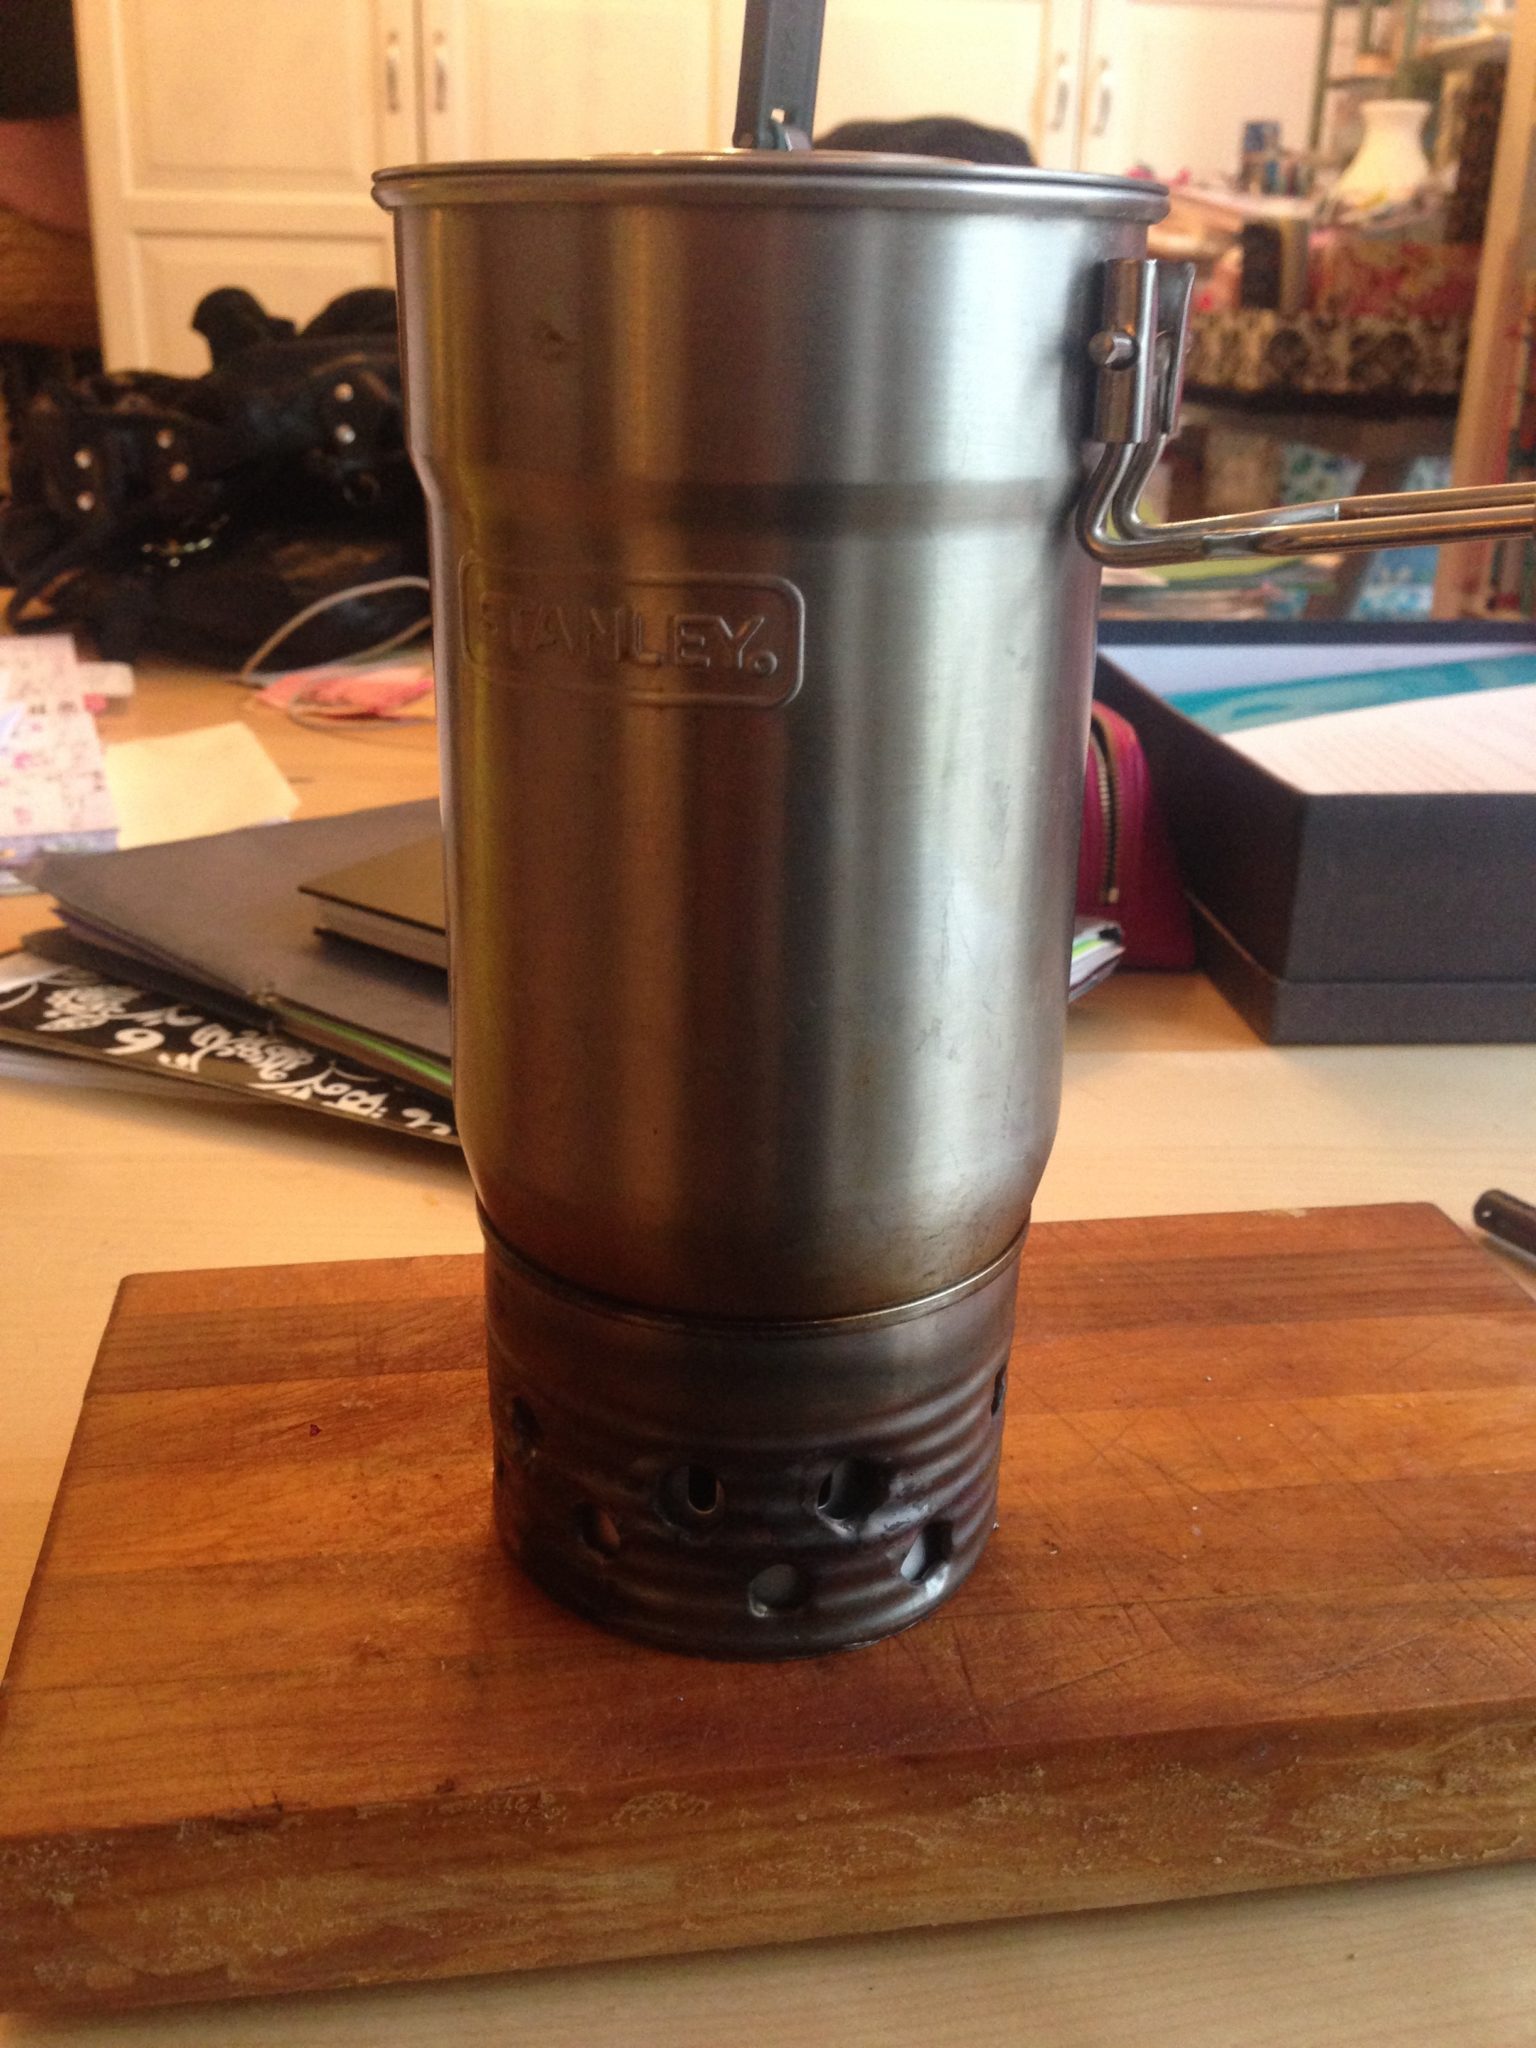
This is the sturdy look with my cook-kit on top – note it has a really nice “seal” to it as the pot fits the can-top perfectly:

alcohol stove with pot

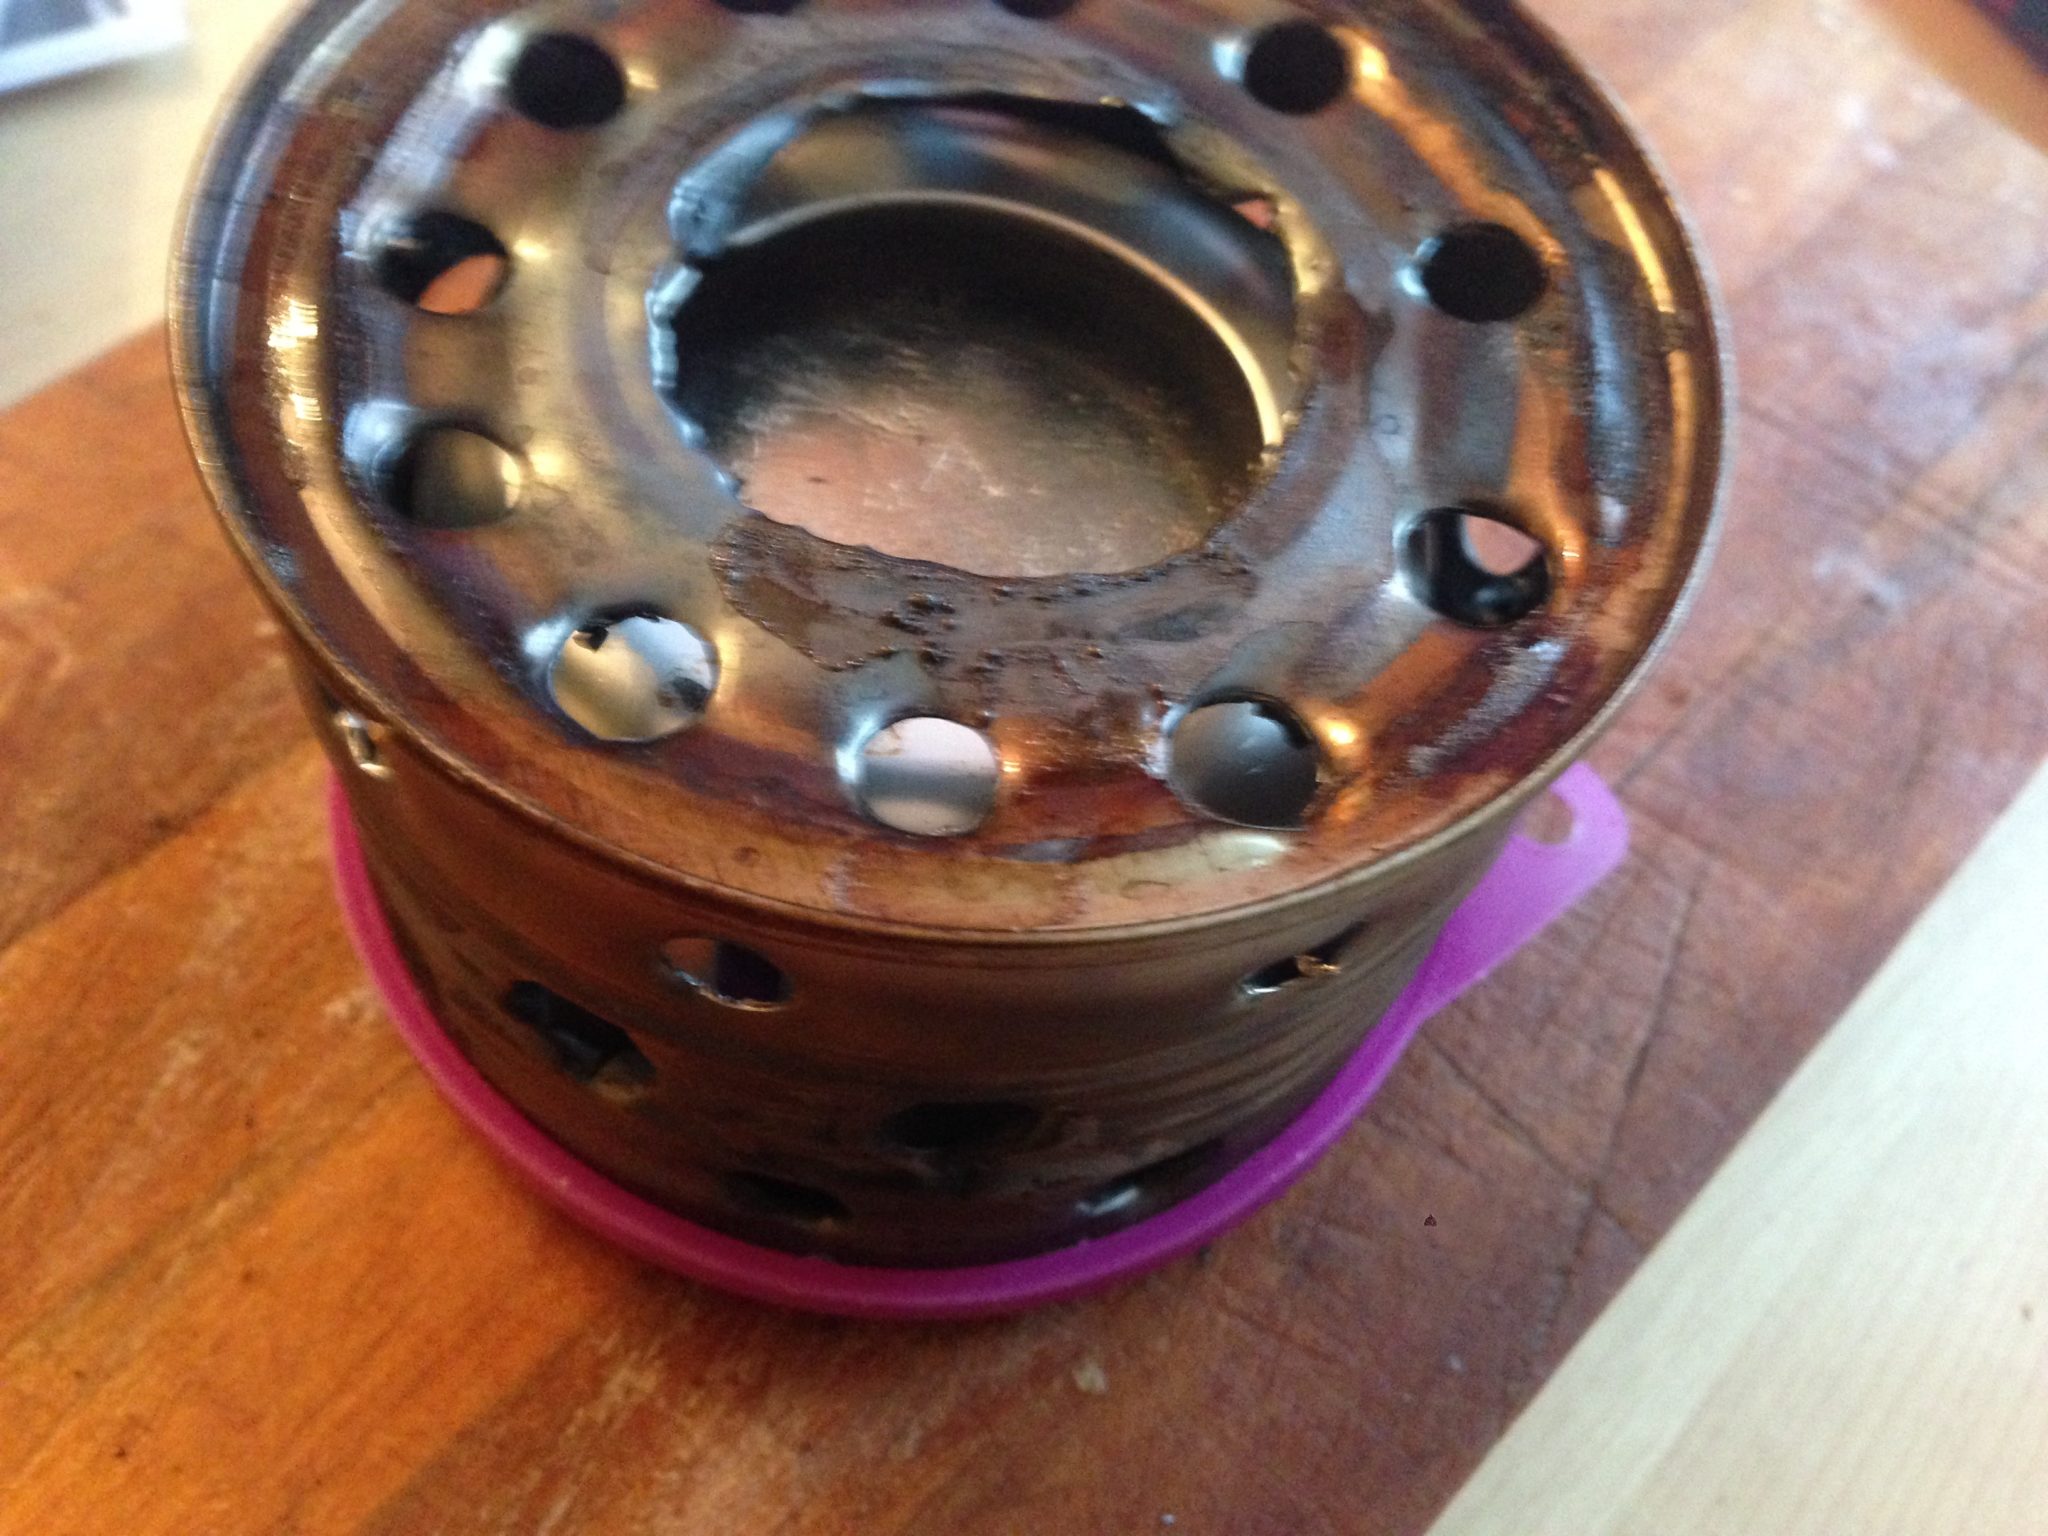
Most importantly, check out how nicely it all packs together. I used a plastic cover designed for keeping cans of opened cat food fresh to seat the bottom side and keep the internals together:

packed up alcohol stove

If you haven’t checked out Zen and the Art of the Alcohol Stove yet, do yourself a favor and check it out. If you’re at all a DIYer and into the idea of this, it’ll keep you entertained with ideas for hours.

More on the stove performance as I report from tour next week!

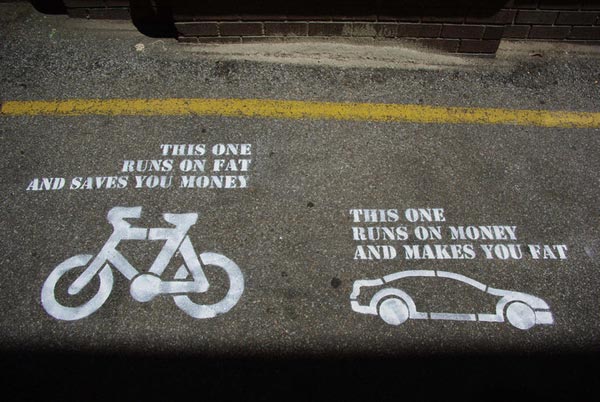
runs on fat saves money

Pedalpreneur: can I make money while on bike tour?

I’m going on a bike tour next week, but I will still probably make money while on bike tour. Here’s how.

make money while on bike tour

A few weeks ago I posted my first pedalpreneur post on how to make a little extra money by renting your place out on AirBnB. The idea is to find additional streams of income so you can work a little less, take a little more time for yourself, and possibly allow that to increase the amount of bike touring. Remember all that?

Next week I’ll be on tour, but I should probably make more money in my absence than if I stayed at my place. I’m out for 6 days, renting my place out for 2 of those 6 nights. I’ll make $418 from the rental, and I pay $70 for a full house cleaning to prepare. That nets at $348. I’ll apply that net income to the entire length of the tour… $58/day. I plan on camping with existing gear in free spots each night. I hope to cook at least half the meals, but probably will end up dining out with a beer or two mixed in. Although it’s possible, I highly doubt my daily budget will break $58. Can this be a tour that actually makes money? Who knows… stay tuned!

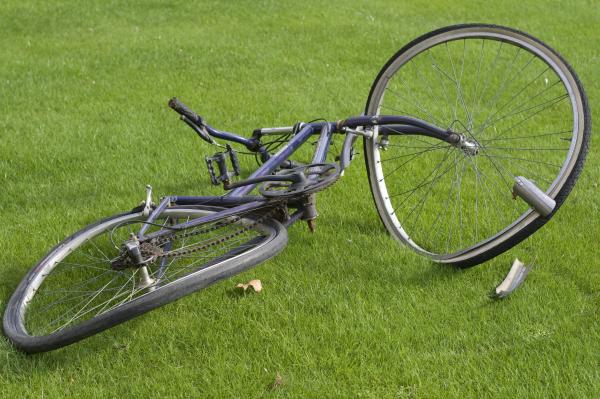
busted bike

Emergency roadside bike repair tips

Every once in a while I read a list of tips that I feel like I need to share… today these emergency bike repair tips come from the Community Cycling Center in Portland, Oregon (the birthplace of my west coast ride, The Goblin). Some of the highlights:

  • A tire lever alternative you probably have on your bike already
  • An emergency option for a punctured tube when you’re patch-kit-less
  • A $1 emergency solution for a torn tire

And much more. Totally recommended… read more at the CCC’s blog. A hat tip also to an older post from Cyclocamping – check their roadside repair tips out too.

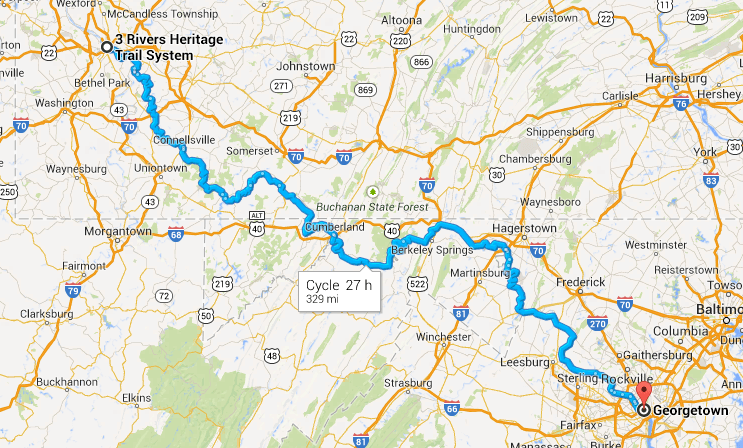
Pittsburgh to DC via GAP and C+O

Opening Day (for bicycle touring)

I’m not a particularly big baseball fan, but opening day always feels like a real sign of spring. In honor of that today, I’m happy to (coincidentally) announce that after weeks of soggy and/or freezing and/or wintry weather, the first 2014 tour is set:

April 9-14, 2014.

My biking companion (the eponymous Mysterious James for long-time readers over at the uncommonly silly blog) and I will be hitting the GAP and C+O from Pittsburgh to DC… likely through some mud… perhaps some less-than-ideal weather… but we’re making it happen.

I’m toying with the idea of some audio and possibly some video on this one. Stay tuned.

freezer bag cuisine

Cooking with freezer bags on a bike tour

Eating on the road doesn’t have to be gas station jerky and granola bars. It also doesn’t have to entail heavy gear and bulky ingredients. Welcome to the admittedly nichey, but delicious world of freezer bag cooking…

As I prepare for a quick overnight trip in a few days, I wanted to share my dinner prep. The campsite I’m heading to on the C+O Towpath outside of Washington, DC has precious few amenities and isn’t terribly close to dining options. When I know I have a few days like this on a tour, I tend to plan ahead and have at least a meal of two in hand so I don’t have to worry about being forced to rely on trail mix for dinner.* The problem is that often entails hauling around more weight and volume than I’d like (I’m looking at you, delicious can of chili).

Last season, I learned a bit about freezer bag cooking… freezer bags being a bit thicker than your usual sandwich bag can handle a long soak with boiling water. Add in their durability and you have the perfect vessel for transporting, cooking and serving whatever foods you’re interested in eating, provided they can keep and they essentially need to be rehydrated. Pro-level freezer bag chefs hit sites like trailcooking.com and get into dehydrators and more. If you check out some of those recipes, you’ll see a level of sophistication that puts those old chili mac camping food packs to shame.

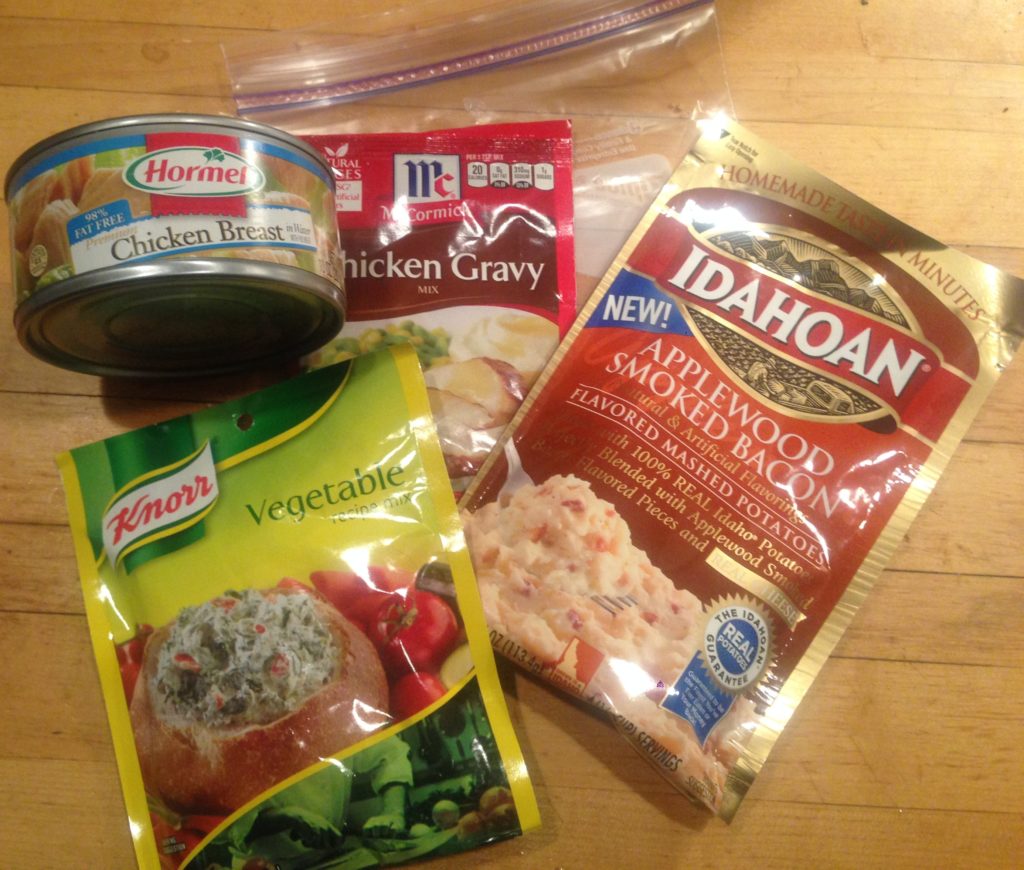
I tend to go a little simpler and I also like to use items I can get at almost any grocery store, mainly because that lets me pick things up in towns to replenish supplies while on tour. My current go-to is a mash-up of chicken, mashed potatoes, veggies and gravy:

  • Knor Vegetable Mix (a ton of dehydrated vegetables with soup seasoning)
  • Chicken gravy
  • Canned chicken
  • Whatever instant mashed potatoes are looking good

Most of these items are available at even the most bare-bones store, cost a dollar or less, and the bang for the caloric buck is pretty good. The downside is the processed nature of the foods… you can get around that by getting a dehydrator and focusing on items you prefer. It’s a trade-off for easy availability and weight.

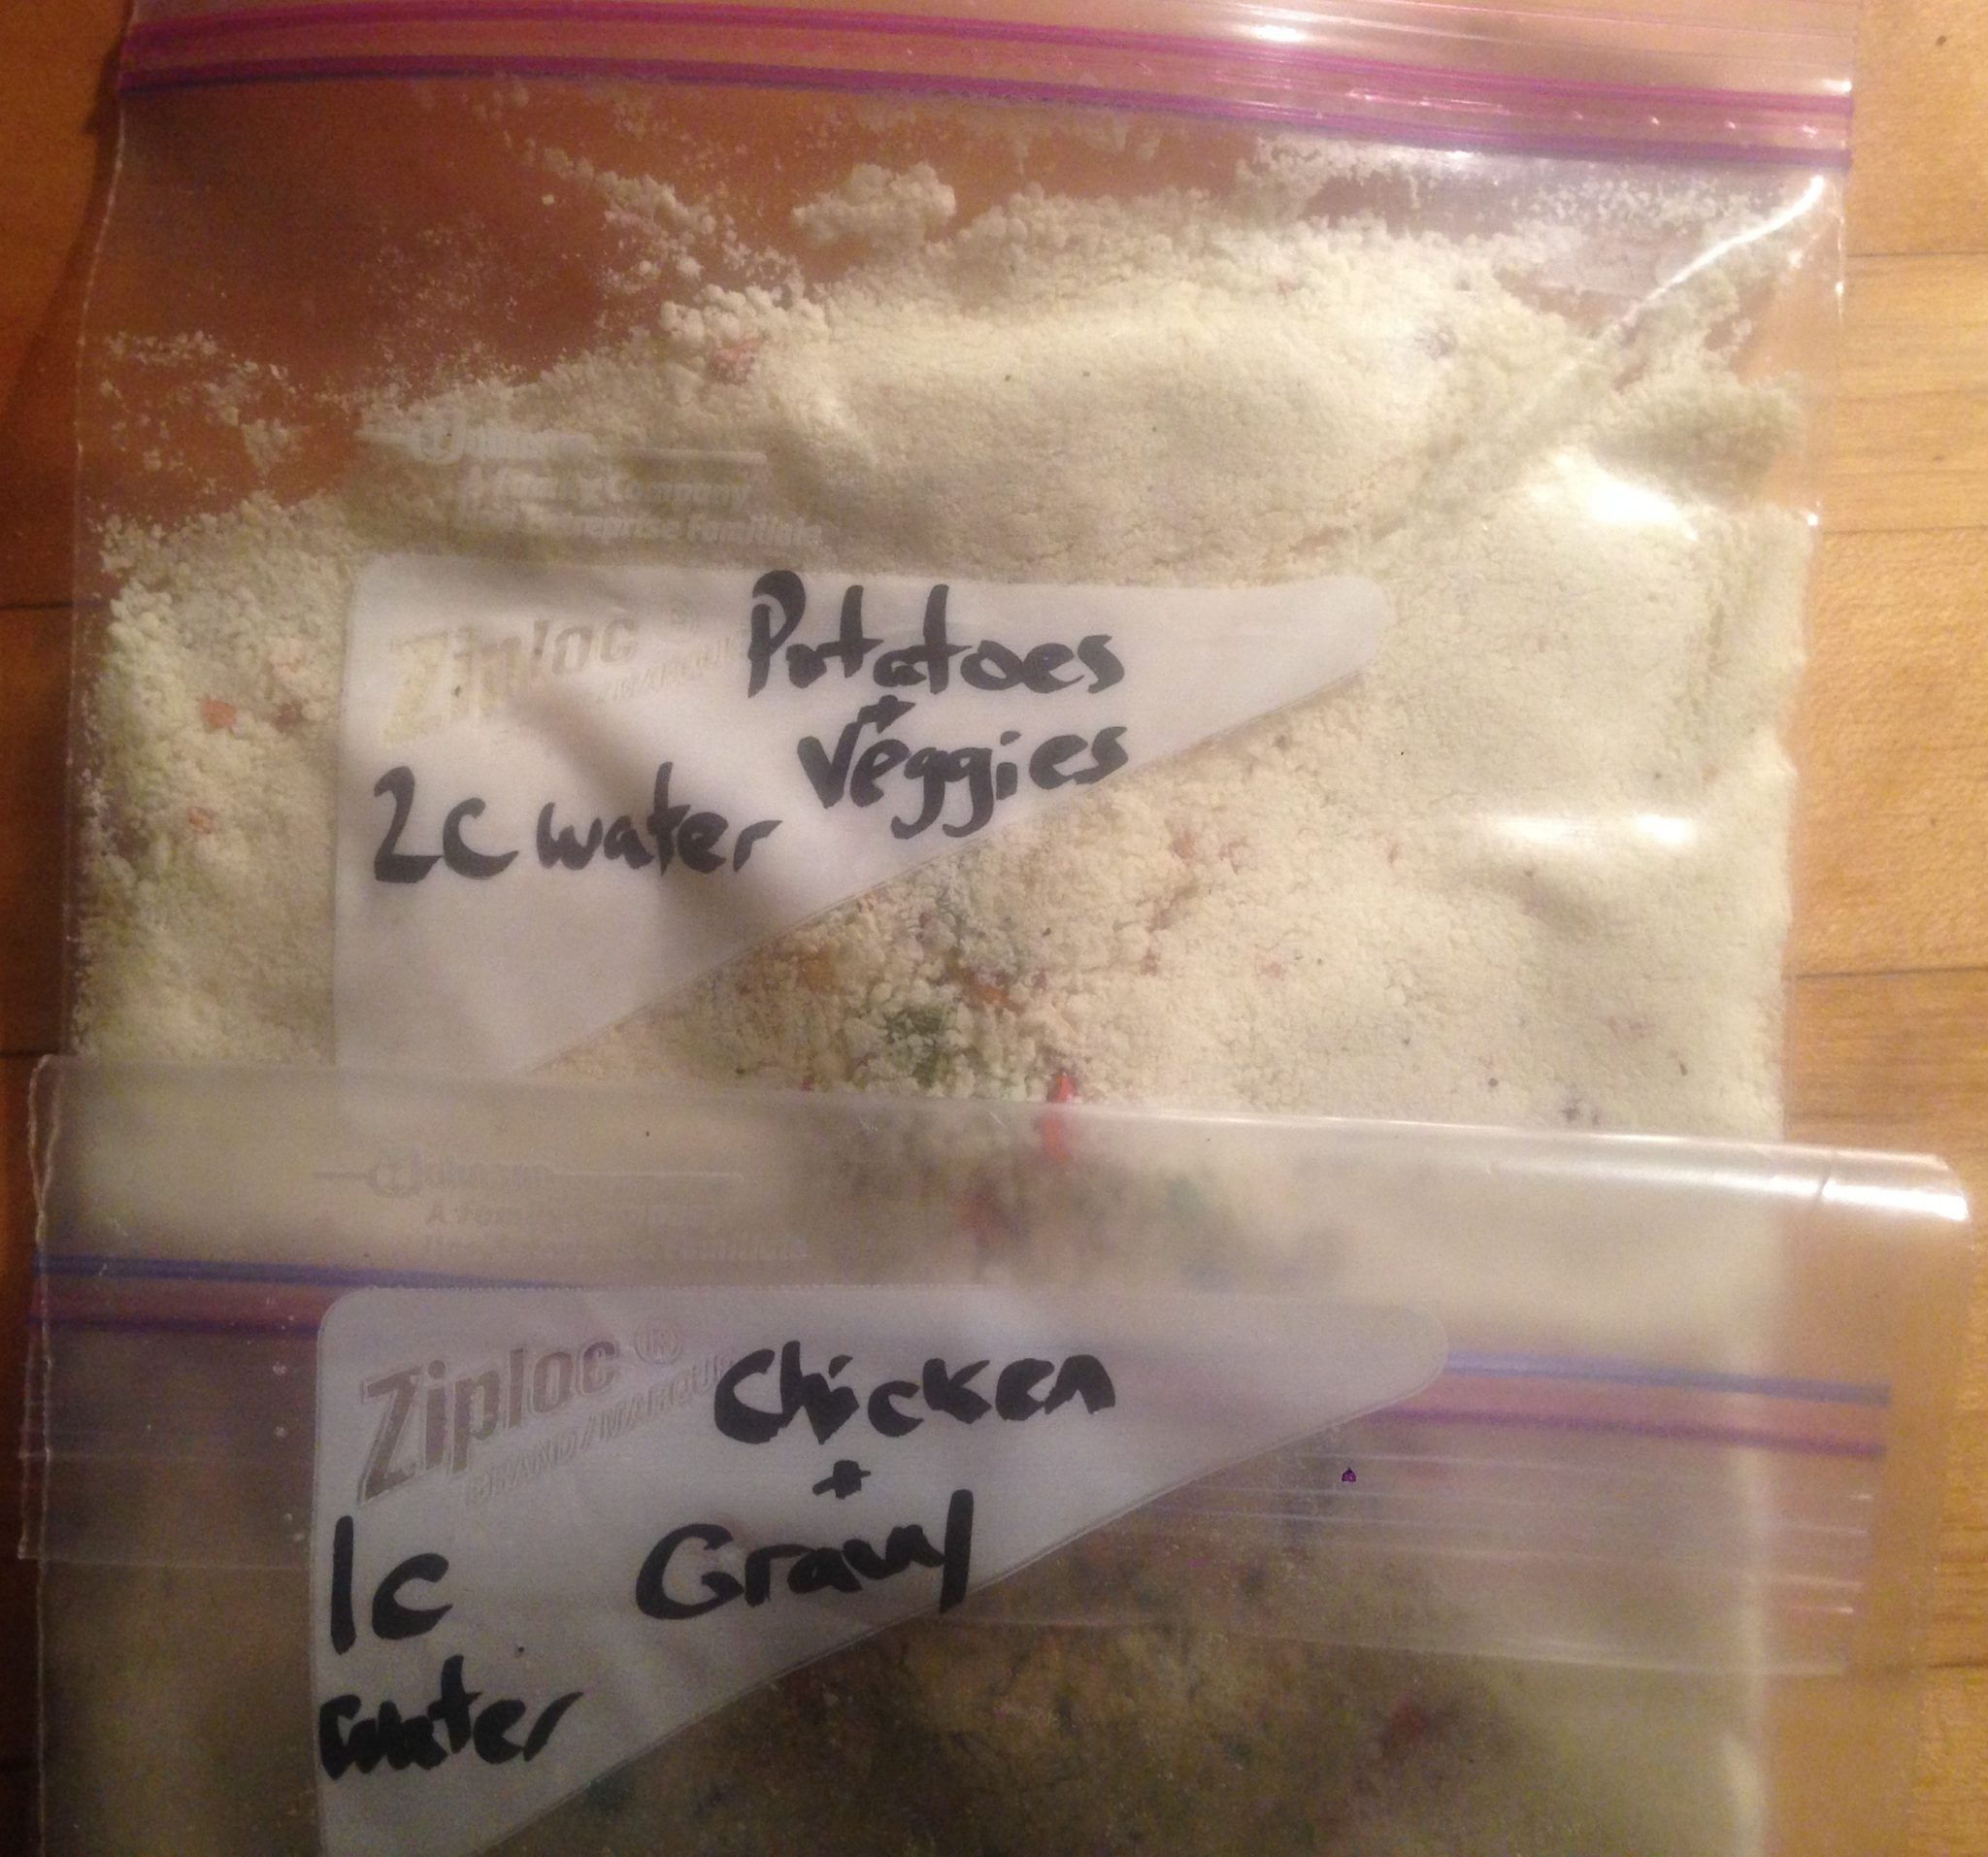
I repacked my ingredients into two quart-sized freezer bags and labeled them with their contents and the amount of water needed to rehydrate:

packed freezer bag dinners

For this meal, I cook the chicken and gravy together in one bag and the spuds and veggies in a second one. You’ll see the volume is insanely small – those bags lie very flat and the weight is barely noticeable. The chicken stays in the can if I’m not making it relatively soon, but the bulk and weight is the tradeoff for having meat that won’t spoil. I might try a similar version with jerky sometime to see how it reconstitutes.

So, how do you cook? It’s as simple as boiling water and waiting. The key is a good “cozy” that retains the heat from the initial boil. There are literally dozens of DIY cozy-making tips out there, but if you’re less inclined to spend  time making one, consider getting an inexpensive and lightweight insulated bag instead. Once you pour in the water, seal up your bag, stick it in your cozy and wait 5-10 minutes depending on the food. Open up and you can eat right out of the bag… that’s right, no dishes to do when you’re set.**

So, lightweight, good eating, and easy to prepare… all great things for dining on tour! Have any of you tried freezer bag cooking on tour before? Share your ideas and recipes if you’ve got a good one!

——–

*Having a couple of dried meals of caloric heft can also serve as important emergency meals. A buddy of mine mentioned that he’s experienced a few occasions when a freezer bag meal helped avoid having to travel additional end-of-day miles just for food. 
**A disadvantage worth mentioning is the environmental/waste issue. Although one could conceivably reuse the bags a few times, there’s no question you’re using a bag that gets quickly landfilled when there are reusable options. This is one reason I don’t exclusively rely on this for my tour food, but I can definitely justify a few meals prepped this way.
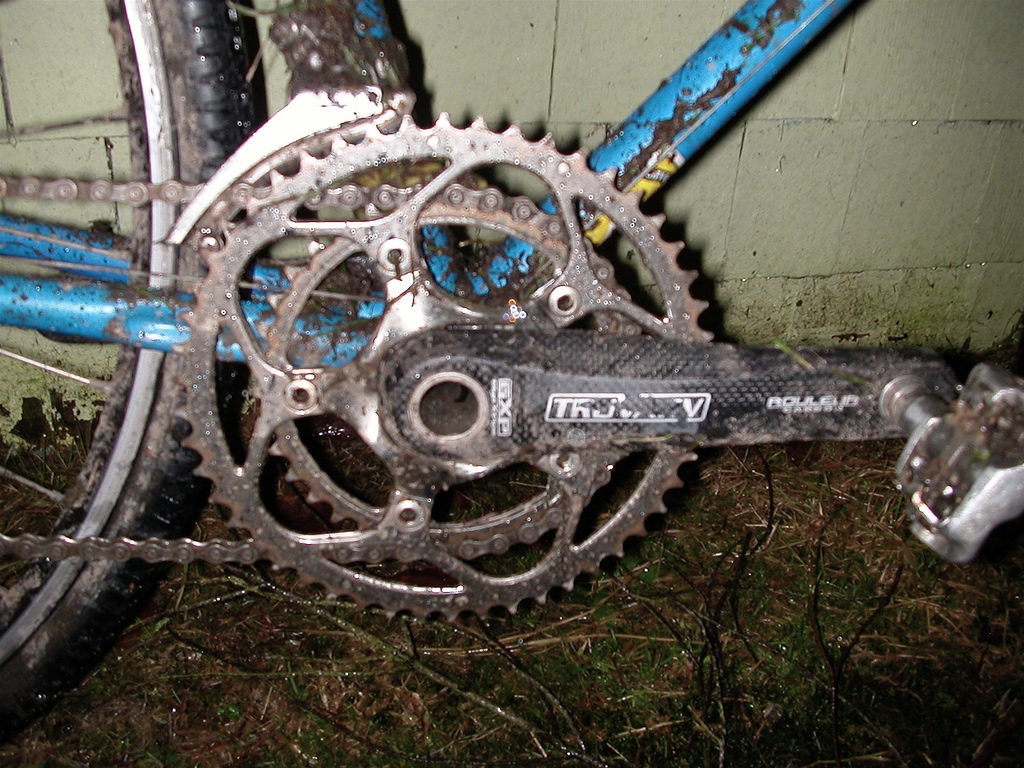
dirty bike

Spring cleaning: how to wash your touring bike

Does your bike still have the grime from last season’s tour? Have you hit the trails already and muddied up your chariot? Here’s a great video by Clint Gibbs showing how you can clean your bike in about 15 minutes without disassembling it:

Clint also has a part two, which is worth a look. A few thoughts:

  • I tend to be a little more careful when using a hose… as mentioned in the video, direct spray into a bottom bracket can get water into the bearings. The same is true (at least in my unfortunate newbie experience a few years ago) with wheel bearings. Water under pressure has a sneaky way of finding its way into those spots, and it makes your life miserable on tour. Trust me.
  • Chain cleaners are your friends. You might not need to do the full hose-down… just the drivetrain. I’ve been a big fan of Park Tool’s chain cleaner (FYI, affiliate link)for a few seasons, and use it as needed. It also includes a gear brush which is super helpful on deeper cleans. More coming on drivetrains next week. I’m taking a maintenance class Thursday and hope to share a few things.
  • Remember to lubricate what needs lubricating after the wash. Obviously the chain, but sometimes you’ll need to give the brake and shift lines a little bit of help.
  • Don’t be afraid to do this on the road. Maybe you’re taking a zero-mile day? Maybe you hit a huge patch of mud or a dusty run. The less grit in your gears, the smoother and more efficient your ride, plus the less wear on your (maybe expensive) components. Cue the people with the internal hubs who don’t worry about such things nearly as much!

photo credit: Ryan Cousineau on Flickr