As the season kicks into high gear, I’m constantly looking for new ways to improve my camping experience. This year, I’m focusing on going as ultrlight as possible, and that’s extending to my meals. After a bit of research, some experiments (including some failed ones) I’ve got a quick and easy solution to dehydrate meals without a dehydrator.
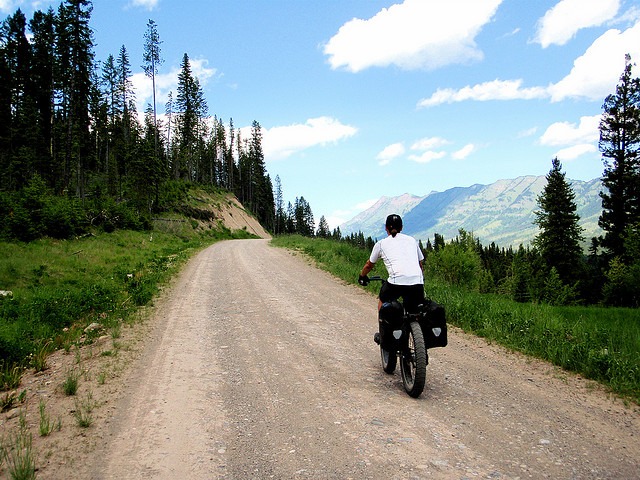
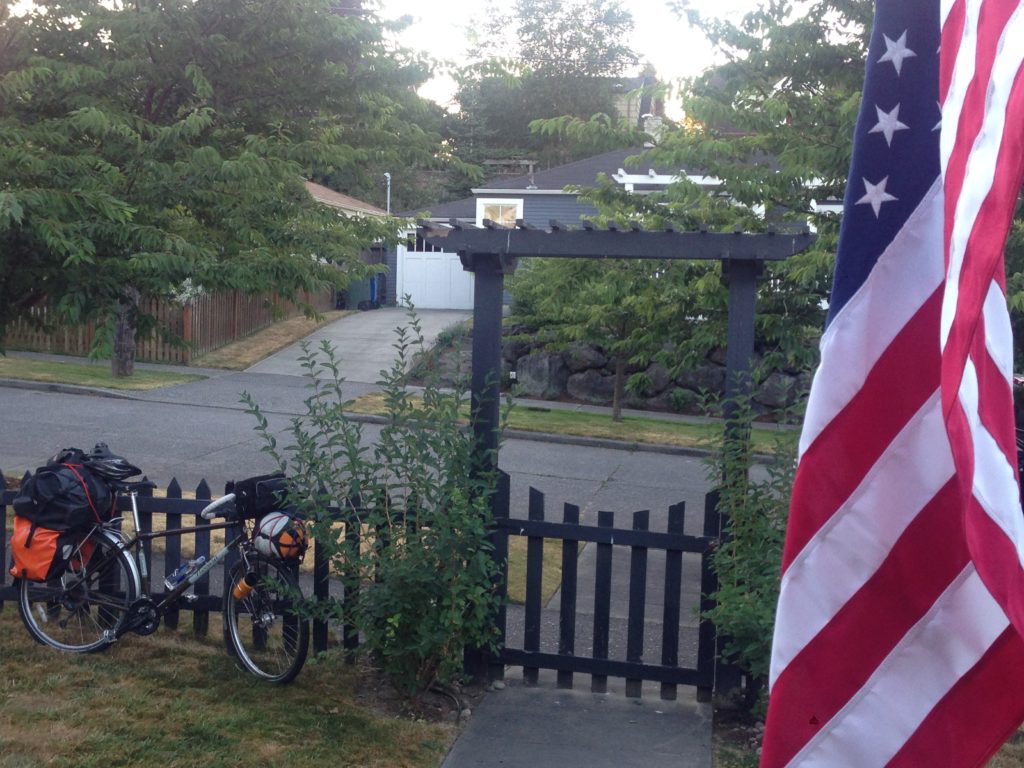
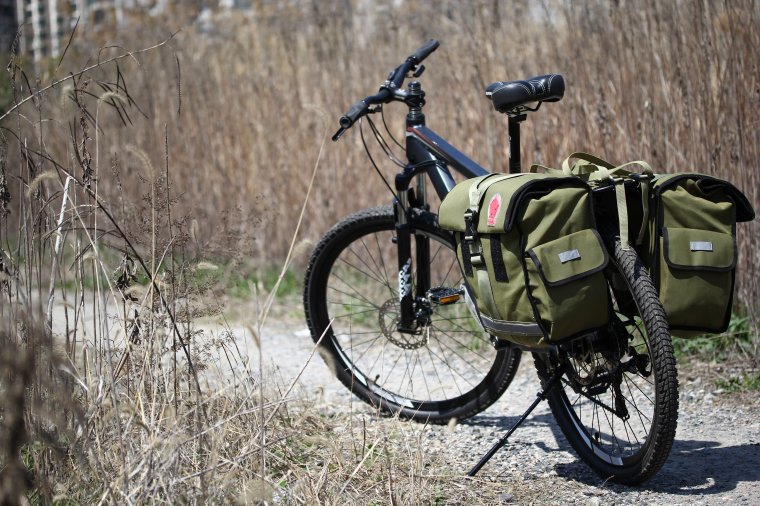
Dehydrating is a great way to make ultralight meals for bike tours
File this under “duh.” Take out the water weight, and your food transports in a smaller, flatter space. As I mentioned in a previous post on freezer bag cooking, that translates to better eating on tour. Not only are things lighter and easier to pack, but it also helps preserve things like meat… something you certainly wouldn’t be hauling around in a pannier for very long without spoiling. But wait… there’s more! If you’re conscious about the amount of junk (particularly sugars) that end up in a lot of processed foods, making your own ultralight meals by dehydrating fruits, veggies and meats can be a big plus. You know exactly what’s going into your preparations.
I’m not anti-dehydrator
I think they’re great tools and if I end up doing more dehydrating, I can absolutely see myself investing in a nice one. I know a few people who jumped right into the dehydrating thing, and ended up spending a fair amount of money on a device that got used once, maybe twice, and now collects dust in the basement someplace. That’s not for me, so I want to be sure I want to get into this before I invest in the gear. Dehydrating ultralight meals without a dehydrator is actually easy if you have (wait for it…) an oven!
The secret: low heat and air flow
Dehydrators work by streaming warm air over your food – it’s not really rocket science. Over time, that warm air pulls out the moisture without really cooking the food. If you’ve ever wondered how raw food folks eat, they live on dehydrators – it preserves food, gives it new textures, and most importantly stops short of cooking out the nutrients. Dehydrators work well, but so can your oven so long as you do a couple of things…
Step 1: Get a good rack
Wire racks are the best way to promote good air flow around your food. Remember, we want to maximize the movement of warm air so the food gives up its moisture. You don’t need to get fancy… I got a pair of wire racks for seven bucks. You might even have a few in your cupboard someplace.
Step 2: Cut thin
Whether it’s meat, vegetables or fruit, cut it up in slices or small pieces… you’ll be rewarded with a shorter dehydration time.
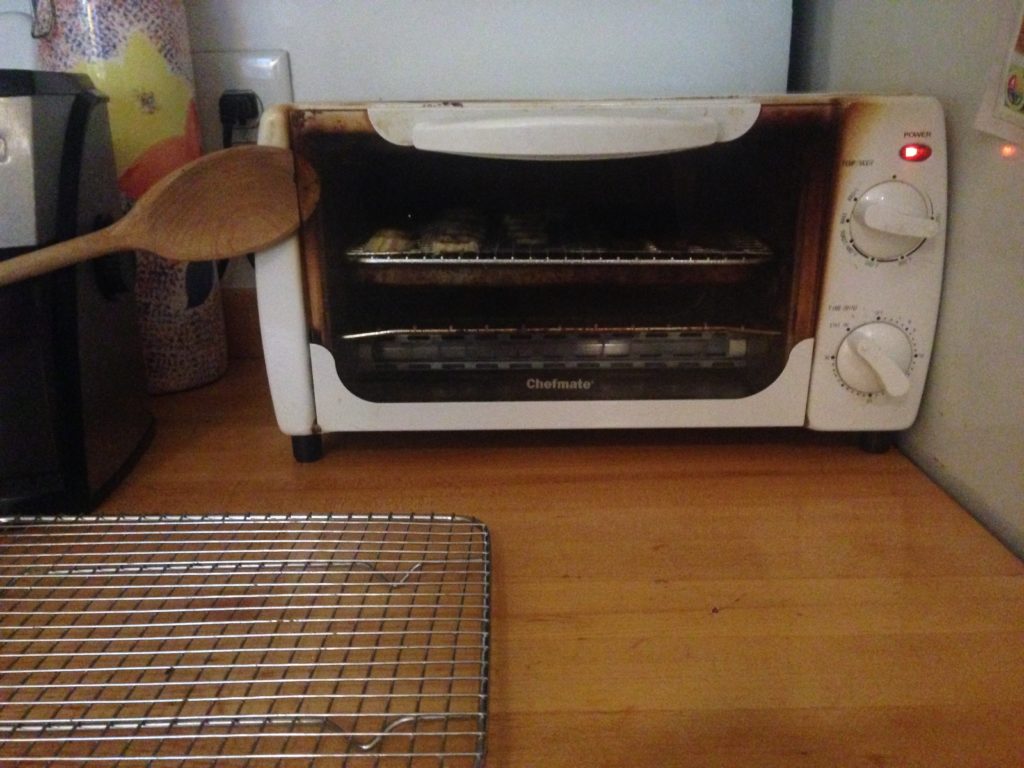
Step 3: Choose your oven wisely
The first few batches I tried were in my big convection oven. Convection ovens are fancy because they move air around with a fan… almost like a dehydrator. It worked well, but even at low temperatures (more on that in a second) it really felt like a lot of energy being wasted, particularly with it being on for hours. Instead, I moved to my favorite kitchen appliance, the humble toaster oven. Because it’s smaller, I have to do smaller batches, but because its more efficient, my turnover is about equal. I probably don’t have to convince you toaster ovens use half the energy of a range oven, right?
Step 4: Stick a wooden spoon in it and keep the heat low
It helps with the air flow. Remember, we like air flow. Temp setting should be as low as you can go and still be technically on. Usually it’s 150-200 degrees Farenheit. If you’re a Celsius person, that number will be much lower. <– metric system humor.
Step 5: Go do something. For a while.
I found making your own beef jerky takes a lot less time than drying out a strawberry. By a lot. Keep checking to see how things are going, maybe turn stuff over. This will take hours. Oh, and on behalf of your local fire department, it’s *not* ok to leave this unattended, so no leaving the house during this process, m’kay?
Successes and failures
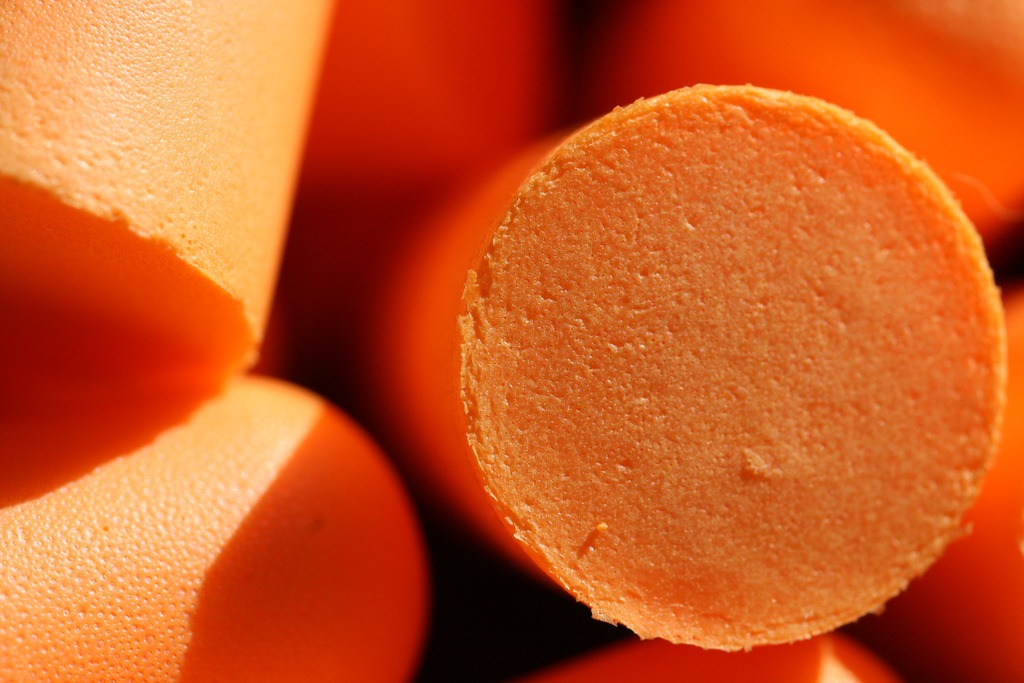
Here’s a sample of what success looks like:
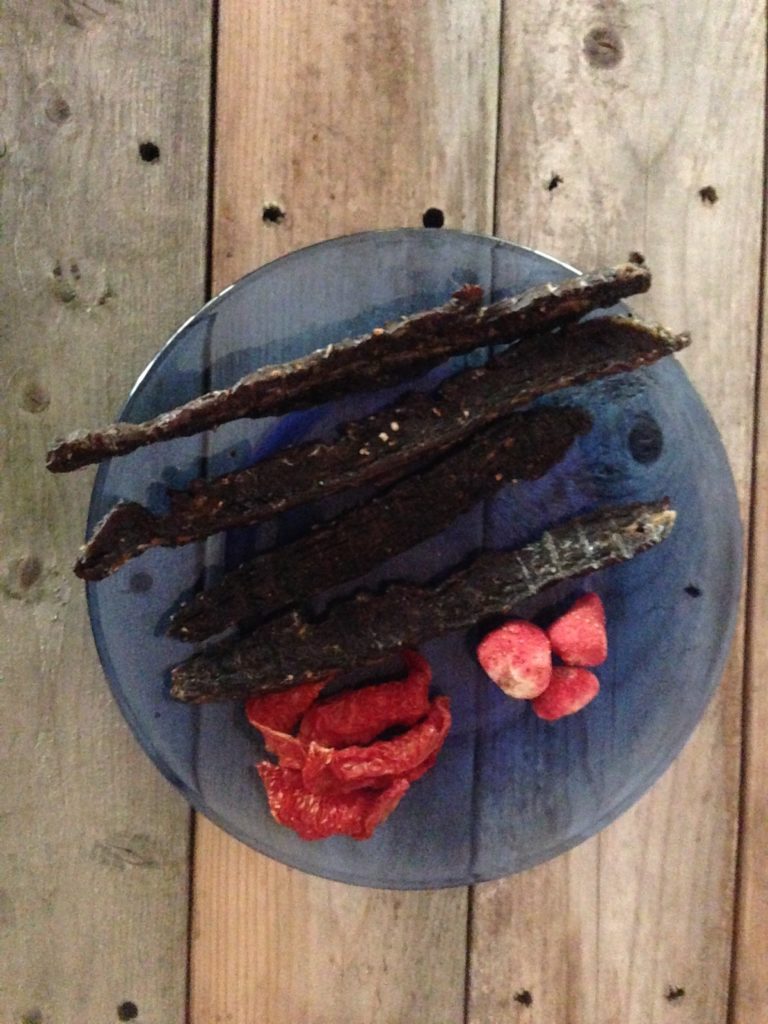
That’s a sugar free batch of beef jerky, plus dried tomatoes and dried strawberries. One other huge benefit is how this can save you from the dreaded spoiled fruits and veggie plague of spring and summer… the tomato I used was just about ready to be tossed. Ditto with the strawberries… not spoiled, but past the point of ideal freshness. Thanks to dehydrating without a dehydrator, they were rescued for a future snack.
I mentioned successes, so how about failures: eggs. I read someplace (and I won’t link-shame you my friend…) that you can dehydrate scrambled eggs and they rehydrate well. All I can say is, not in my experience! I’ll be sticking with fruits, veggies and meats.
If you’re interested in a jerky recipe, check out this one… it was my starting point. I went with sriracha and Worcestershire sauce as my marinade and put on a healthy dose of coarsely ground black pepper. A+ jerky, and the best part is you can use “lesser” cuts like flank steak.
I’ll be taking some of these ultralight meals with me this weekend on a short tour… more to come!


 Brock Dittus has been a Pacific Northwest resident for his entire life, with the last decade spent in Portland, Oregon. He enjoys bicycling, camping, and exploring in the outdoors, and when it’s raining prefers coffee, books, and talk radio. He’s had a passion for long-distance bicycle touring since his first in 2008, and is always interested in innovative solutions to car-free living while at home in the city. Music is a constant companion in Brock’s life, and he says, “it’s always nice to have vinyl records, an iPod, or a guitar on hand to fuel that fire.” He’s hosted The Sprocket Podcast since 2010. You can follow Brock’s podcast side on Twitter at