Home » bicycle touring blog

pack panniers

How to pack panniers for your next bike tour

If you spend time properly planning on how you pack panniers for your next bike tour, you’ll find that’s well worth the investment. Why? It’s all about efficiency.

Pack panniers with weight in in mind

Generally heavy things should go at the bottom of your panniers. Why? It’s all about weight distribution and center of gravity. If you have heavier things higher in the bags, the center of gravity for the bike is higher, which means less stability. Pack with weight low.

Lose the bags within the bags

If your panniers are already waterproof, you might want to ditch the extra bags for the gear that goes in them. Why? It’s easier to stuff more things inside your pannier when they can fit into the shape that’s available within the bag. If your gear is already stuffed into a ball the size of a grapefruit, it might leave extra space around it. Sometimes that means for a less organized setup, but if you pack your panniers with some kind of organizational system in the first place, you’ll gain more efficiencies with how you use the space in the bag itself.

Distribute wisely

The heaviest thing you’re rolling with is probably sitting in the saddle. That means most of the weight ends up on the rear of the bike. That’s fine. It’s designed that way. That said, try to move some of the weight to the front and you’ll take some of the strain on that rear wheel, plus get some added stability on your ride. Don’t have a front rack? Consider a handlebar bag. At least pull some weight up front and you’ll find some benefits.

Adventure Cycling and America ByCycle made this great video on how to pack your panniers for bike tours. Great stuff:

mapping

Four resources for mapping your ride

Last night was all about tour planning. I use a few tools when planning a trip:

Adventure Cycling Association maps – I like the detail, planning and thought put into these. They are pricey, so take look on eBay or even Craigslist to see if someone is reselling their set, or consider becoming a member of ACA to get a discount and support their efforts.

Google Maps – If you haven’t tried out the bike route feature on Google Maps, it’s a teriffic resource. Word to the wise: it’s far from perfect. Sometimes Google routes you way out of your way to favor bike paths and trails, and sometimes it puts you on roads that are flat out bad ideas (hello Highway 9 in West Virgina!). Still, this is a great way to deviate from established routes.

Crazy Guy on a Bike – Warning: this site will pull you in, trap you and keep you there for hours (but in a good way). For years, this has been a repository of bike touring routes, and a great way to get first-hand stories on how the roads treated the author and his or her group. The site’s design will force you to remember what websites looked like in the late 90s… a serious throwback. Amazing information.

Other people’s stuff – blogs, message boards, e-books, routes using mobile phone apps… the list goes on and on. Google terms related to your route and get ready to sort the wheat from the chaff. There’s a ton out there.

I’m working on a hybrid ride of the Lewis + Clark and Northern Tier routes by the ACA, linking by a “short cut” from Missoula to Great Falls, MT mentioned in a book by Tod Rodger. More to come on that.

What resources do you use? Have you found anything else to be particularly helpful? Do you recommend anything in particular based on your experience?

larger guy on bike

Offseason conditioning: Step 0

One of the great things about bike touring is it’s impact on my fitness.

I’m buring 8,000 calories a day! For weeks on end!

I can eat anything I want! And I’m over forty!

And then… winter.

Not everyone who loves bike touring (or adventure cycling, or whatever else we call it) has a distinct off-season, or lives in a place where weather conditions dictate a major decrease in biking. But it’s certainly my issue. Every fall I look back on a great 7-9 months of adventure, and somehow end up gaining weight that I inevitably have to haul up a big ass hill* in a few months.

Some people on tour “bike their way into shape” and that works out fine in a lot of cases. This year, I’m hoping to get a little (ok, a lot) leaner ahead of my rides, so I’m reverting back to watching what I eat in a way that almost makes it a game. I’m using an iOS app to help track calories in much the same way I use mapping apps to track my miles on the bike. It’s not nearly as fun, but I know it will pay off down the line.

So, step zero is getting to the point where I can load myself AND the gear on my bike below the max weight threshold suggested by the manufacturer and the laws of physics. Since my gear can’t lose weight as easily, that’s where I’m at for the next couple of months. I’ll bet I appreciate it on those hills come spring…

Do you have issues with offseason fitness? Or are you geographically better situated? Or are you a commuter that laughs at ice and cold who doesn’t face this challenge?

——

*technical term

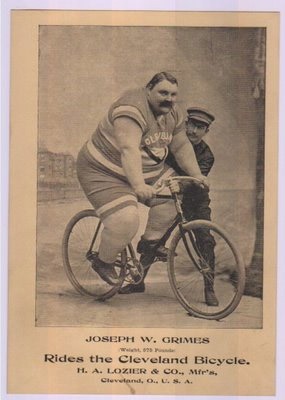
vintage image courtesy of Nebraska Outdoor Addict

This is a second publication originally posted January 26th – due to a technical problem, it self-deleted (I know, really?)  but thanks to the magical powers of double publishing to uncommonlysilly.com, it was preserved. For good, or for bad…

Adverse conditions and moxie

I was in New York for a brief trip following the loss of my beloved grandmother (more on that in a second) and marveled at the number of bikes out and about following the sloppy mess of a 10″ snow storm. With the temperatures hovering in the single digits, a couple of inches of slippery gray slush and the gridlock of Manhattan, biking was still a preferable way to get around for so many New Yorkers trying to get things done. It got me reflecting on adverse conditions while touring – they’re all what you make of it. You can prepare with some gear for hot or cold, blistering sun or rain, and even the occasional mechanical breakdown. But what really gets you through adverse conditions is willpower mixed with a little moxie. Maybe a lot of moxie… A saw a lot of it in New York the last two days.

This past week I lost my grandmother – she rocked this fine planet for just shy of 100 years, which is about as good of a run as you can ask for. She was fiercely independent, living on her own until about six months ago. I know a lot of my independent streak comes from her and that is probably one of the big reasons why bike touring is important to me. After her passing I decided to go a little bigger with my summer tour, perhaps as a tribute. The new goal is Portland to Minneapolis by bike. I think it’s fitting to link those two great biking cities as bookends for an epic tour. I’m not sure if my grandmother would think it was sane (in fact I’m sure she wouldn’t), but I think she’d appreciate the adventure of it all. She too had more than a bit of moxie in her…


back tire in snow by doviende

map deck

Dreaming up the next tour

If you’re like most readers of PedalShift, you’re in an offseason for touring… after all, it’s winter in the northern hemisphere. While many can handle the cold of winter, it’s the incredibly short days that often hamper tours or even simple weekend bike/camping adventures. Winter for many (not all, of course)  is more about dreaming up the next tour. And that’s where I am right now.

I’ll write more about this in coming weeks, but I’ve fashioned my work life in a way that allows me to spend at least a few weeks to a few months per year working on the road. Last year I experimented with a combination of mobile tech and on-bike energy production to allow me to be productive while I was on the road between Portland and San Francisco. This productivity allowed for a longer tour. I learned a lot, and have a few tweeks to make to the system (again, more on that in future posts).

But winter is more a time to dream up what’s possible with the route. So, here’s a couple of trips I’m hoping to make:

DC to Pittsburgh via the C+O Canal Townpath and Great Allegheny Passage

Sometime this spring, I’m looking at a 6-day trip to finally complete the well-traveled C+O/GAP combo. I live most of the year on the DC end, and my early bike tours were almost exclusively on the C+O. I friend from San Francisco is coming out this spring – time TBA, but almost certainly after Daylight Savings Time begins, the temperatures rise and the trails dry out a bit. We also need to wait until  Big Savage Tunnel on the GAP opens, which isn’t until the first or second week of April.

Portland, Oregon to Somewhere in North Dakota via the ACA Lewis + Clark Route

This summer, I’m planning on embracing the heat rather than fleeing from it. For the past few summers I’ve biked while enveloped in the Pacific coast’s cooler temperatures. It’s time for something different, and I’ve always been attracted a reverse route of the Lewis + Clark expedition (starting in Portland rather than the coast due to logistics more than anything else). There’s the added bonus of getting to roll through North Dakota, my elusive 49th visited state. Start would likely be sometime in mid-July and I am looking at hopping on the train back to DC to help transition back from tour to reality.

I’m neck deep in details and maps, and after too many weeks off the trails and roads with a fully loaded bike… I’m starting to get that excitement back.

What kind of tours are you dreaming up? Are they new experiences or repeats of well-loved routes?


image credit: “stacked deck” by fluidthought 

grand canyon

… and we’re back!

Looking back, I think I see the first few months of pedalshift as a beta release… the ideas were all there, but it needed a bit more time in the lab, at least from my perspective. The hiatus was helpful in shaping that, largely because I wasn’t terribly focused on bike touring so much as I was working from the road.

Most of the fall I was out and about with Tranquility Tour. We traveled 11.500 miles over the course of several months traveling to over 20 events related to the launch of Tranquilologie (the latest book authored by my better half, for those who don’t know). We did all of the traveling by RV, which was a wholly different experience than traveling by bike. On one section of the trip, we mirrored portions of my summer bike tour, and it was interesting (or perhaps offputting) to drive several days worth of the bike route in a matter of hours. I realized how much one misses when traveling faster than you can pedal because I knew what we were passing at 55 mph.*

So, in 2014 pedalshift returns with the same basic ideas… bike touring meets lifestyle, particularly in ways that allows for more bike touring. How can we work from the road to enable longer tours? How can we live a more sustainable lifestyle to support more time to be on the road? I’m hoping to have a post per week exploring these ideas, and I’m also hoping to create a community where we can collectively share all facets of the bike touring lifestyle.

—-

*I did see a handful of bike tourists out on the trip, and I have to say I felt a lot more affinity towards them than the others driving RVs.

Mini hiatus from touring posts

PedalShift is going to be on a short hiatus while I continue around North America on Tranquility Tour. Being in an RV and handling all the details of the tour, plus running the other business activities back in DC is taking me out of the bike touring mindset, so rather than simply fade and post in November, better to come clean now!

I do have my bike with me and I hope to not only revisit a few spots I’ve toured before, but also scout some new spots. I also intend to refine my “work remotely” techniques that are so important to PedalShifting lifestyle.

So, radio silence, but much more to come! If you’re interested in following the tour, check out tranquilitytour.com!

20130916-132331.jpg

Route and pacing lessons on the Pacific Coast tour

20130806-194459.jpg

Continuing the series on post-tour takeaways… Some thoughts on the route and pacing for the section of the Pacific Coast route.

There’s little to quibble about with the route that the Adventure Cycling Association uses… It’s challenging but not overly so. I keep mentioning “the book” which is Bicycling the Pacific Coast… It’s worth having, but bear in mind its latest revision is 12 years old, and there’s some changes since the last writing (duh).

– I recommend deviating from the set schedule when possible, if only to break up the logjam of riders you encounter here and there.

– The mile markers in the book are wrong in a few spots, none more important than on Rockport Hill. Rockport is the hill after Leggett (the highest point on the ride) and is much steeper and – in my opinion – a trickier challenge then Leggett due to steepness and the fact it lies after a long descent and the cold legs that brings. The mile markers are a full mile off… So when you think you’re nearly done, there’s a serious mind game that happens… Rider beware 😉

– I recommend a different mileage split late in the tour… Rather than do 40 miles from McKerricher Beach (near the amazing Fort Bragg) consider going all the way to Gualala. The county park on the south side if town is far superior and the next day’s tougher-than-advertised trip to Bodega Dunes is better as a 40 mile day than a 60 mile day!

– Pacing: this is total personal preference… You’ll see people zoom past you from time to time, but bike touring is rarely a race. Go with the flow and what your body and mind are telling you. This trip, I focused on comfort and energy conservation, so I downshifted frequently and rarely pressed into my pedals or got out of the saddle. I enjoyed the ride… even the climbs… a little bit more, even if my speeds weren’t always efficient.

These are all just my takeaways – there are do many ways to rock a bike tour, and there’s no right way. Tomorrow I’ll chat a bit about the first person to rub me the wrong way on tour and why his “there’s only one way to do it” attitude contributed to his title of being the only bike touring “Lance” I’ve ever met…

Touring tips: 5 things I’ll definitely take on my next bike tour

20130805-171550.jpg

There are so many things you can bring on tour – rather than create yet another pack list, I thought I’d start my post-tour thoughts series with my top 5 items I’ll never leave at home:

A rear view mirror
I resisted using rear view mirrors for years, largely because I was using the wrong kind for me. Many people have great luck with the versions that clip to your glasses or helmet… I always found them distracting and difficult to use effectively. For this trip, I used a version that clips and velcros to the left handlebar. What a difference! Instead of craning my neck back to look for approaching traffic that was too far away to hear, I always knew when it was safe to take the lane on curving downhills or when glass or other obstructions made travel in the shoulder a bad idea. Find the right mirror for you and start using it!

A pack towel
If you’re lucky enough to be touring a route that has showers or other bathing opportunities (even swimming!) I can’t recommend a pack towel enough. They’re light, super absorbent and dry with a simple wringing twist. Forget your cotton towel… It’s not nearly efficient enough. Another tip: consider hitting your local dollar store… Car shammies work just as well and they’re a lot cheaper than the specialty towels at camping stores and online!

Bandanas
Whether as a sweat rag, makeshift hair covering, pant leg tie down, or sleep mask… Bandanas have so many uses I always bring as many as I can. While they are cotton (normally a no-no) they are so thin and light that they dry quickly in the sun or on the back of the bike as you roll.

Wool clothing
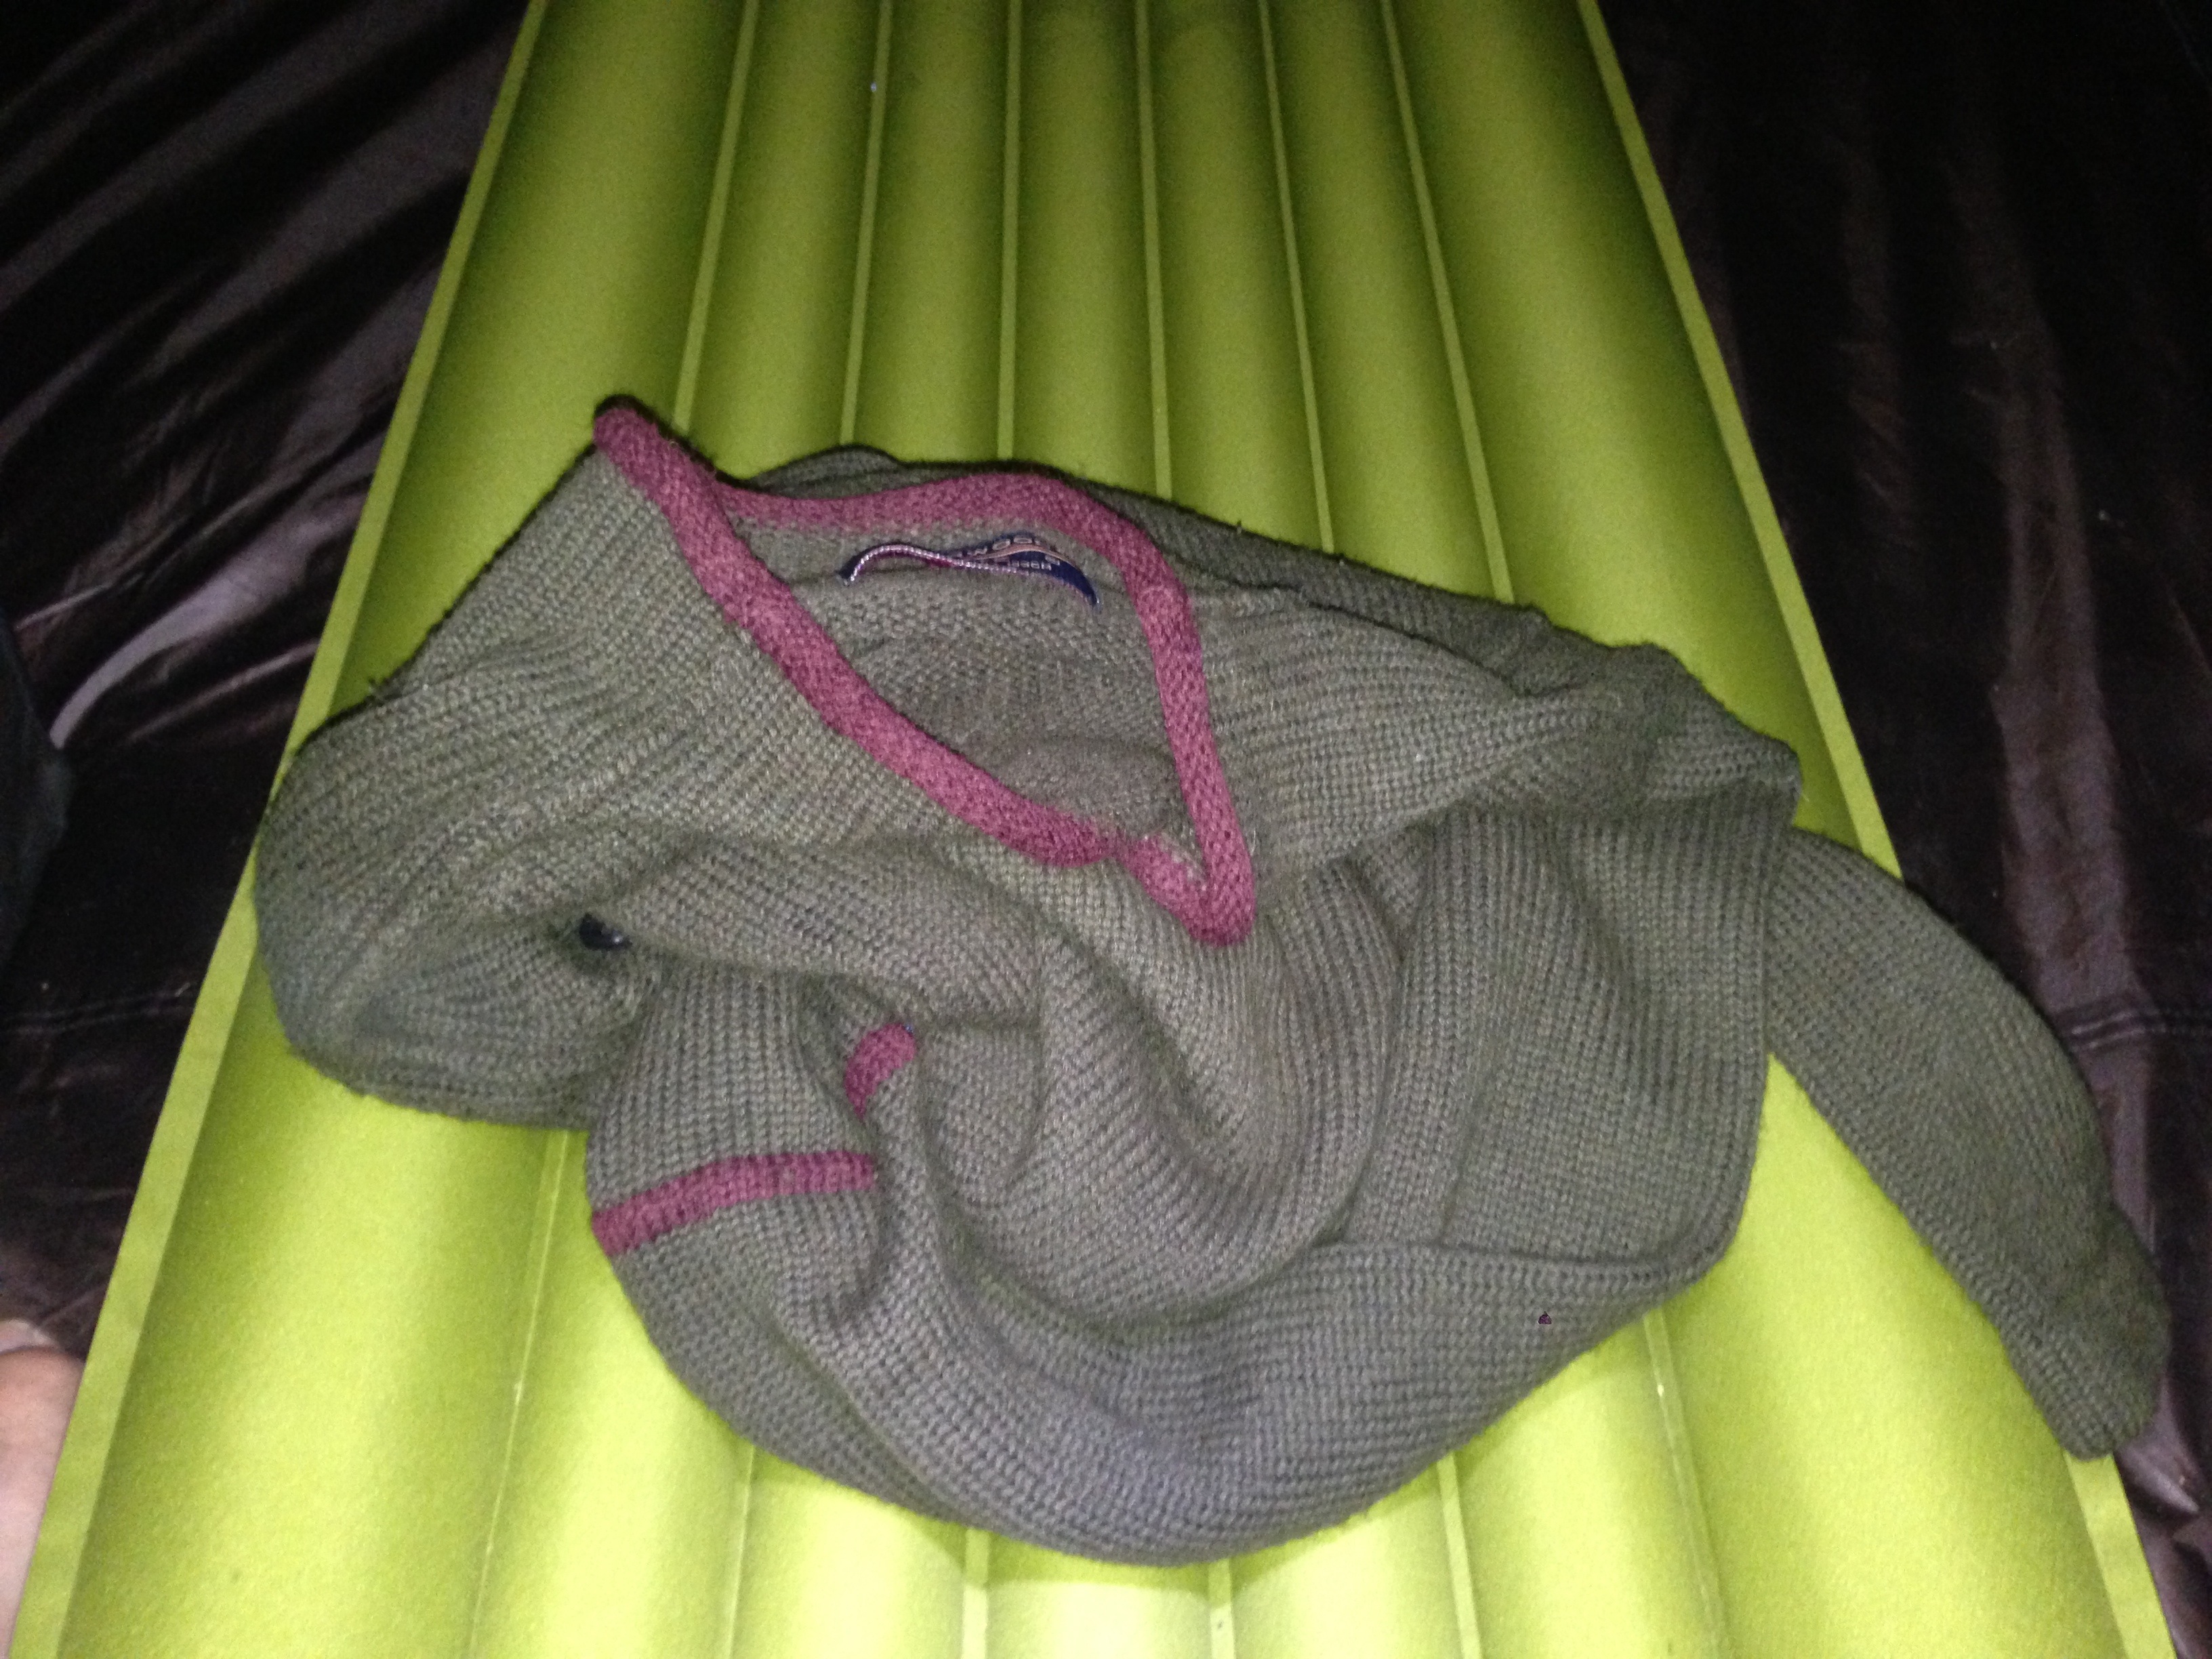
While I do use synthetics for base layers, you really have to have one wool layer if you’re biking in cool or cold areas. The rumors are true: wool keeps you warm even when damp. It also resists some of the smells that those synthetics tend to trap between washes. I recommend finding a nice used sweater at your local thrift shop… I probably wore mine every day on this last tour.

High capacity batteries
I have a lot to say about charging solutions on the road, but if you use any kind of USB chargeable device, I can’t recommend a high capacity battery enough. I have a 12000 mAh battery (“milliamp hours” is a measure of capacity… the higher the number, the more juice it holds!) made by NewTrent… It can recharge my iPhone from dead to full about three times before needing to be pugged in again. Battery technology is constantly improving, but the demands from our devices are also increasing. Get the biggest battery capacity you can, balanced by your budget and the size of the device. I like batteries that can charge more than one device at once.

What’s on your list?