If you’re touring on a bicycle, you eat. A lot. As a consequence, many of us carry the bulk of our weight in food. One of the ways to lighten your load is to choose food that’s lighter and less bulky. That’s where dehydrated meals and snacks come in handy – take out the water and you’re rolling with a fraction of the bulk. Unfortunately those pre-packaged “freeze dried” meals and snacks are not only expensive, but often have sneaky amounts of preservatives and other things you might not want to be taking in. A simple solution: dehydrating food for bike touring with a dehydrator.
Reminder – you don’t need a dehydrator
This might be an odd thing to say before talking about dehydrating, but you really don’t need to invest in a dehydrator to dry out a lot of foods. You can make dried jerky and other dried fruits in a toaster oven and do just fine. In fact, you may want to try that out before investing in a dehydrator – if you don’t like the prep work or prefer spending your time anywhere but the kitchen, you’ve just saved yourself a few bucks.
Dehydrating food for bike touring
Step 1: Get a decent dehydrator
I enjoyed learning a few things with toaster oven dehydrating, so I was ready to take the leap. I just got my first dehydrator and it’s been a real treat so far. The one I got was well-reviewed and not terribly expensive[footnote]The Nesco Snackmaster Express is about $80. Mine included 5 trays and a “jerky gun” which made better jerky than my oven dried version.[/footnote] I’d avoid any dehydrator that is sold via late-night infomercials… find out if friends have one and ask if they’d recommend, or do some searching amongst the reviews on Amazon and other places.
Step 2: Preparation is everything
 Do yourself a favor and read up on dehydrating the various foods you’re interested in preparing. You’ll find the temperature settings will vary tremendously between curing meats for jerky (high) and handling things like drying spices (low).
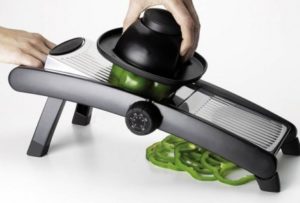
Once you know what you’re doing in that department, get ready to slice. If you plan on using a knife, be sure it’s a sharp one. It might be a decent idea to invest in a mandoline[footnote]There are a ton out there, but here’s a good look at one mandoline[/footnote] – that’s one of those gadgets that allows you to slide food over a sharp attachment to create uniform slices. I’ve been able to get away with a nice knife, but for large batches a mandoline would be a lot faster.
Step 3: Have something else to do
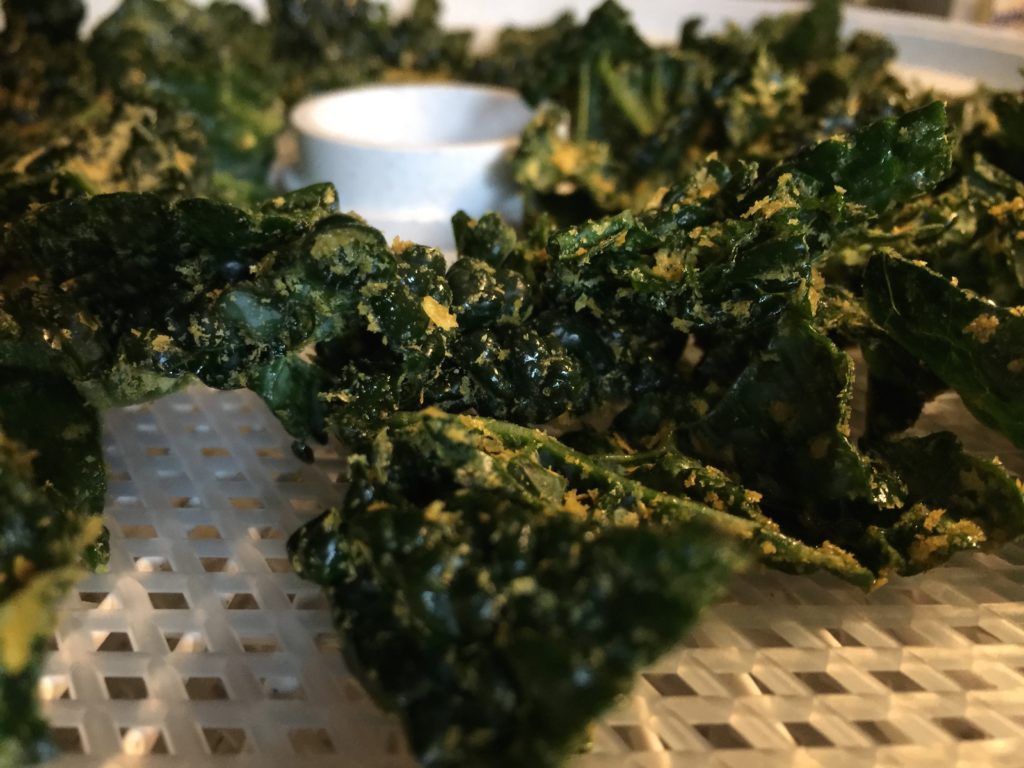
Dehydrating stuff takes a while. Making kale chips? It might only be a few hours. Making banana chips? See you in the morning. You’ll want to set it and forget it.
 Get creative
- Make that jerky, but it doesn’t have to be beef… it can be turkey or bison or something more exotic.
- Remember fruit sugars intensify when dehydrated, so you might be able to replace some of those sugary gels and other pick-me-ups you might use on bike tour with dehydrated oranges or other citrus fruits. Better for you too!
- Try using nutritional yeast on things like kale chips – it gives a nice cheesey flavor that compliments the crispiness of the kale. Bam! You got your veggies on the road!
In the January Pedalshift newsletter, I’ll have some of my favorite recipes… make sure you’re subscribed to get those so you can experiment a bit on your own. If you have any dehydrating experience, or a great recipe suggestion, I’d love to hear it and share it with the rest of the Pedalshift community!
