Eating on the road doesn’t have to be gas station jerky and granola bars. It also doesn’t have to entail heavy gear and bulky ingredients. Welcome to the admittedly nichey, but delicious world of freezer bag cooking…
As I prepare for a quick overnight trip in a few days, I wanted to share my dinner prep. The campsite I’m heading to on the C+O Towpath outside of Washington, DC has precious few amenities and isn’t terribly close to dining options. When I know I have a few days like this on a tour, I tend to plan ahead and have at least a meal of two in hand so I don’t have to worry about being forced to rely on trail mix for dinner.* The problem is that often entails hauling around more weight and volume than I’d like (I’m looking at you, delicious can of chili).
Last season, I learned a bit about freezer bag cooking… freezer bags being a bit thicker than your usual sandwich bag can handle a long soak with boiling water. Add in their durability and you have the perfect vessel for transporting, cooking and serving whatever foods you’re interested in eating, provided they can keep and they essentially need to be rehydrated. Pro-level freezer bag chefs hit sites like trailcooking.com and get into dehydrators and more. If you check out some of those recipes, you’ll see a level of sophistication that puts those old chili mac camping food packs to shame.
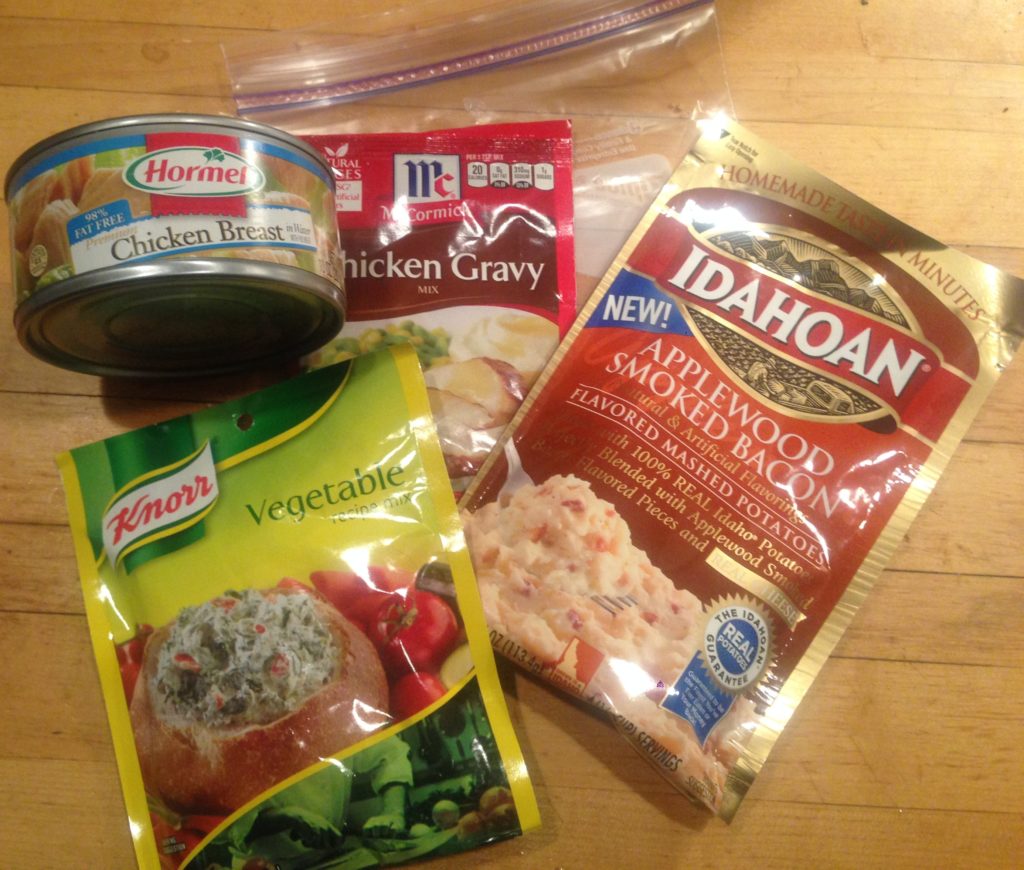
I tend to go a little simpler and I also like to use items I can get at almost any grocery store, mainly because that lets me pick things up in towns to replenish supplies while on tour. My current go-to is a mash-up of chicken, mashed potatoes, veggies and gravy:
- Knor Vegetable Mix (a ton of dehydrated vegetables with soup seasoning)
- Chicken gravy
- Canned chicken
- Whatever instant mashed potatoes are looking good
Most of these items are available at even the most bare-bones store, cost a dollar or less, and the bang for the caloric buck is pretty good. The downside is the processed nature of the foods… you can get around that by getting a dehydrator and focusing on items you prefer. It’s a trade-off for easy availability and weight.
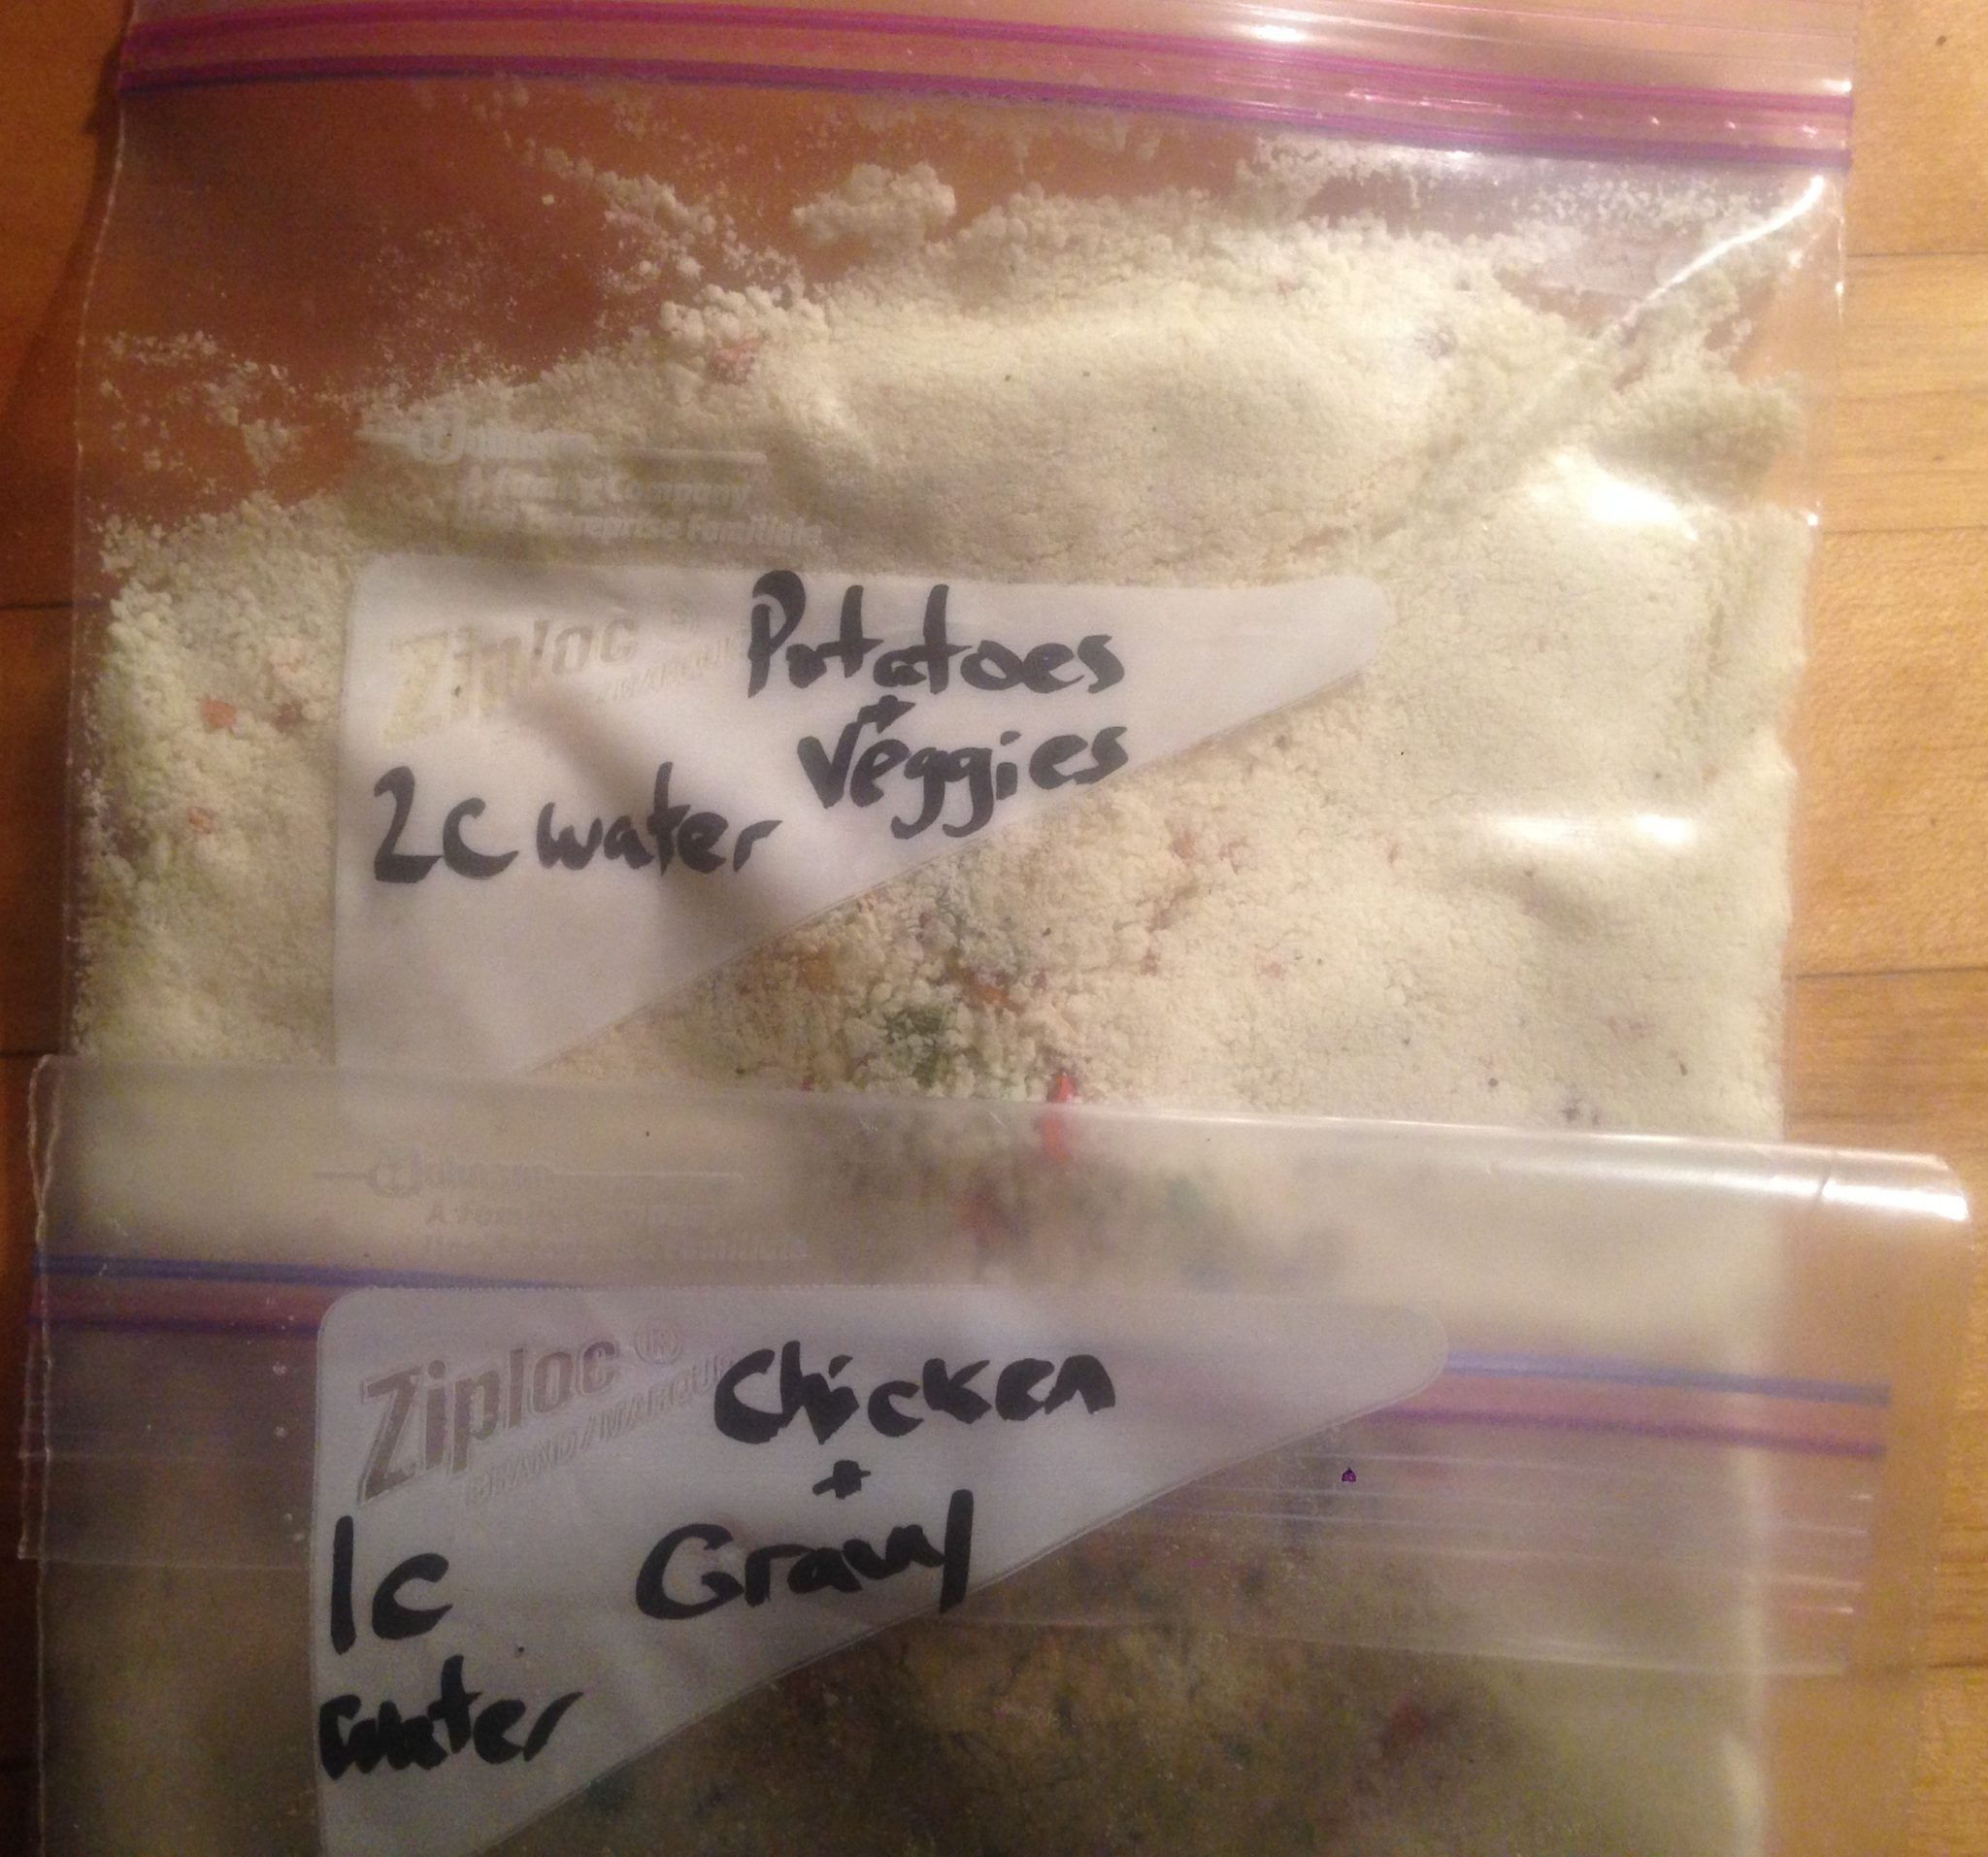
I repacked my ingredients into two quart-sized freezer bags and labeled them with their contents and the amount of water needed to rehydrate:

For this meal, I cook the chicken and gravy together in one bag and the spuds and veggies in a second one. You’ll see the volume is insanely small – those bags lie very flat and the weight is barely noticeable. The chicken stays in the can if I’m not making it relatively soon, but the bulk and weight is the tradeoff for having meat that won’t spoil. I might try a similar version with jerky sometime to see how it reconstitutes.
So, how do you cook? It’s as simple as boiling water and waiting. The key is a good “cozy” that retains the heat from the initial boil. There are literally dozens of DIY cozy-making tips out there, but if you’re less inclined to spend time making one, consider getting an inexpensive and lightweight insulated bag instead. Once you pour in the water, seal up your bag, stick it in your cozy and wait 5-10 minutes depending on the food. Open up and you can eat right out of the bag… that’s right, no dishes to do when you’re set.**
So, lightweight, good eating, and easy to prepare… all great things for dining on tour! Have any of you tried freezer bag cooking on tour before? Share your ideas and recipes if you’ve got a good one!
——–
*Having a couple of dried meals of caloric heft can also serve as important emergency meals. A buddy of mine mentioned that he’s experienced a few occasions when a freezer bag meal helped avoid having to travel additional end-of-day miles just for food. **A disadvantage worth mentioning is the environmental/waste issue. Although one could conceivably reuse the bags a few times, there’s no question you’re using a bag that gets quickly landfilled when there are reusable options. This is one reason I don’t exclusively rely on this for my tour food, but I can definitely justify a few meals prepped this way.